Dot painting is a very easy and fun way to create beautiful artwork. This style of ‘freeform’ dot painting creates a bit of a mosaic look by simply layering bright and bold colors within the shape of a flower. This is not realism by any means, so this gives you a lot of creative freedom to be playful and whimsical.
This tutorial is suited for beginners, but I do recommend checking out my ‘Dot Painting for Beginners Tutorial‘ if you are completely new to dotting. It teaches you everything you need to know about tool selection, the best type of paints to use, dotting techniques, and so on. I have also created a video tutorial for this project and you can find that at the bottom of this post.
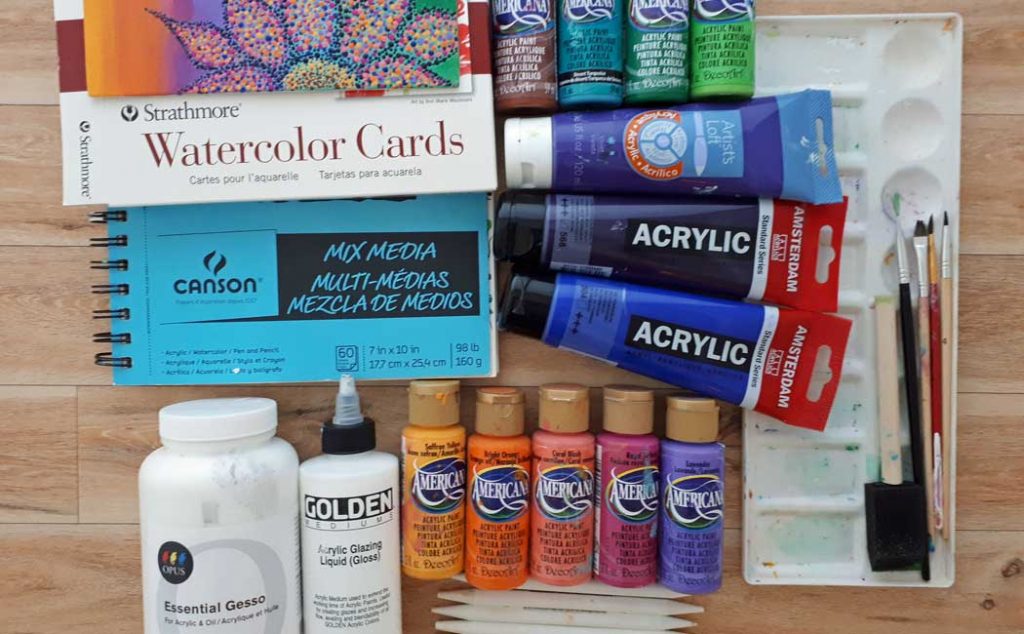
The supplies you will need for this tutorial are:
- Paint surface of your choice
- An assortment of fluid acrylic paints. The paints I have on hand are not available at the time of this posting, so these may be a good option.
- The colors I used were Americana Saffron Yellow, Bright Orange, Coral Blush, Royal Fuschia, Lavender, Sour Apple, Holly Green, Bahama Blue, Ocean Blue, Desert Turquoise, and Burnt Sienna.
- You want 3 to 4 shades of purple/blue…from dark to light. I only had the lavender in the liquid acrylic, but I had some medium body paints that I thinned down with Acrylic Glazing Liquid. The colors I used were Amsterdam Blue-Violet, Ultramarine, and Artist’s Loft Violet.
- Gesso (if using art paper)
- Dot painting tools (these may not be available from Amazon, but you can try DIY Mandala Stones directly.)
- Paint tray
- Small foam paintbrush
- Assorted small paintbrushes (optional)
- Damp rag
- Jar of water
Some (but perhaps not all) of the links in this blog are affiliate links to Amazon.com. As an Amazon Associate, I earn from qualifying purchases. This page contains some affiliate links. Please see my policy page for details. I look for the best possible option for your convenience, however, I encourage you to support your local shops!
Start by preparing your paint surface. If you are using art paper or cards, paint the back of the surface with a layer of gesso or paint. This is to balance the tension of the paper because when you paint on the top side, the paper will curl from the paint.
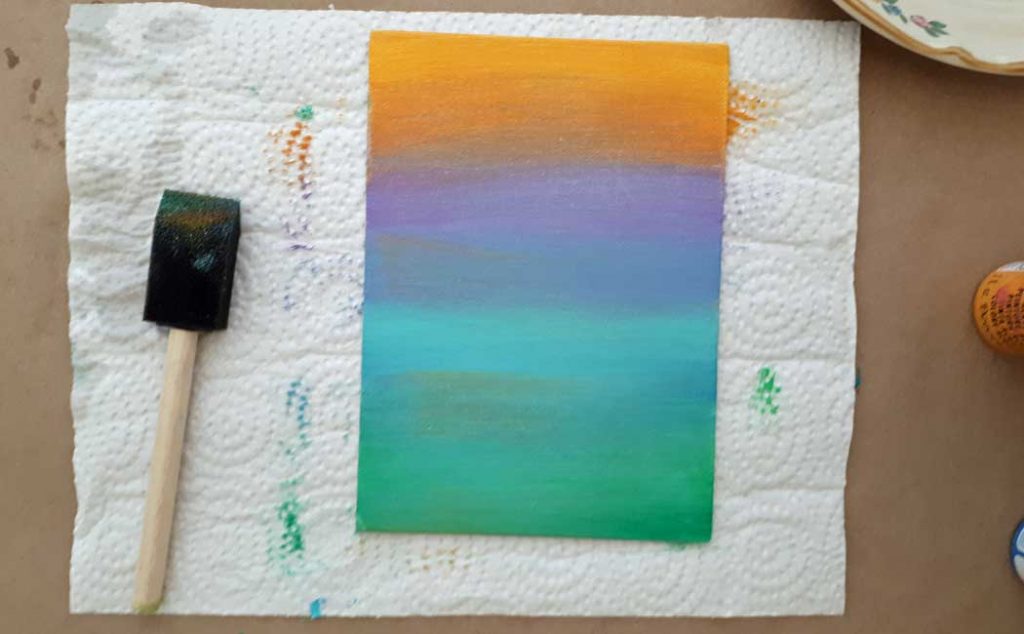
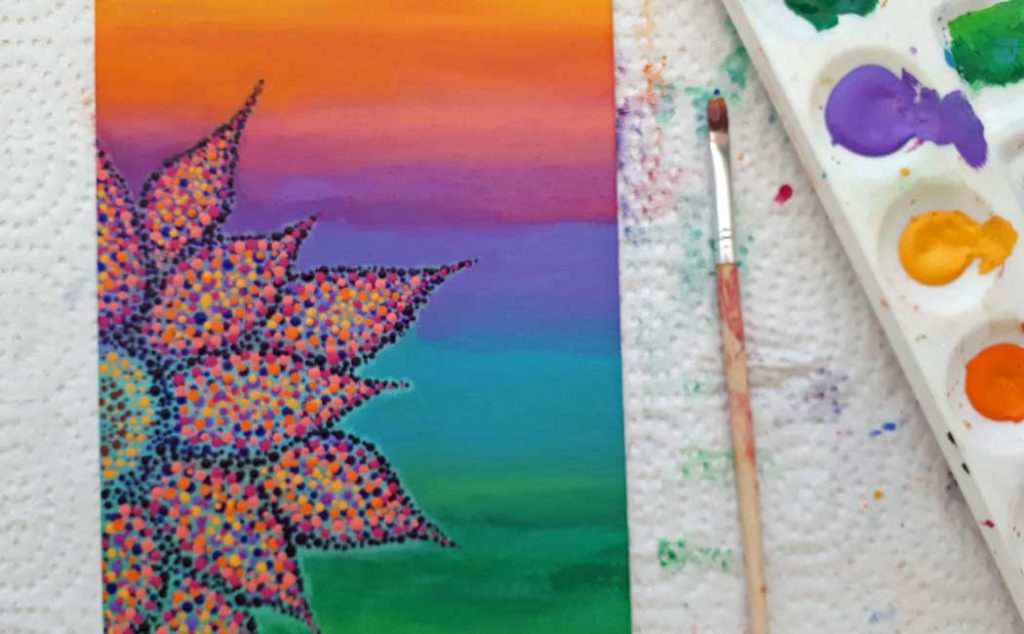
Using a foam brush, paint layers of paint in the following order, starting from the bottom: Holly Green, Sour Apple, Desert Turquoise, Ocean Blue, Bahama Blue, Lavender (clean your brush with some paper towel as you transition from cool to warm colors), Royal Fuschia, Bright Orange, and Saffron Yellow. Blend the colors together as you move to the top of the canvas, using a bit of water to blend them all together.
When I starting this painting, my intention was to dot paint a flower design and then do some abstract dotting on the background. For that reason, I only did one layer for the background. As I finished the flower, however, I decided not to dot paint the background, so I had to add more layers of this blended background after I painted the flower (scroll down to see what I mean). If you don’t want to dot paint the background, then I suggest doing at least one more layer for your background before you begin painting the flower.
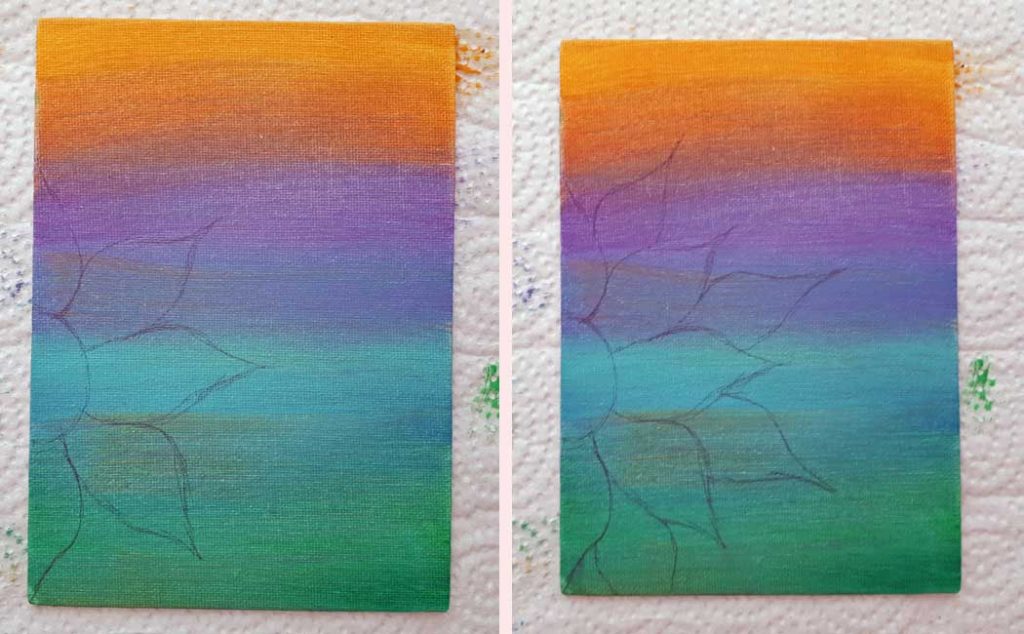
Once the background has dried fully, draw the outline of a basic flower pattern on the canvas as shown above. You can create any design you like.
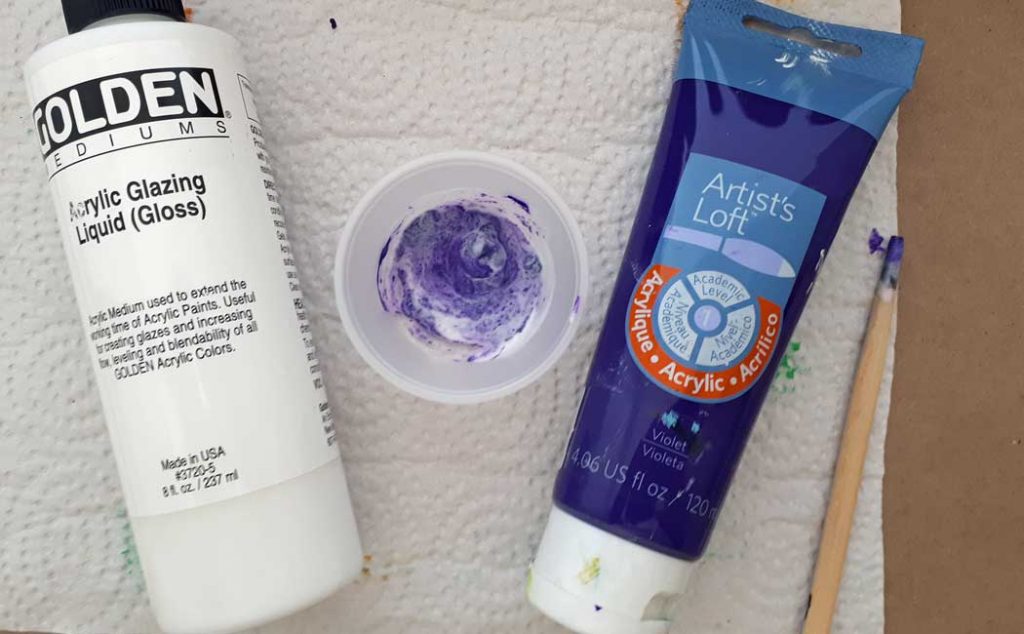
If you have some medium body paint that you want to use, thin the paint by blending one part paint and one part acrylic glazing liquid.
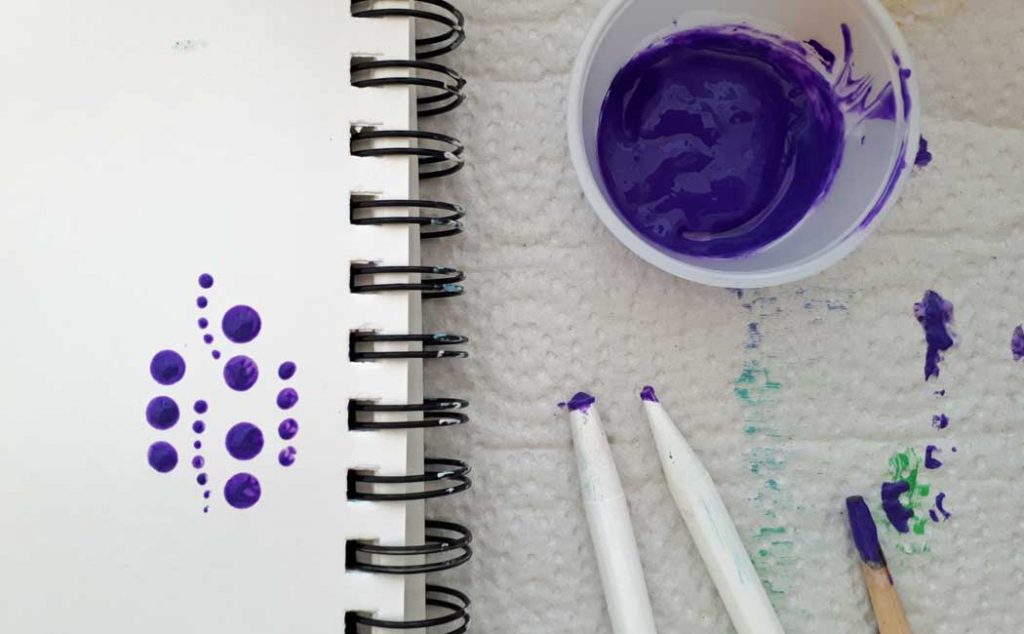
Mix it well and test the consistency with a dotting tool on some scrap paper. I had to add a little extra glazing liquid to get the right consistency. The color shown above is the Amsterdam Ultramarine.
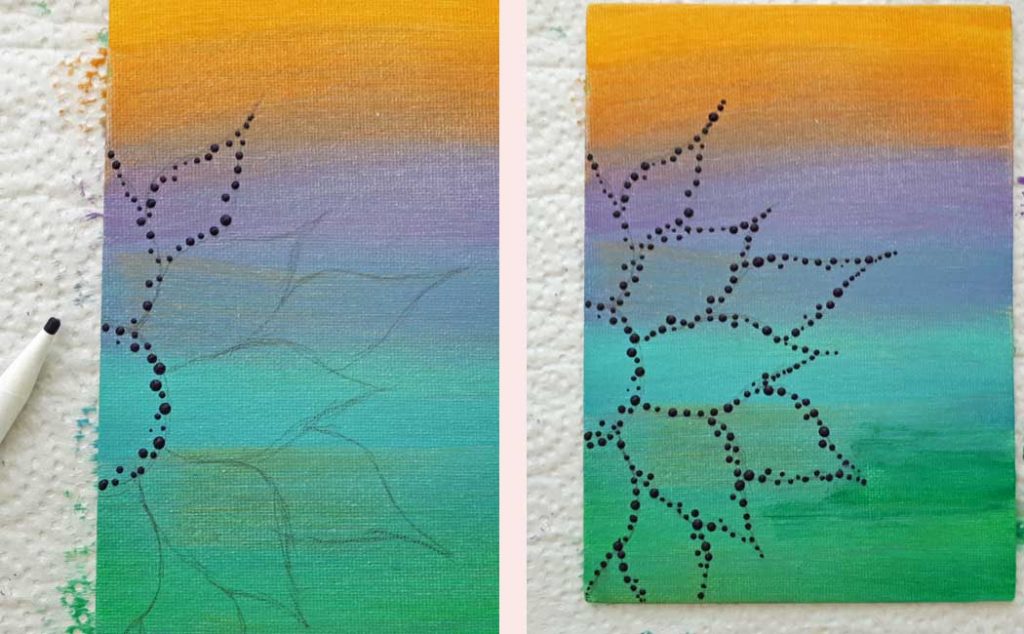
Start with the darkest shade of purple (I’m using the Amsterdam Blue Violet thinned down) and a number 5 dotting tool. Outline the shape of the center of the flower and the petals with a variety of sizes of dots. The number 5 tool can be used to ‘walk the dots’ (shown in the beginner’s tutorial) to create smaller dots. Outline the petals in a bit of an abstract way, not creating a straight line, but following the shape of the petals.
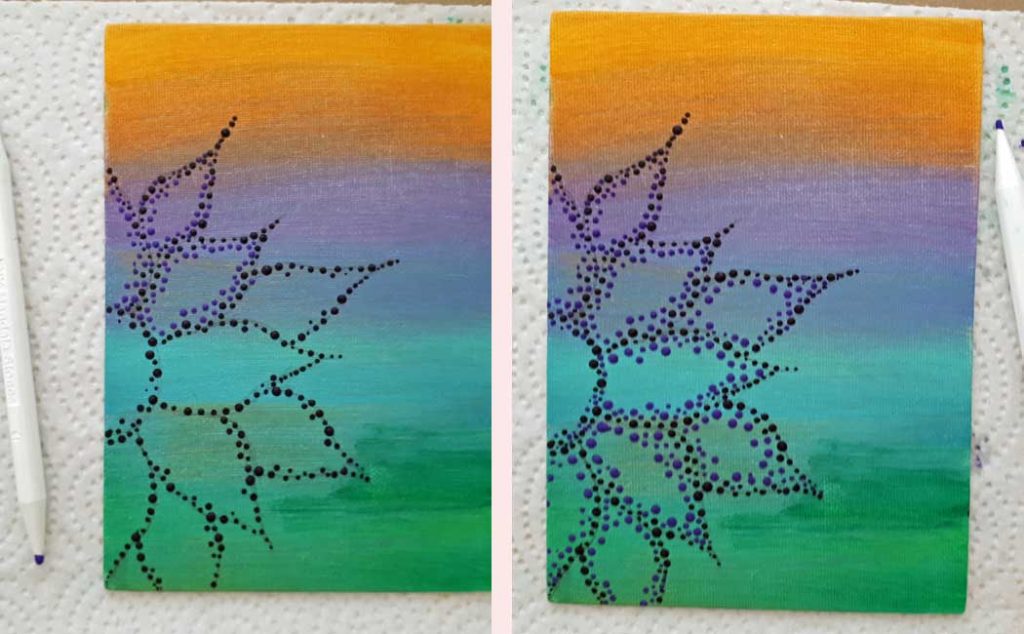
Then choose a medium-dark shade of purple (I’m using Artist’s Loft Violet thinned down) and create another line of dots in a variety of sizes, inside the darker line. Again, you are following the line of the petals, but are creating dots in a slightly abstract pattern. Bring some of this color into the center circle as well. Blend some smaller dots into the darker color.
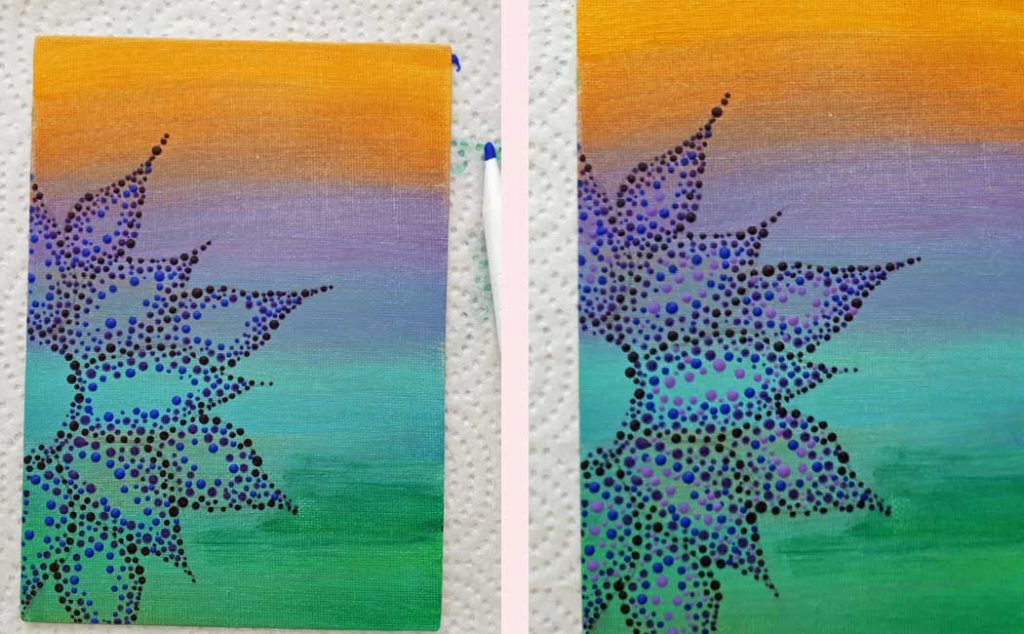
Repeat this again using a medium blue-purple (I’m using the Amsterdam Ultramarine, bringing this layer towards the center of the petals. Create a fourth layer using the Americana Lavender paint. As you move towards the center of the petals, use a smaller dotting tool…perhaps a number 4 or 3. Walk the dots to create smaller dots or use a number 1 and 2 dotting tool. Blend the colors by overlapping into the adjacent colors slightly.
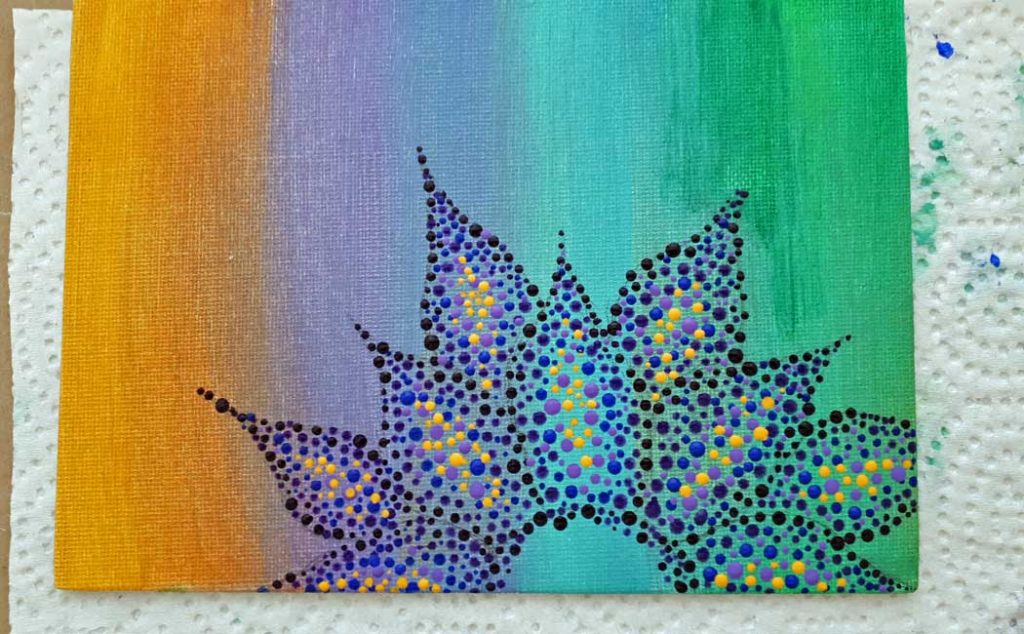
Fill in the center of the petals with the Saffron Yellow, again blending into the adjacent colors slightly, and then let these layers dry really well.
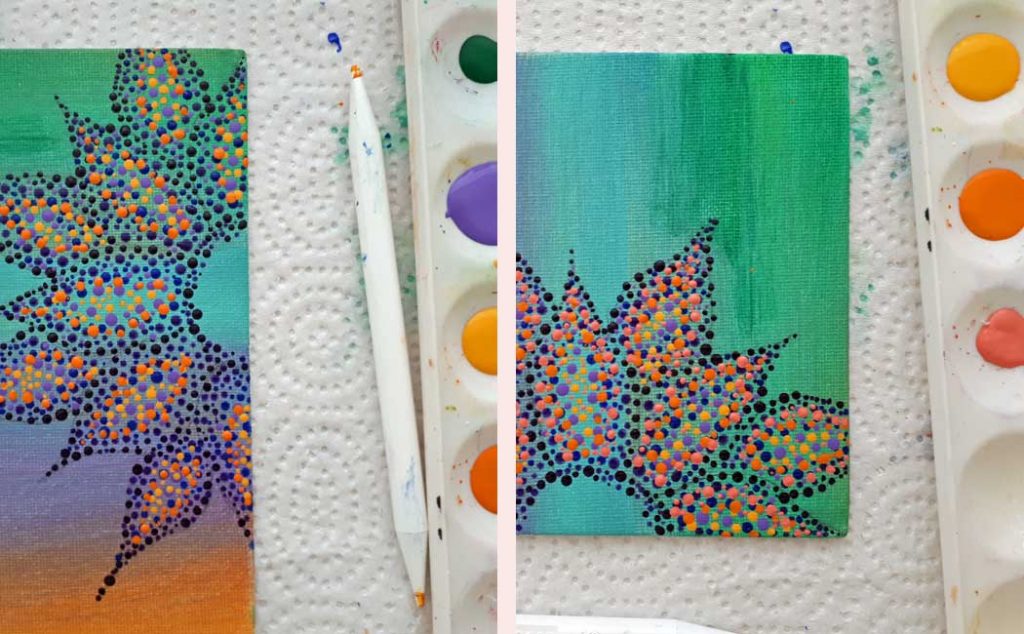
Now working out from the center of the petals, out from the yellow, create an outline of Bright Orange using a number 4 dotting tool and smaller. Follow the shape of the petals. Then do an outline in Coral Blush, again working out from the orange layer and blending the colors slightly.
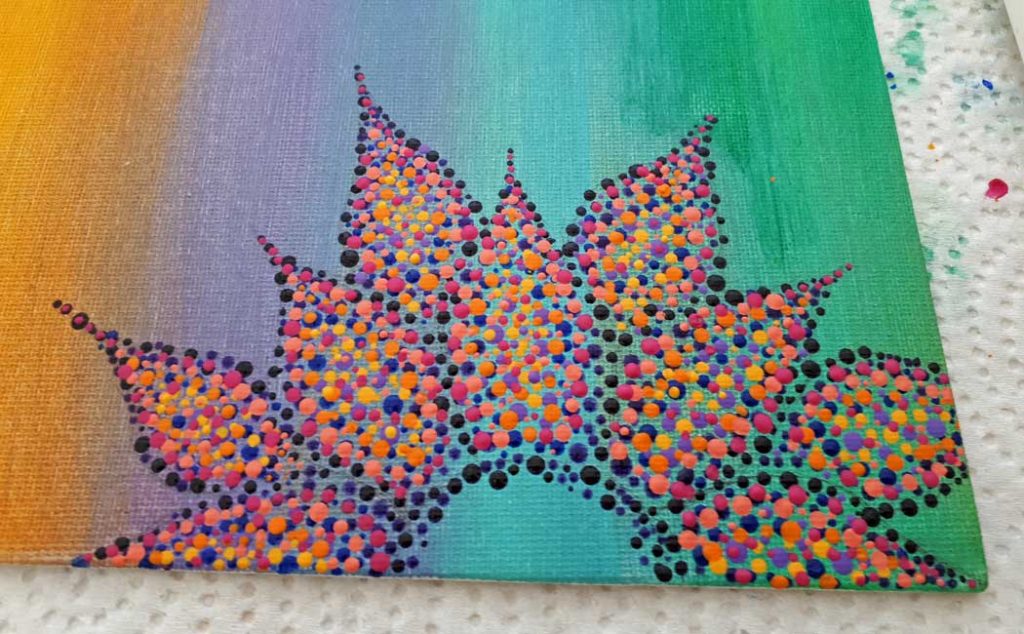
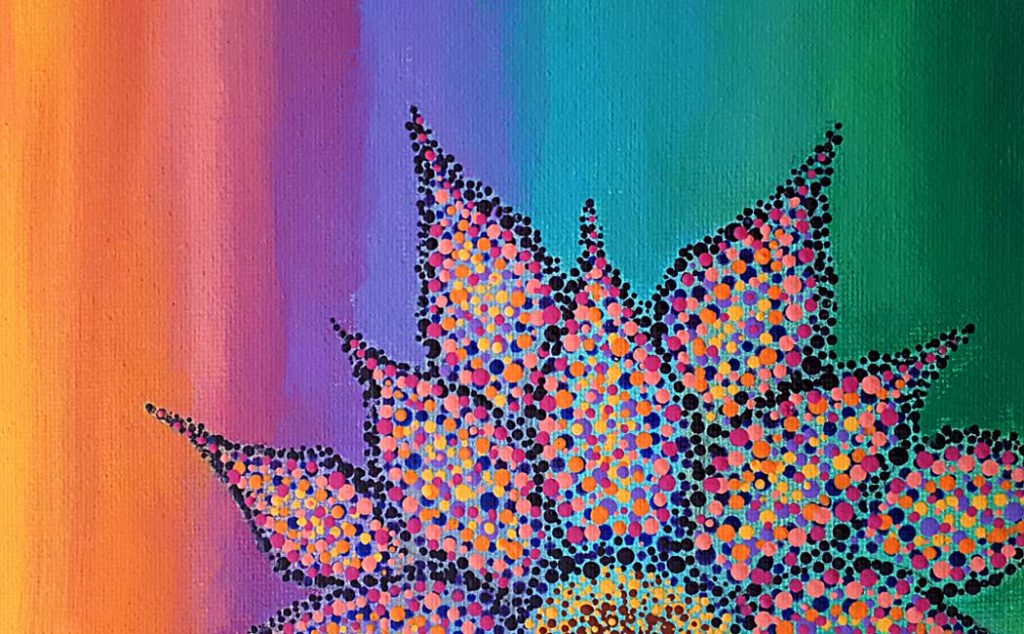
Finish with a row of Royal Fushcia around the Coral Blush, using the number 4 dotting tool and smaller, and blending the colors slightly.

Using a number 1 and 2 dotting tool, redefine the outer edge of the petals with the darkest purple (Blue-Violet).
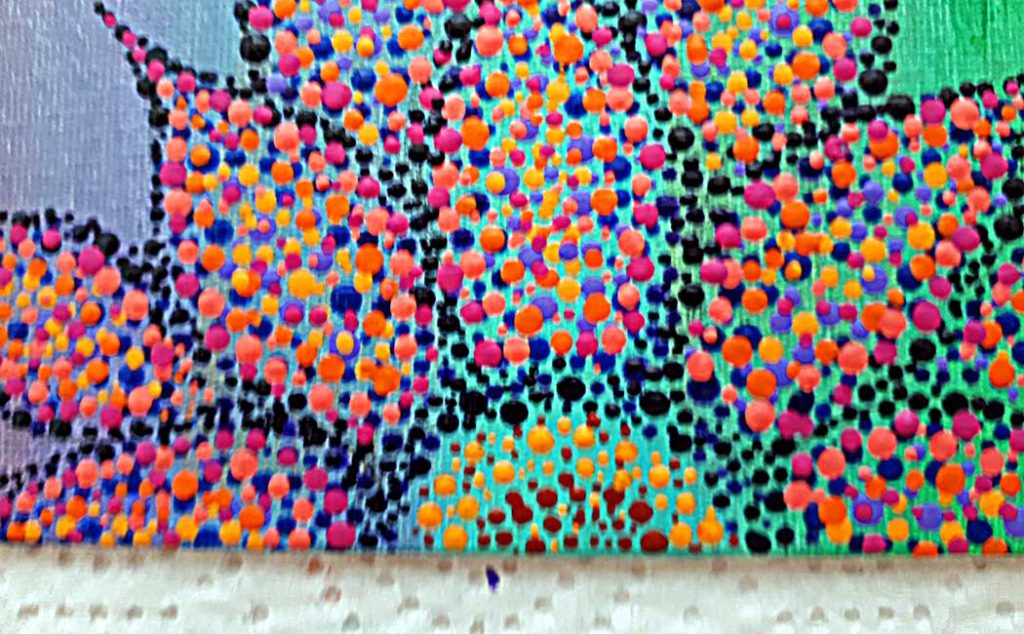
I apologize for this poor quality picture, but the camera was having a hard time focusing on the dots! Now fill in the center of the flower with a combination of Burnt Sienna and Saffron Yellow. Use the brown for the very center and then the yellow around that. Again, blend the colors slightly into each other.
So this is where I decided not to dot paint the background and had to add another couple of layers of colors. It was a bit tricky, so I recommend painting two or three layers for your background from the start.
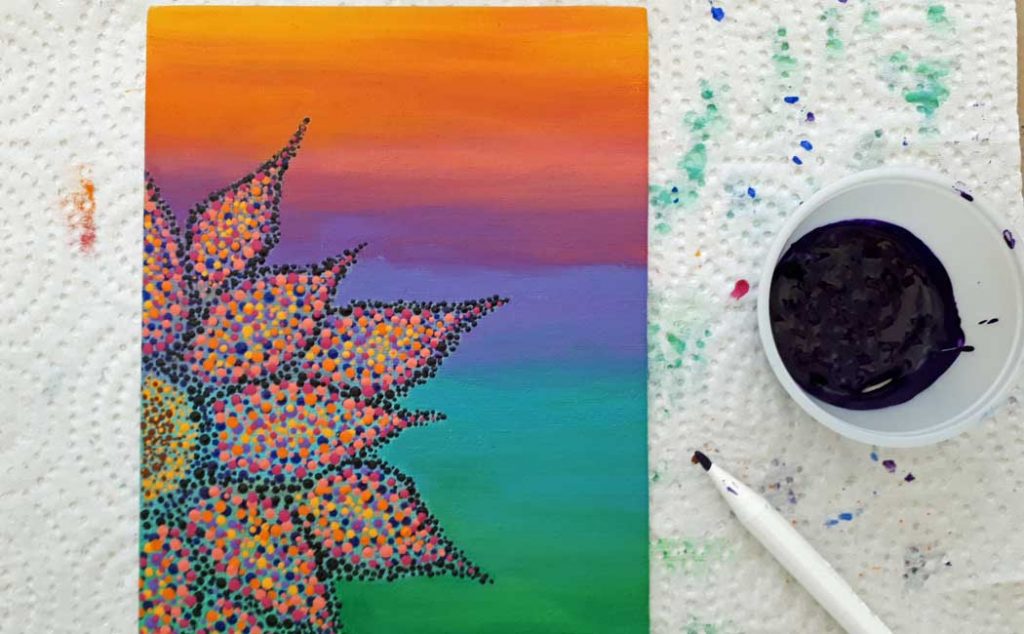
Painting up to the flower with the background colors created a bit of a light-colored shadow around the outside of the petals, so I went back in with a number 1 dotting tool and the darkest purple and filled that in. If you start with two are three layers for your background, then you won’t have to do this step.
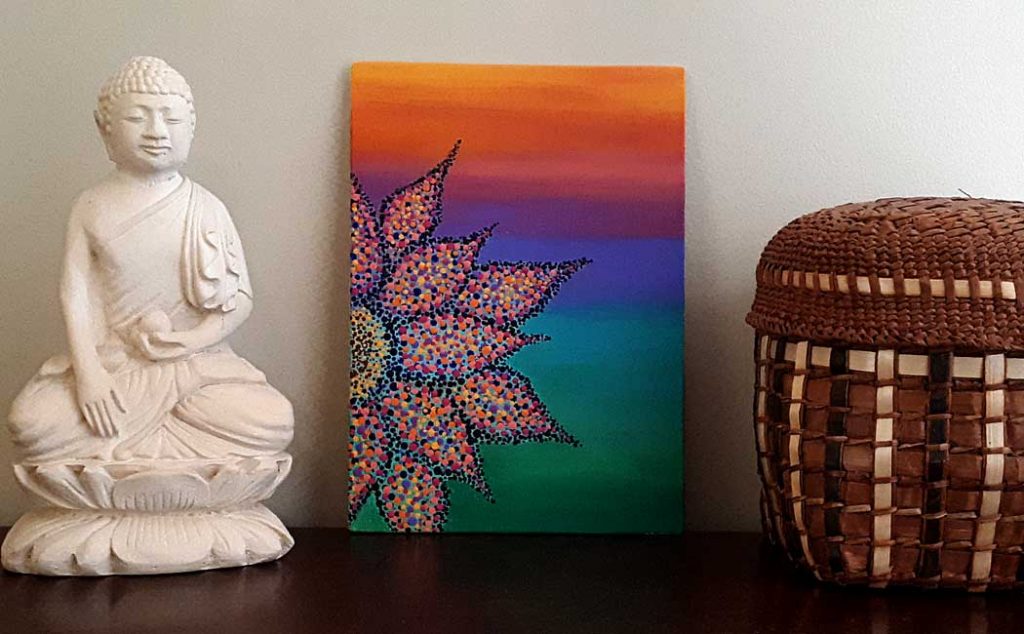
In which case…you will be done! Isn’t this so pretty? I hope you enjoyed this tutorial and as always, I have created a video for this as well. Sometimes it is just easier to see the project step by step in a video.
If you like this project, you may also like: