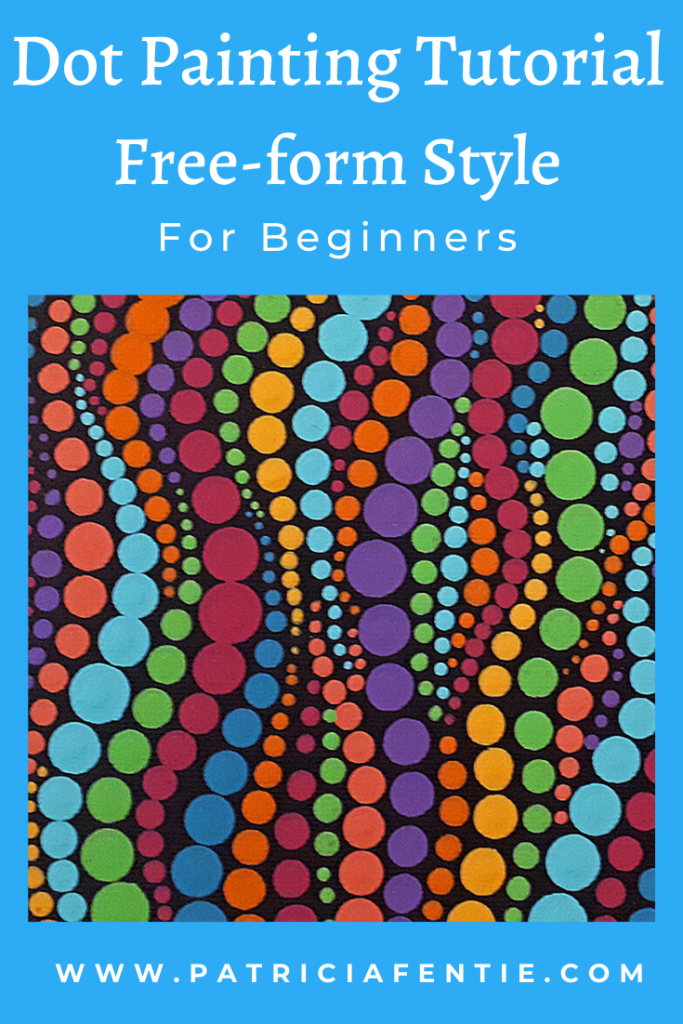
If you are new to dot painting, then you will love this fun and simple project. You will learn how to do a freeform style of dot painting which, for the most part, has no rules! You can create beautiful and creative paintings using freeform dot painting.
I do have a dot painting tutorial for beginners that teaches you all the basics of this craft. Everything from tools, paint choices and techniques are taught in this two-part tutorial. If you do not have any dot painting experience then I do recommend starting with the basics. I’ve also created a video tutorial for this project which you will find that at the bottom of this post.
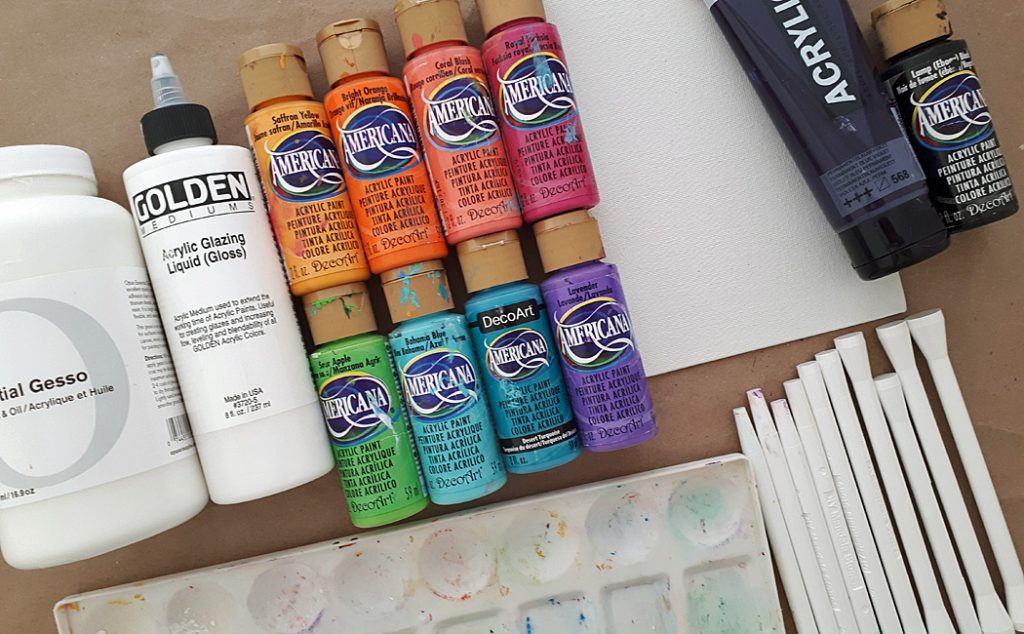
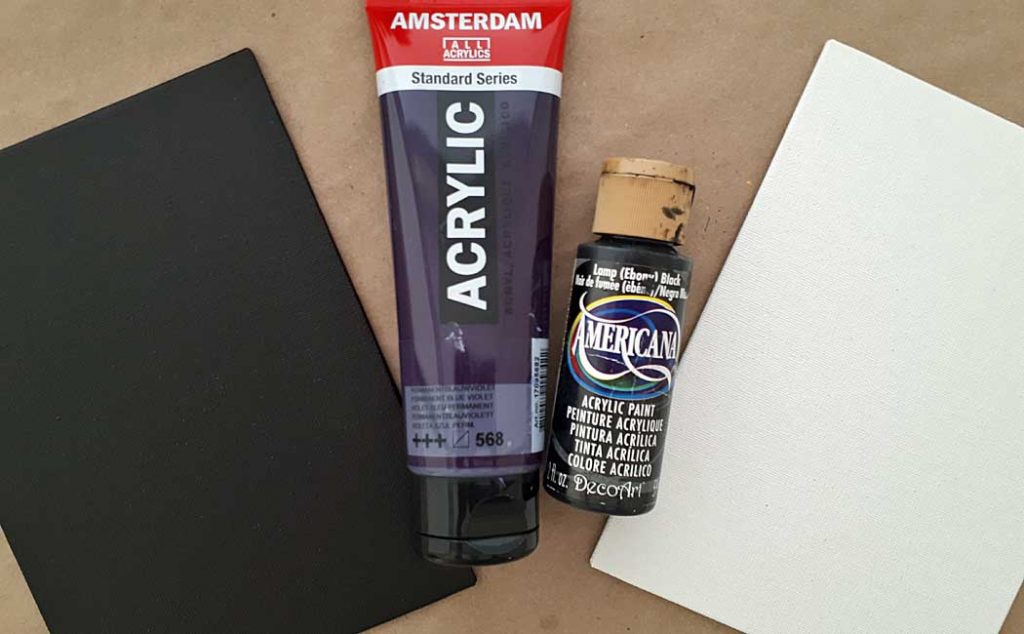
The supplies you will need for this project are:
- A paint surface such as a canvas board, art paper or watercolor cards
- Medium acrylic paint in a dark color such as violet or black
- Liquid acrylic paints in assorted colors
- DIY Mandala Dot Painting Tools -size 1 to 16
- DIY Mandala Dot Painting Tools -size 17 to 28 (optional)
- Gesso (optional)
- Acrylic Glazing Liquid (optional to thin paint if needed)
- Matte or Satin Acrylic Varnish (optional)
- Paint tray
- Damp cloth
- Damp paper towel or plastic wrap
Some (but perhaps not all) of the links in this blog are affiliate links to Amazon.com. As an Amazon Associate, I earn from qualifying purchases. This page contains some affiliate links. Please see my policy page for details. I look for the best possible option for your convenience, however, I encourage you to support your local shops!
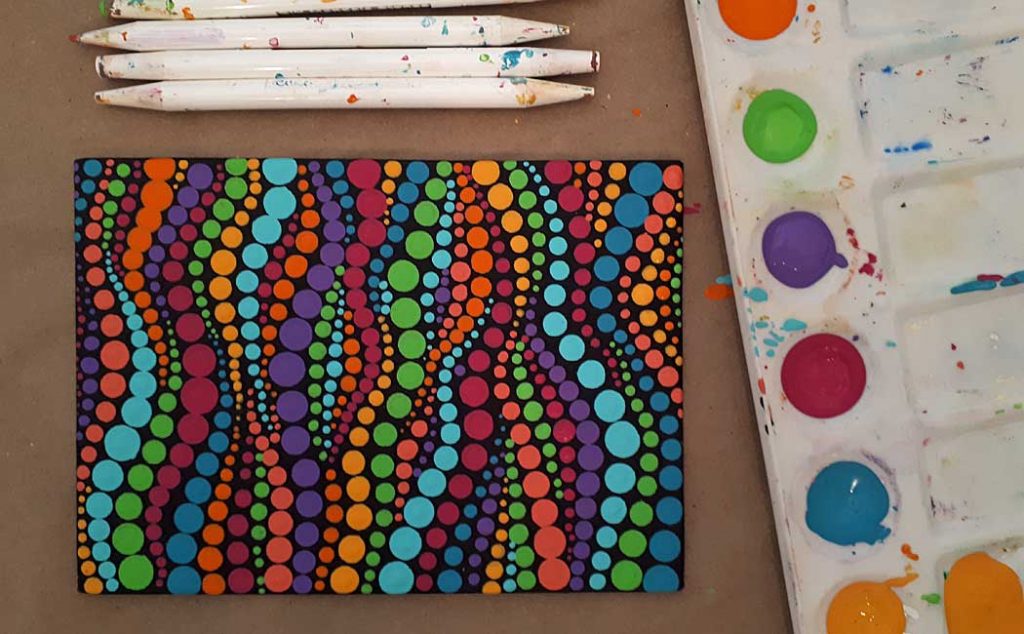
The acrylic paint set I link to above doesn’t have all the exact colors I used, but there are very similar choices. The colors I had in my stash were Saffron Yellow, Bright Orange, Coral Blush, Royal Fucshia, Sour Apple, Bahama Blue, Desert Turquoise and Lavender.
Start by painting your surface of choice with a dark color paint. I used a 5″ x 7″ canvas board and painted it with a medium body acrylic paint in dark purple with a bit of black liquid acrylic added in. The medium body paint makes a great base paint, but if you don’t have any, you can use the liquid acrylic. You just may need more coats of paint.
If you are painting onto a paper surface, then you will want to prepare the back of the surface with a coat of either gesso or paint. This is important to do in order to balance the tension of your painted design. Doing so prevents the paper from curling.
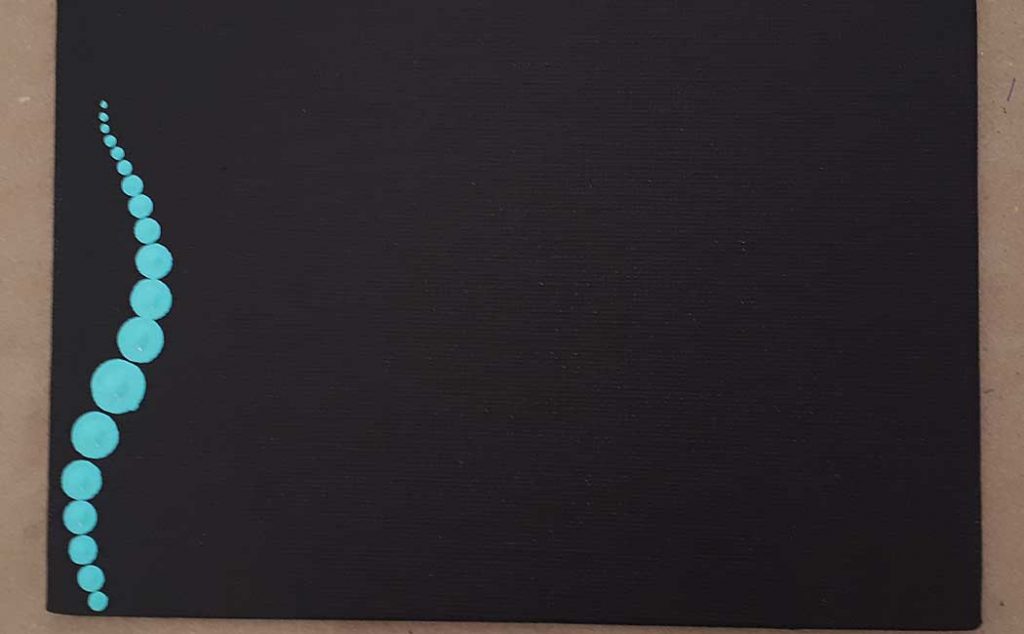
Starting from the bottom with Bahama Blue (or color of your choice), begin creating a curved line of dots, working from a small size to a larger size (4, 6, 8, 10, 12, 14, 16) and then back to a small size again (14, 12, 10 etc). Finish with walking the dots (taught in the Dot Painting for Beginners tutorial). Clean your tools in-between each new color and place a damp paper towel or plastic wrap over your paint to prevent it from drying out.
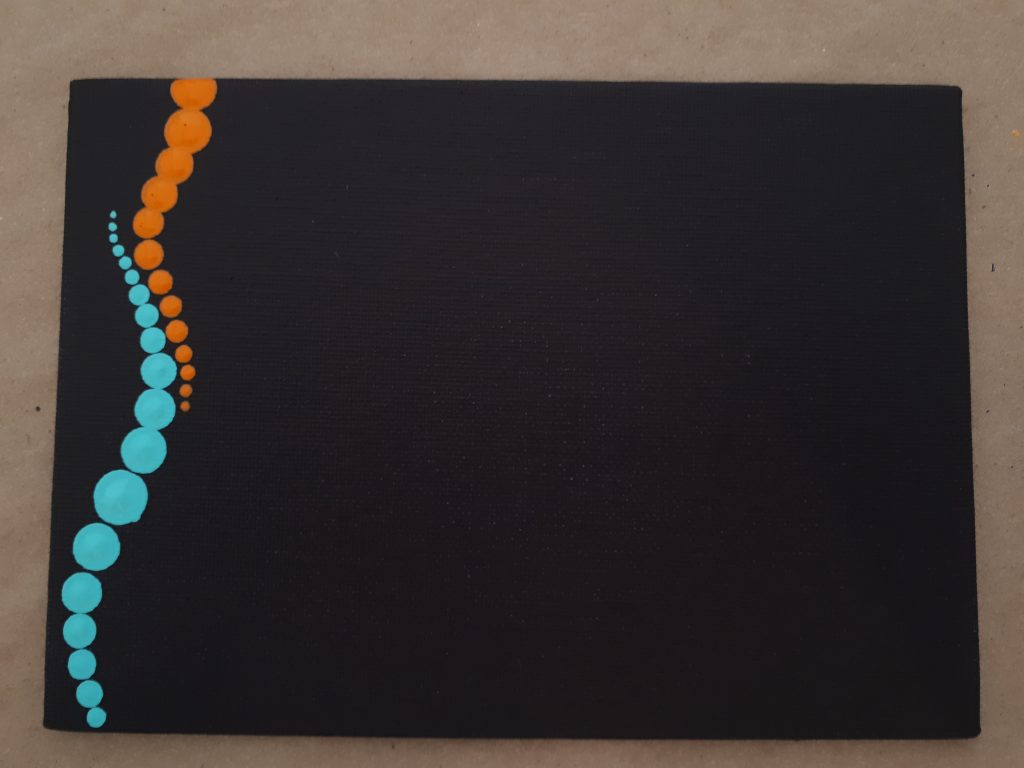
Choose another color (I’m using Bright Orange), and with a large dotting tool, work a curved line down from the top, going about halfway, and decreasing the size of dotting tools (18, 16, 14, 12, etc). Finish with walking the dots.
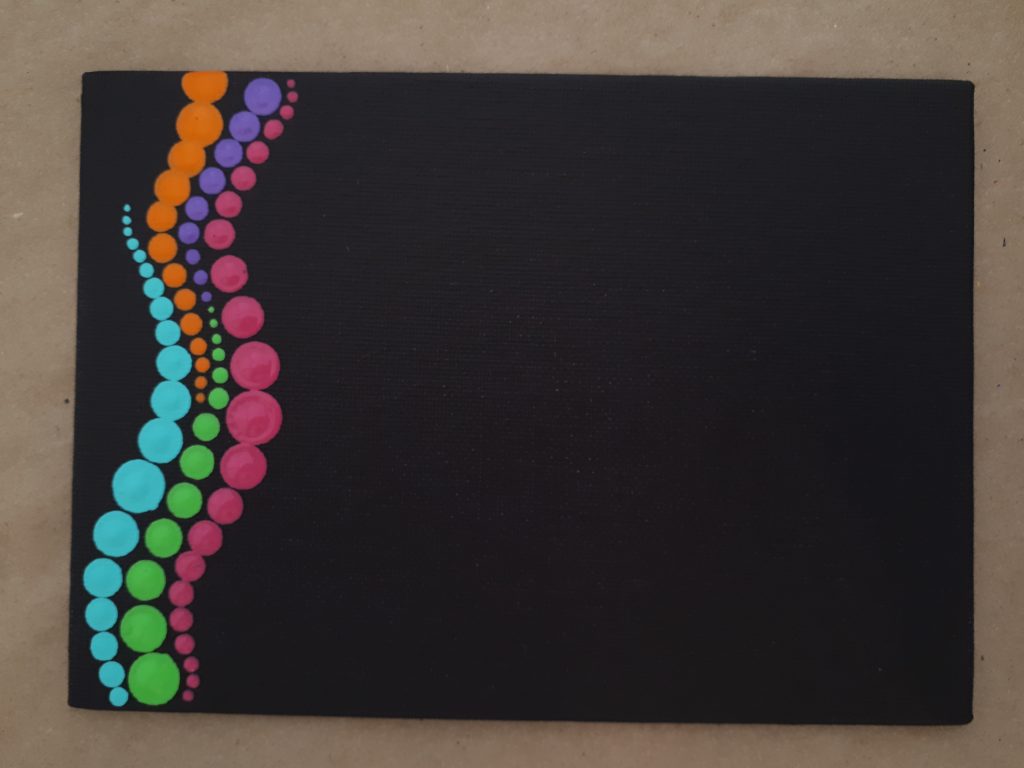
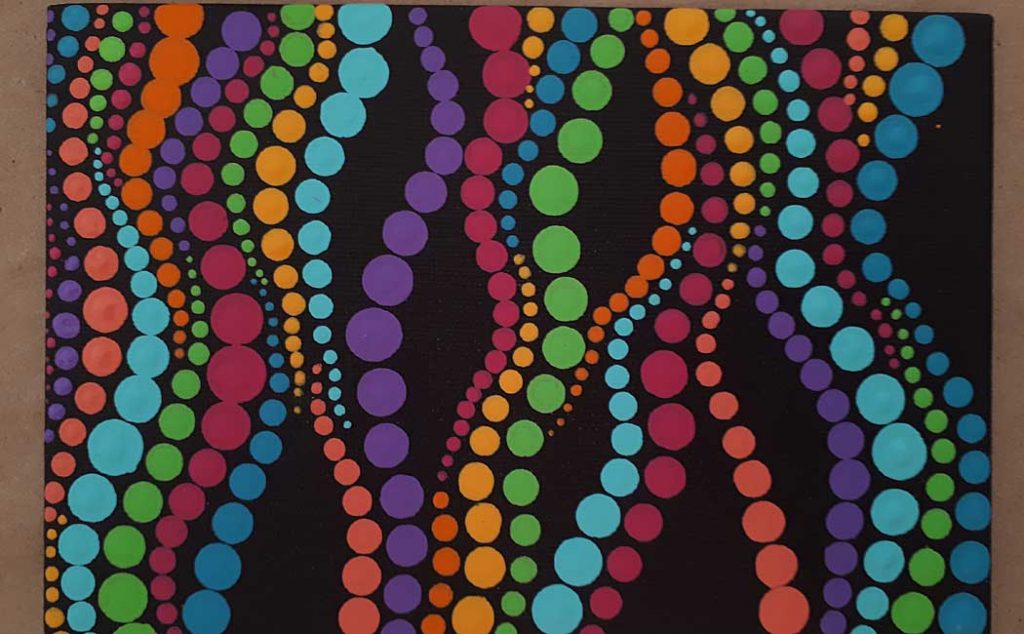
Continue to create curved lines of dots in various sizes. I created half a row with Sour Apple and finished that row with Lavender. The next row was all done in Royal Fucshia. You can see how I am increasing and decreasing the dot sizes.

Continue to create curved lines of dots, while changing up your pattern. The colors I’ve used above are Desert Turquoise/Sour Apple, Saffron Yellow, Coral Blush/Bahama Blue, and Lavender. Do some partial rows and some full rows. Walk the dots alongside the next row or have them meet in the middle of a row with a new color.
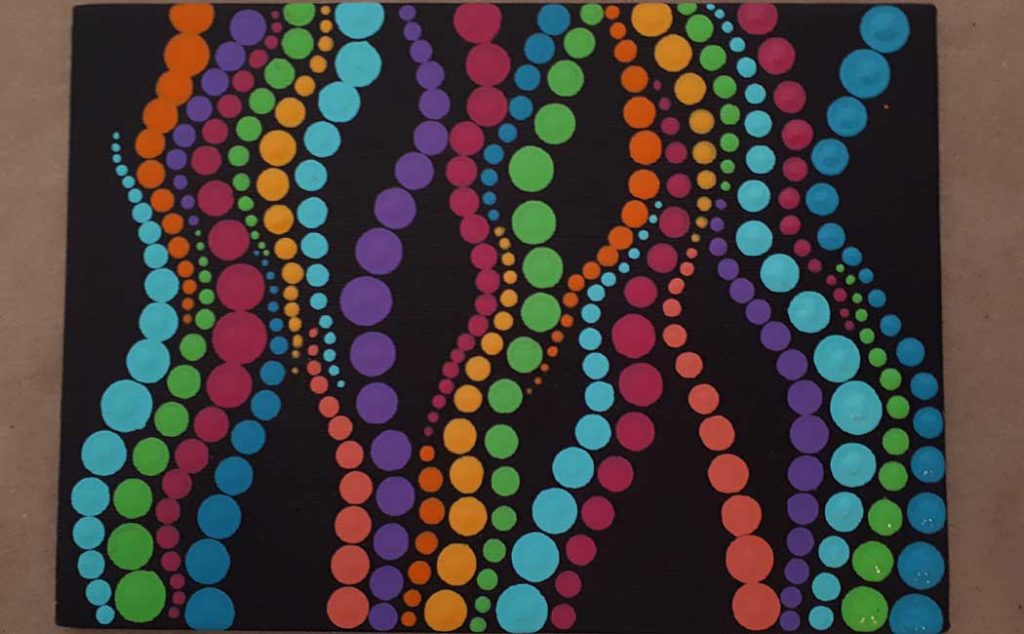
Create some gaps by changing the direction in which the curves flow for each row. Be playful and creative, there really are no rules here. This is what I love about freeform dotting, you don’t have to follow any pattern, you can just allow the dots and colors to flow how they like! I find this quite relaxing.
Once you have worked your way across your surface with your dotted design, you can go back and start to fill in the gaps with smaller dots using various colors. Walk the dots to create some nice, small patterns.
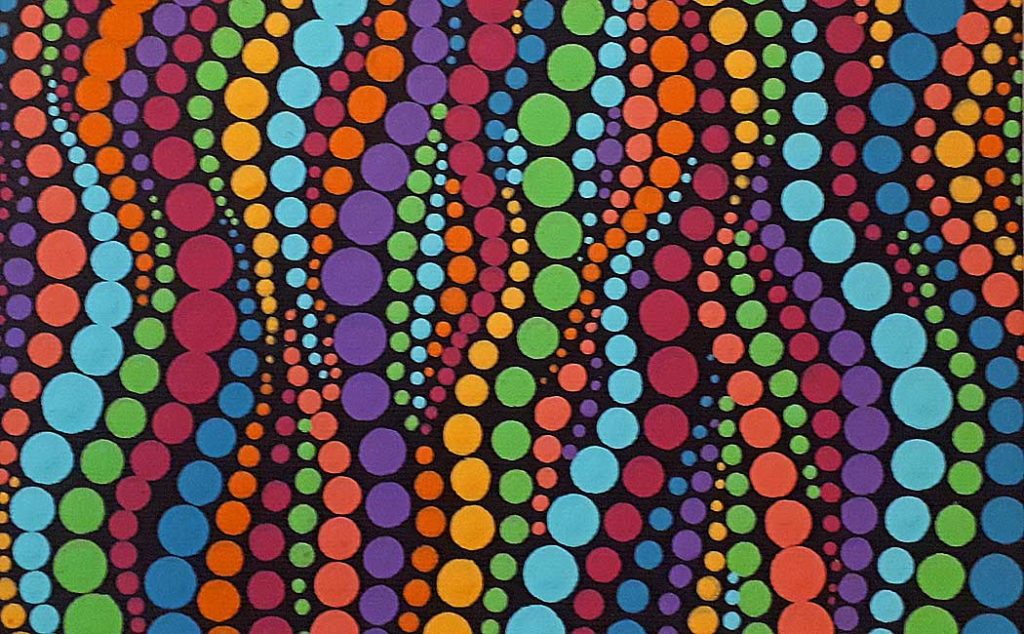
You have now created a beautiful abstract painting! I love how this turned out! Let the painting dry thoroughly and if desired, finish with a couple of coats of acrylic varnish in a matte or satin finish. This will help seal and protect your work.
And for your convenience, here is a video tutorial.
I hope you enjoyed this tutorial. Please leave a comment below and don’t hesitate to share this with others. Happy creating!!!
If you like this, you may also like:
- Dot Painted Garden Scene for Beginners
- Learn How to do Intuitive Healing Painting
- Dot Painted Christmas Card