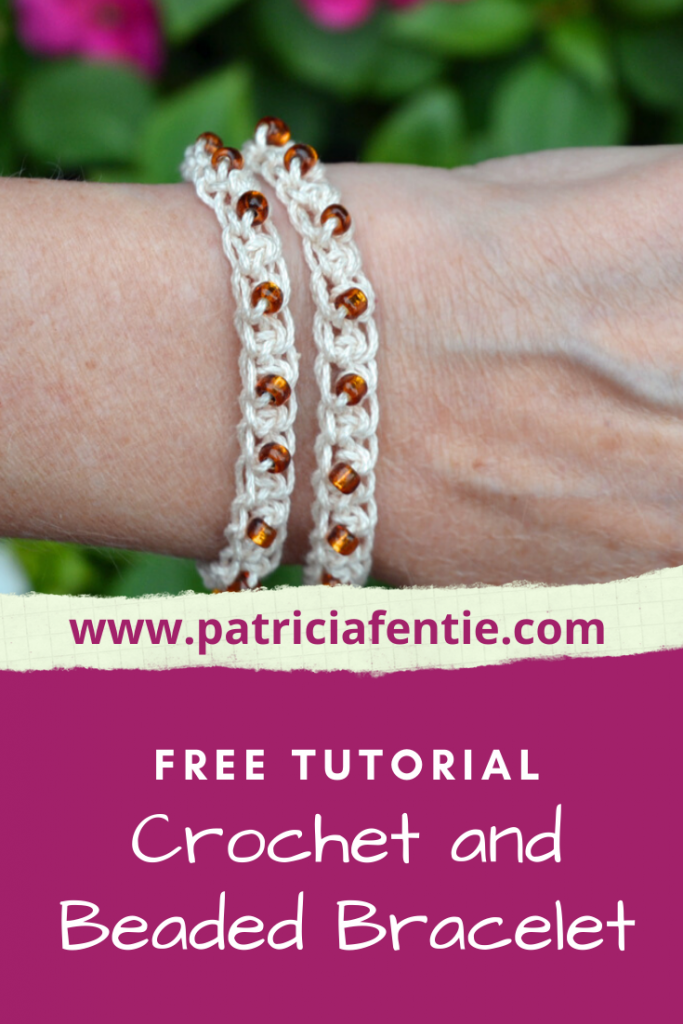
Learn how to make this crocheted and beaded bracelet! It is a very easy project and is suited for beginners. I will show you how to create a bracelet with two wraps around the wrist, but you could make it as long as you like and for as many wraps as you like. I love how the beads crocheted so nicely into the bracelet, making a fun and whimsical piece of jewelry!
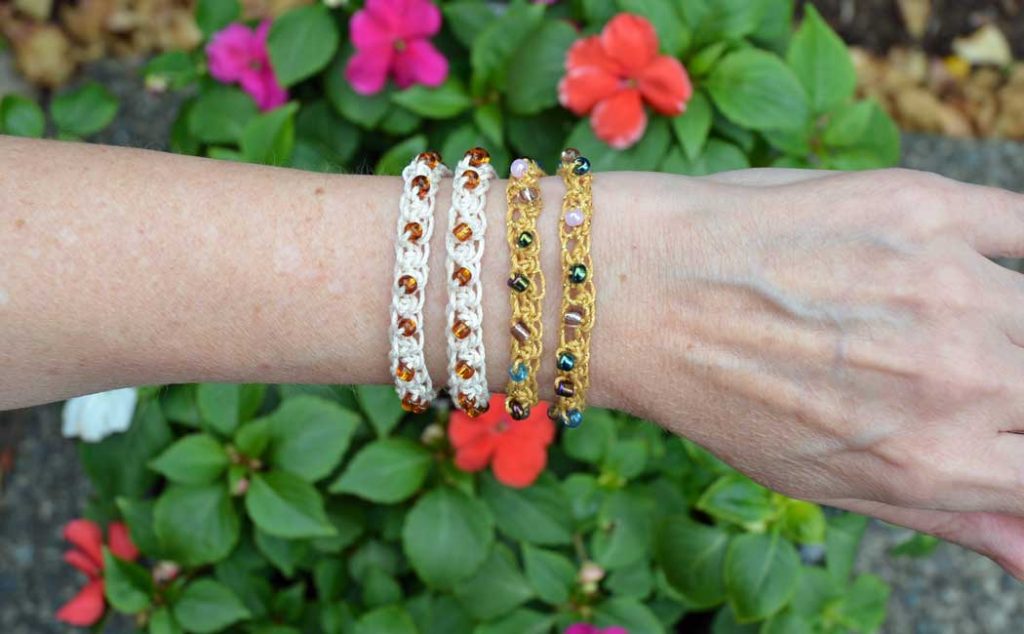
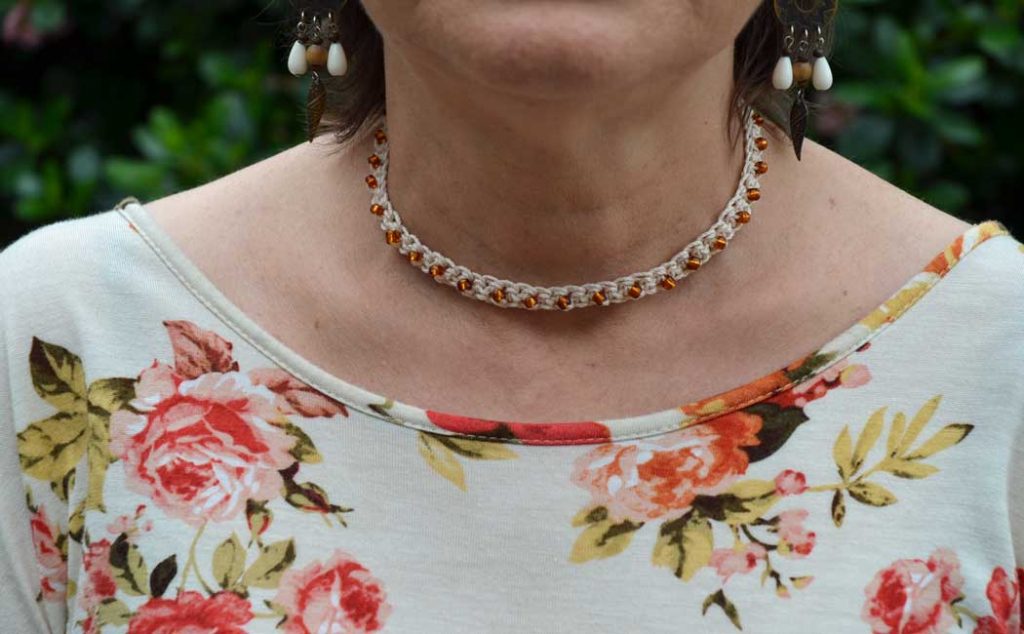
While the instructions for this tutorial are for a bracelet, you can use the crochet and beaded technique to make a choker or an anklet! You can make the bracelet with any combination of cotton thread and colored beads you like.
I have created a video tutorial for the crocheted and beaded bracelet as well and you will find that at the bottom of this post!
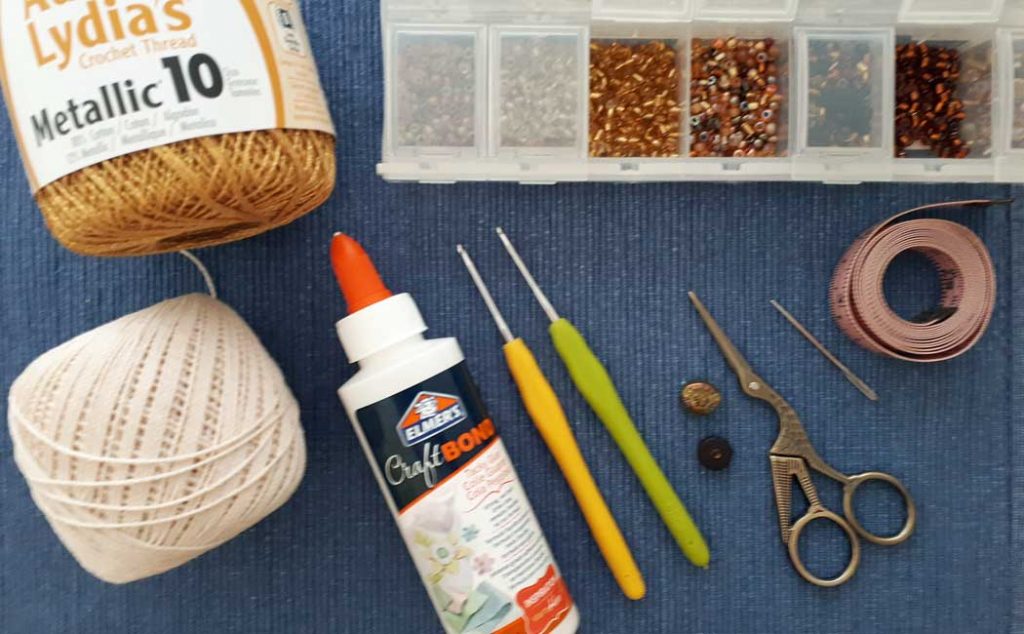
The supplies you will need for this project are:
- Cotton thread in your choice of color or size:
- Number 6 glass beads in colors of your choice:
- Larger glass bead for the clasp
- 2mm or 2.5mm crochet hook
- Darning needle
- Scissors
- Craft or fabric glue
Some (but perhaps not all) of the links in this blog are affiliate links to Amazon.com. As an Amazon Associate, I earn from qualifying purchases. This page contains some affiliate links. Please see my policy page for details. I look for the best possible option for your convenience, however, I encourage you to support your local shops!
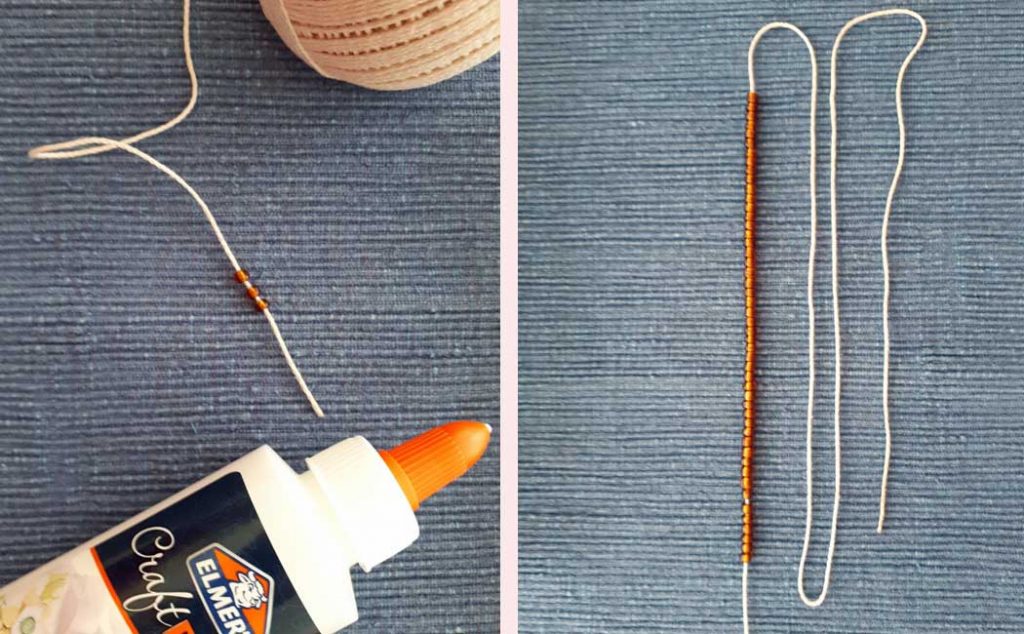
Start by applying glue to the top one or two inches of the crochet cotton and let it dry completely. This will create a nice firm tip to thread the beads on to. When the tip has dried, thread on the beads. You will use approximately three beads for every 1 inch (2.5 cm) of the bracelet.
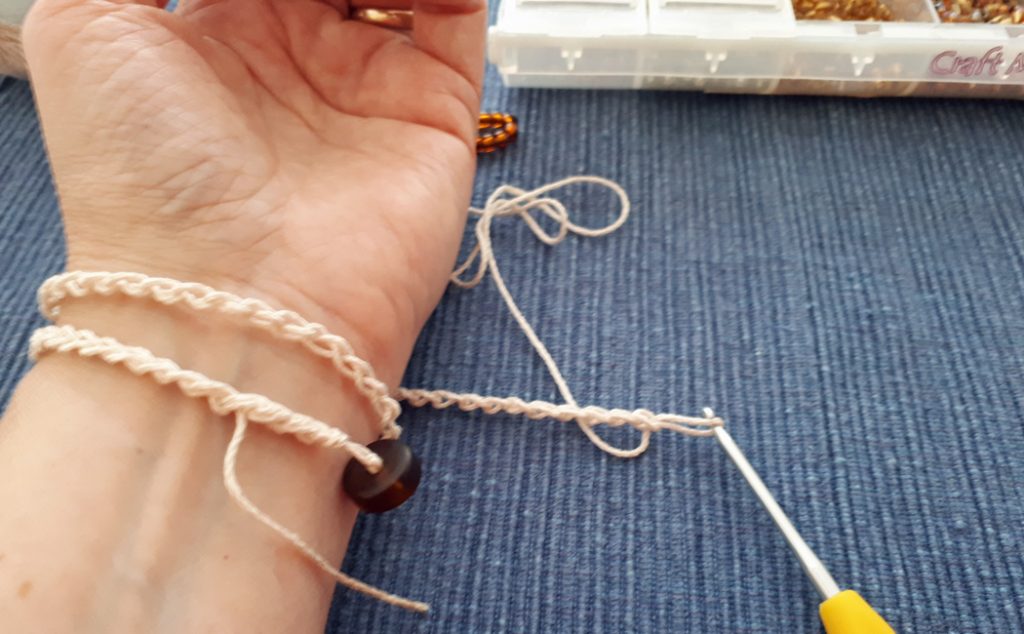
Measure how long your bracelet will be by wrapping the cotton yarn around your wrist for as many wraps you want. The length of my bracelet with 2 wraps was 12 inches (30 cm). I needed 36 beads, so I threaded on about 50…just to make sure. It’s better to have too many beads than not enough!
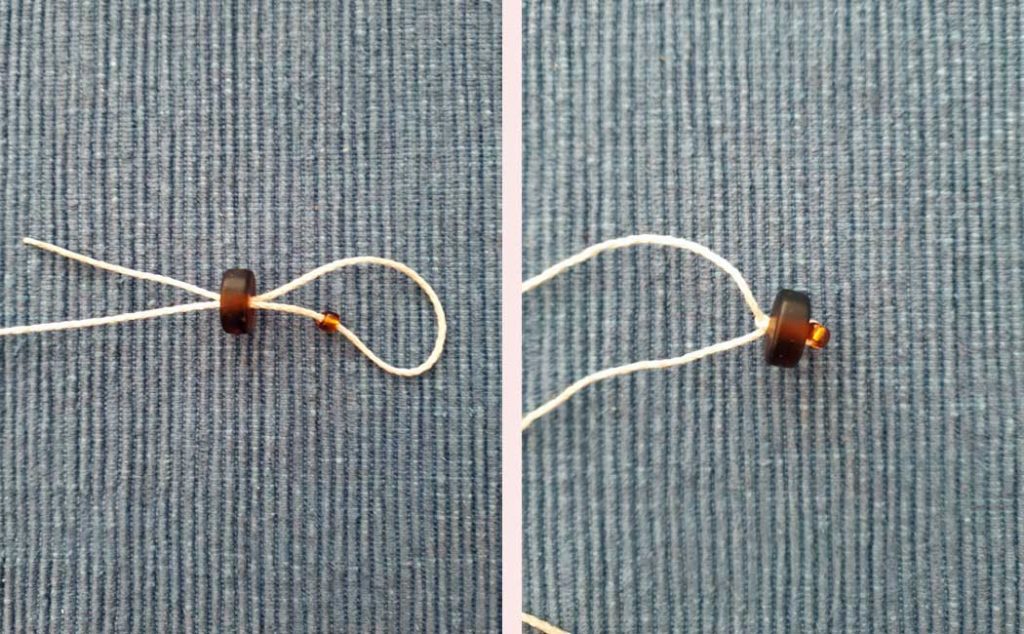
Once you have threaded on all your beads, thread on the clasp bead, then one small bead. Then bring the thread back down through the clasp bead, leaving about a 6 inch (15 cm) tail. Tie a square knot on the bottom side of the bead
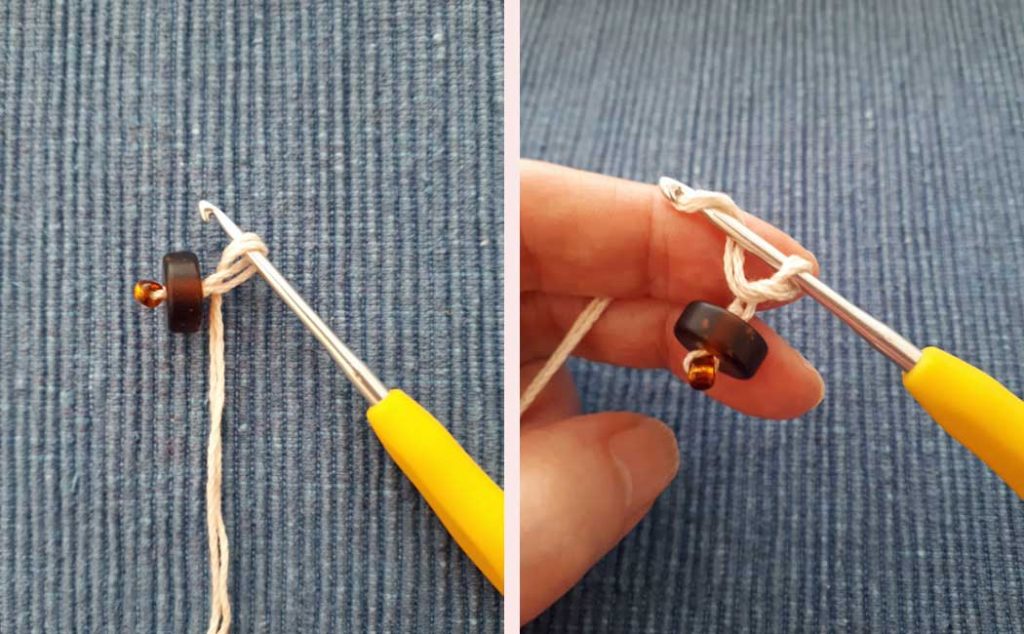
Place both threads over the crochet hook and wrap them back around themselves to create a loop and create a chain stitch. If you are new to crochet then you can check out my Beginner Crochet Series to learn all the stitches you need for this project.
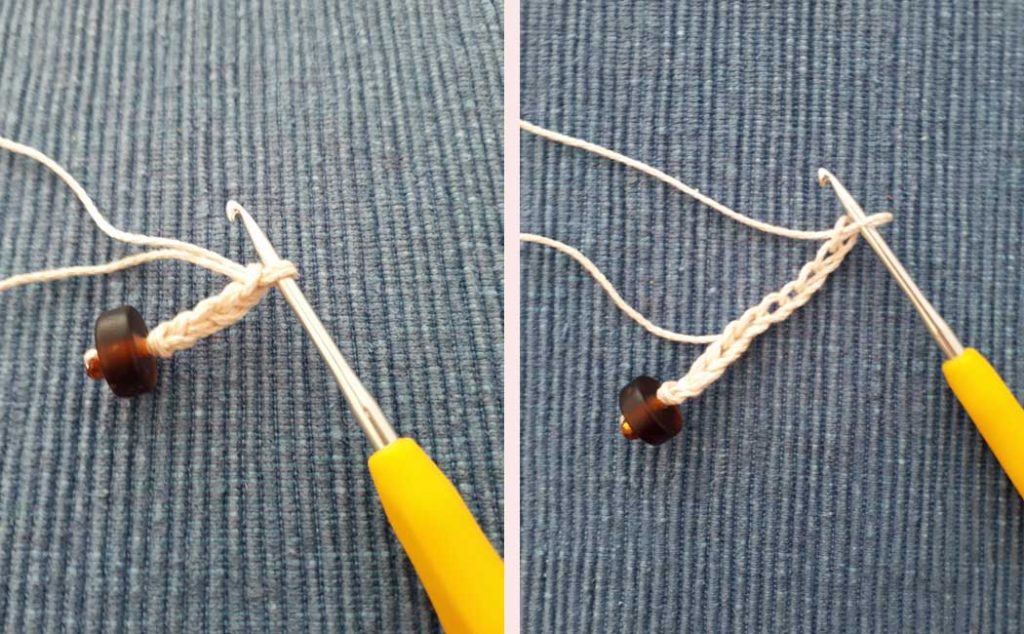
Make 3 more chains with 2 strands of thread for a total of 4 chains. Drop the tail thread and continue to make a row of chain stitches to equal the length required for your bracelet (the length includes the first 4 chains).
You don’t have to count the chain stitches, just check the length of your chain to fit around your wrist comfortably. For reference, I did another 65 chains to make my length 12 inches in total.
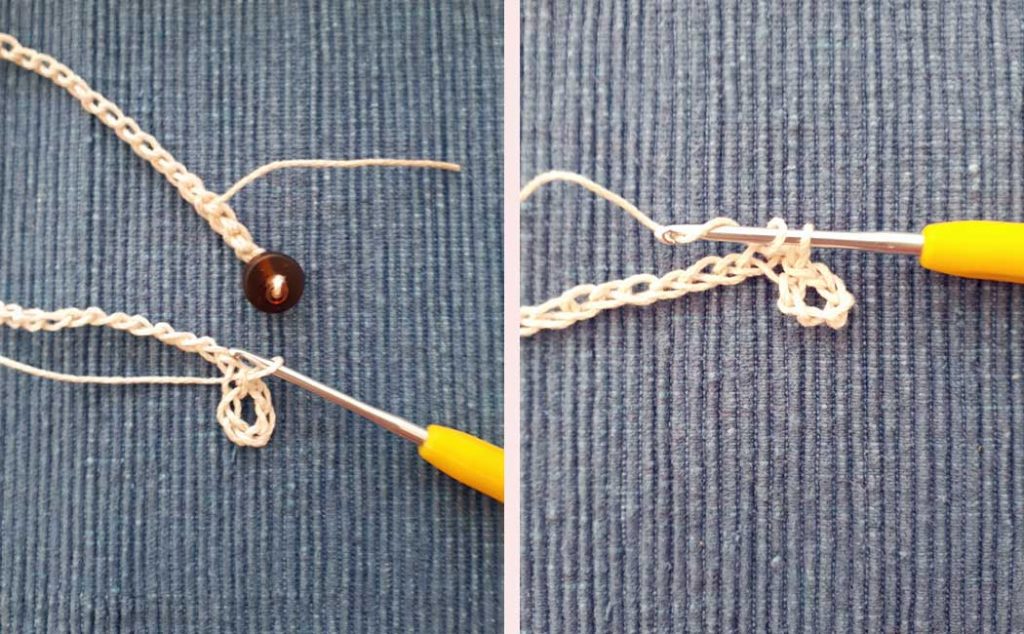
To create a loop for the clasp bead, make an additional 5 to 8 chains. This will vary depending on the size of your bead. I needed 7 chains to fit around my bead. Slip stitch back into the first chain you made for your loop (for me that was the 7th chain from my hook). Chain one and snug that up nice and tight to secure the loop. Try the bead to make sure it fits.
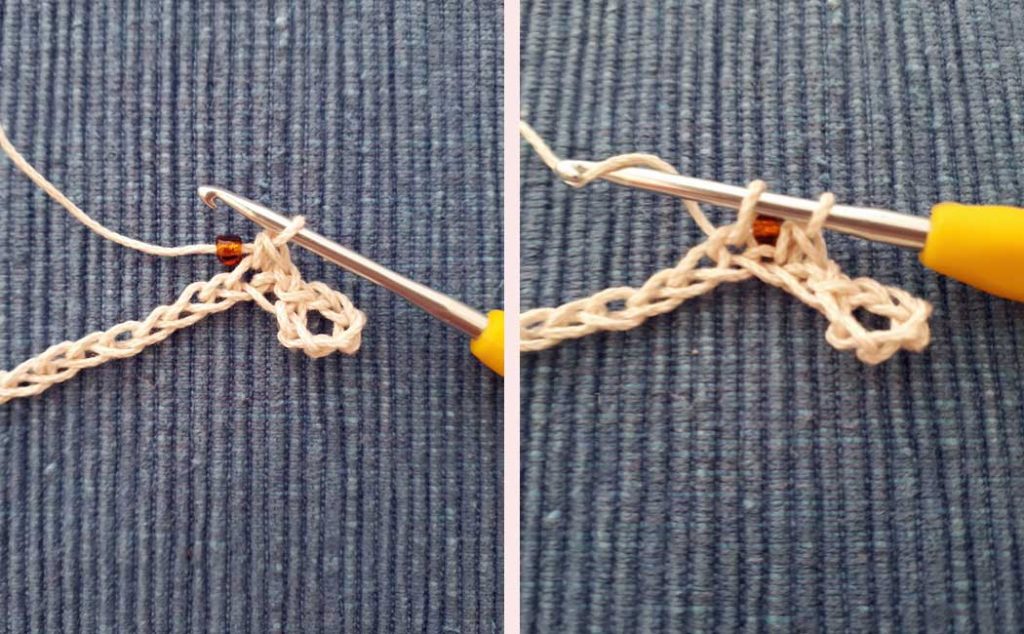
Make one single crochet in the top loop of the next stitch. Bring a bead up the thread and snug it up to that single crochet. Make one single crochet around the bead, working into the top loop of the next stitch. Let the bead drop to the back of your work.
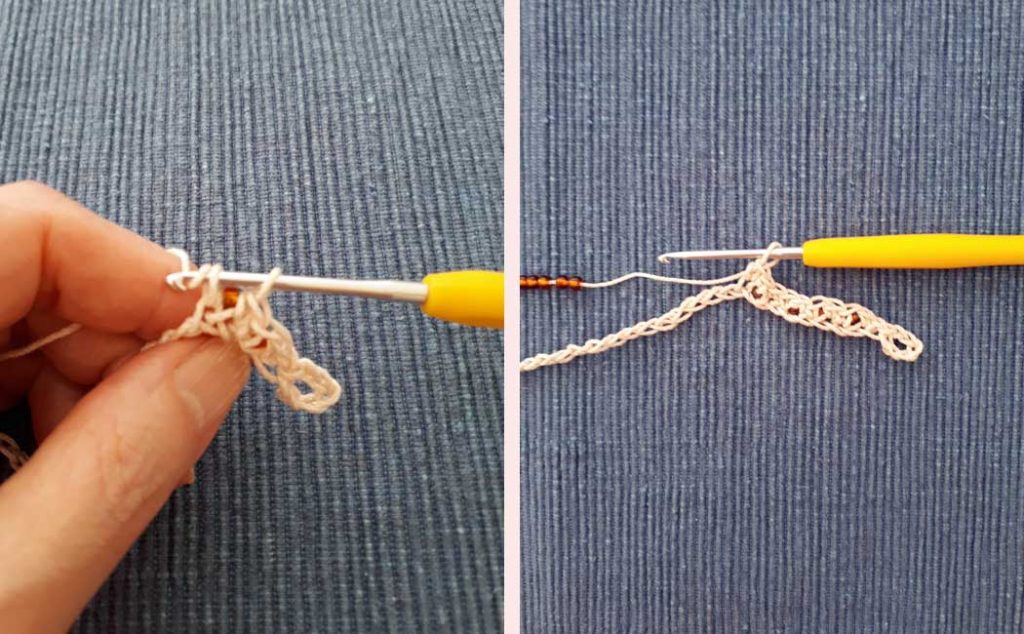
Make one single crochet in the top loop of the next stitch, then bring another bead up the thread and snug it up to that single crochet. Make one single crochet around the bead as before. Continue to alternate one single crochet, with one beaded single crochet until you get to the other side of the bracelet.
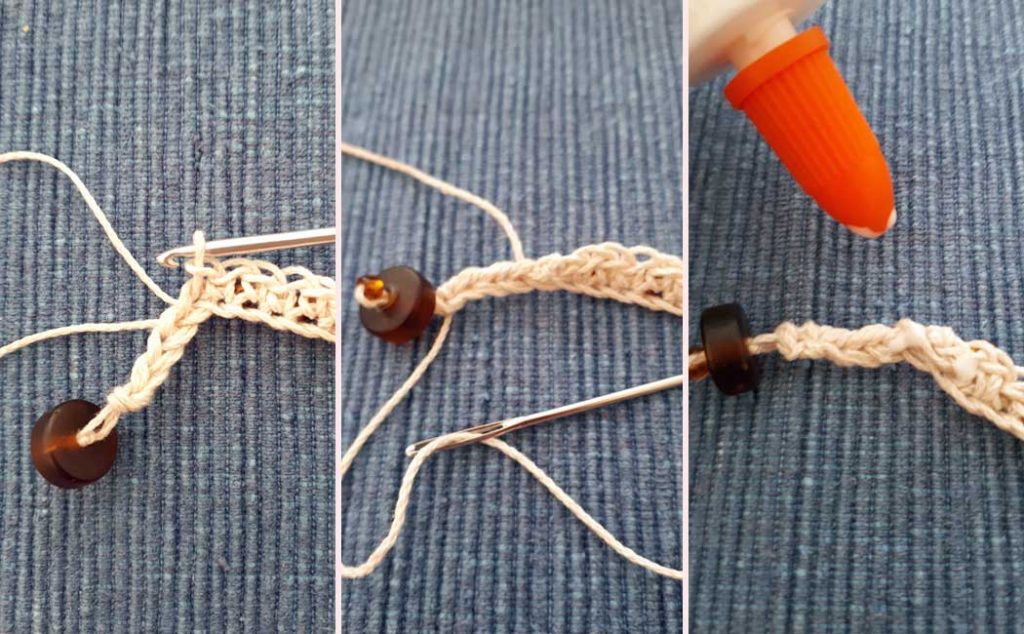
Slip stitch into the first chain with the double strands and chain one to fasten off. Darn in the tail ends and dab a small amount of glue on the cut ends for extra security.
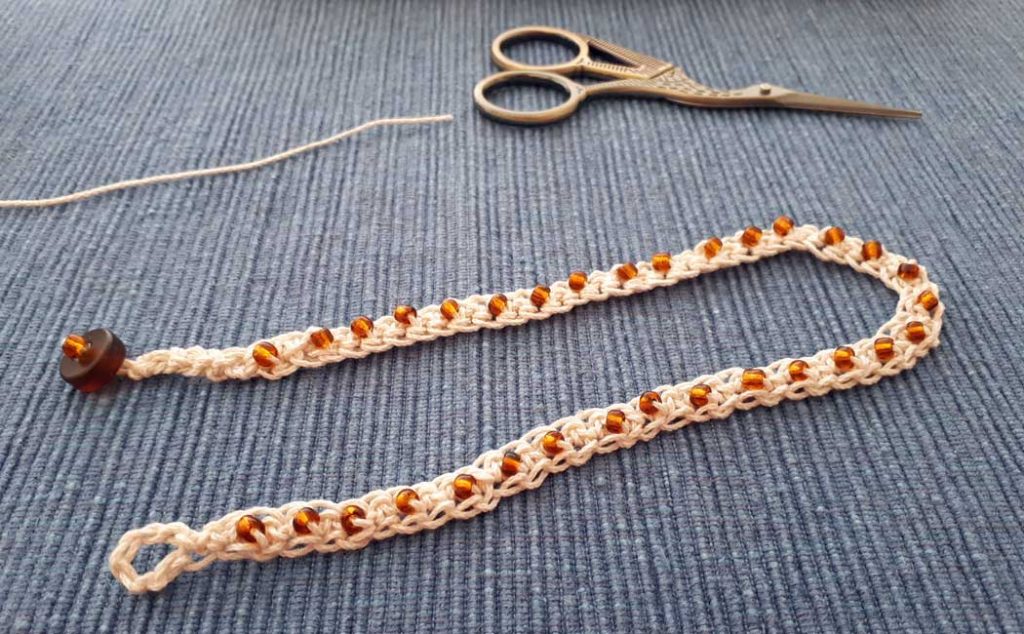
Your bracelet is done! Wasn’t that so easy!

Make sure to check out my video tutorial on YouTube. The step-by-step instructions will help with any questions or uncertainties you may have.

If you liked this tutorial, you may also like: