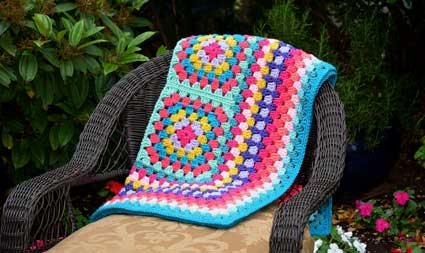
I love creating simple, yet beautiful patterns. This crocheted baby blanket for beginners is very easy indeed, and is so pretty! While I am using four different colors of yarn in this pattern, the blanket could be made by using just one color of yarn…or two…or three…whatever you like!
I wanted this blanket to look a bit like ocean waves, and that is what inspired my color selection, but by using four different colors, I had a lot of tail ends to darn in! I don’t mind darning in the tail ends, but if you do, then you may want to choose a lovely self-striping yarn. These can be a lot of fun because it is always a surprise as to how the colors work out in the pattern.
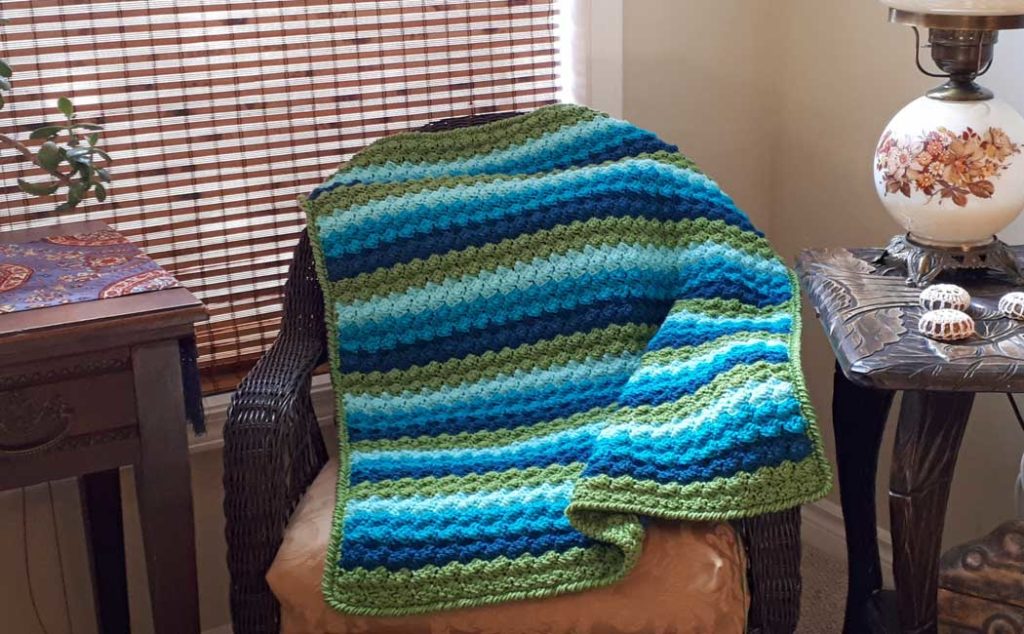
I have created this pattern with the option to do a border or not. The stitch is very lovely and doesn’t actually need a border. This makes the crocheted baby blanket for beginners very simple! Check out the video tutorial to see how the blanket looks with or without a border. Also, you can easily modify the size of this blanket to make it any size you like! Simply make your foundation chain longer and add more rows. If you are new to crochet, then you can check out my Beginner Crochet Series here.
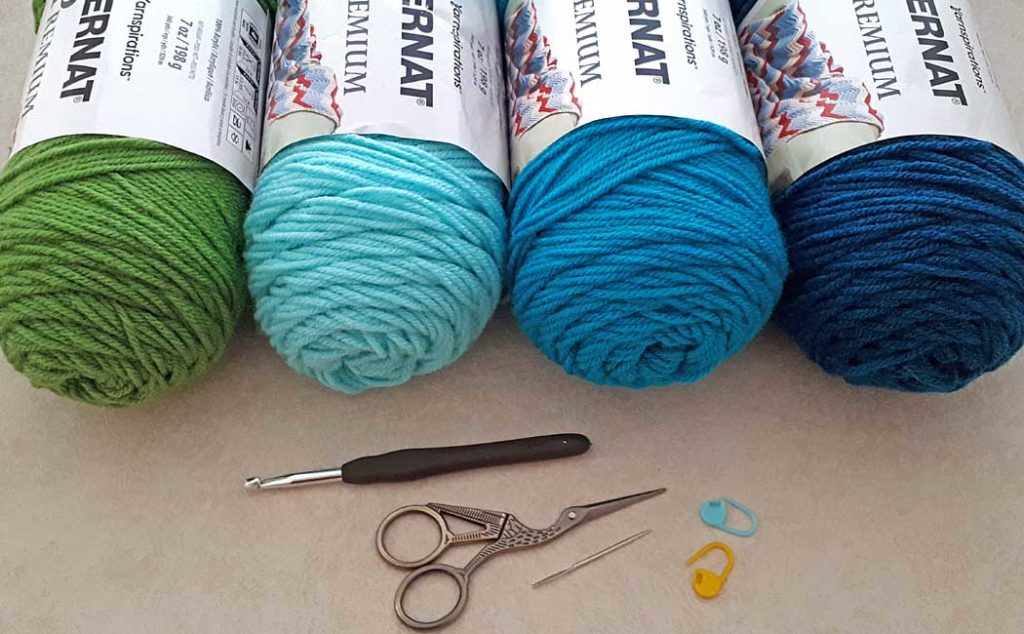
The supplies you will need for this pattern are:
- 1300 yards or 1200 meters number 4 medium weight yarn (approximately). I used the following:
- 5.5 mm or I-9 US crochet hook (optional 6 mm or J-10 for foundation chain)
- Darning needle
- Stitch markers (optional)
- Scissors
- Hand steamer (optional)
Some (but perhaps not all) of the links in this blog are affiliate links to Amazon.com. As an Amazon Associate, I earn from qualifying purchases. This page contains some affiliate links. Please see my policy page for details. I look for the best possible option for your convenience, however, I encourage you to support your local shops!
I haven’t been writing patterns lately, but I’ve decided this one is fairly easy to write out…so here it is! As always, I also have a complete video tutorial on YouTube and you can find the link for that at the bottom of the page.
- Blanket size = 30″ by 36″ (76 cm by 91.5 cm)
- Gauge = 12 stitches = 4″ (10 cm), 9 rows = 4″ (10 cm)
- Pattern repeat = 3 stitches plus 1, plus 1 for the turning chain
Create a foundation chain of 85 chains (29″ or 74 cm). This is a multiple of 3 chains, plus 1 (28 x 3 = 84 + 1 = 85). If you want to make the blanket wider, add more chain stitches in multiples of 3, plus 1. If you do not want to add the border, then create a foundation chain of 88 chains. This should make your chain 30″ or 76 cm wide.
It is important that the foundation chain is crocheted using loose tension. If you are not proficient with managing your tension, or if you tend to have tight tension, you can use a crochet hook that is a half to one size larger for your foundation chain. Once you have your desired number of chains, ch 1 for your turning chain and turn your work. If you’ve used a larger crochet hook for this chain, return to the 5.5 mm or I-9 size hook for the rest of the pattern.
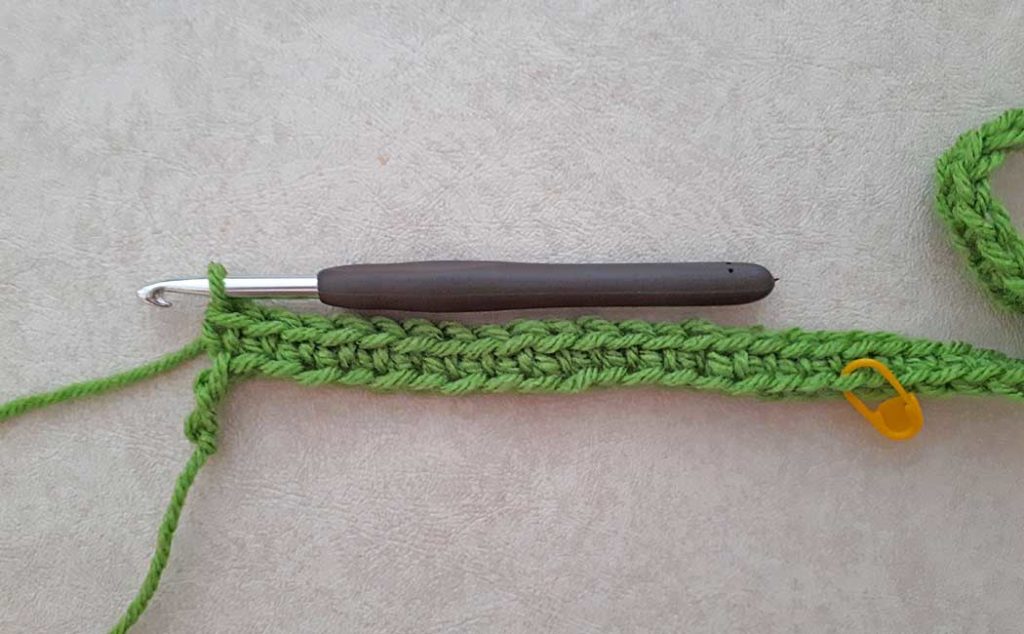
Row 1: 1 sc in 2nd ch from hook and in each ch across (working into the back bump of the chain stitch-see video for demonstration at 4:03). You will have 85 single crochets (or whatever number your foundation chain started with). Ch 1, turn your work.
You can double-check the width of your blanket at this point, sometimes it will change depending on your tension. In this case, unravel and add or subtract stitches to your foundation chain to get your desired width.
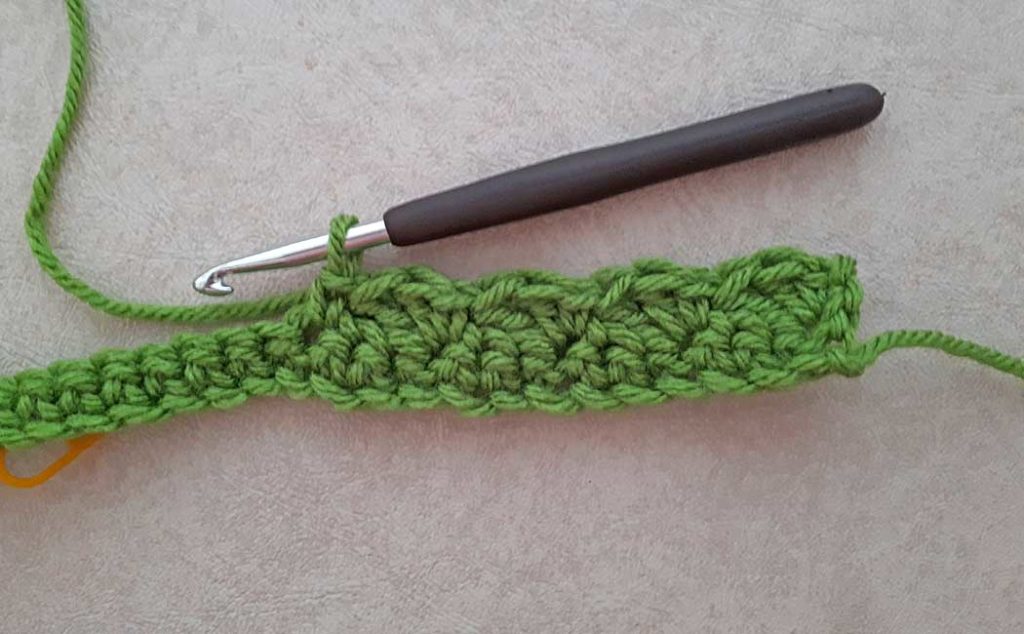
Row 2: [1 sc, 2 dc] in first st, *sk 2 sts [1 sc, 2 dc] in next st (3rd st). Repeat from * to last 3 sts, 1 sc in last st, ch 1, turn. (You will have 28 clusters or whatever number of pattern repeats you started with).
Row 3: [1 sc, 2 dc] in first st, *sk 2 sts [1 sc, 2 dc] in next st (in the sc from the previous row). Repeat from * to last 3 sts, 1 sc in last st, ch 1 turn.
Rows 3 to 76: repeat row 3.
You can change the color of yarn as frequently as you like, I changed the color every third row. To add a new color, begin the last sc of the row. Do not complete this sc…leave 2 loops on your hook. Cut your yarn and bring the new color through the 2 loops on your hook with the crochet hook. Snug both tails up, ch 1, turn your work and carry on with the pattern.
Once you have completed 76 rows, you have the choice to add a border or not. If you choose to do a border, then do a ch 1 to fasten off, darn in all your tail ends and proceed to the directions below for the border.
If you choose not to add a border, then you will add one final row of sc. At the end of row 76, ch 1, turn and do 1 sc in each st across, then fasten off. Darn in all your tail ends…and you are done!
The border for this baby blanket is done using a reverse single crochet stitch. Now, unfortunately, I forgot to take a picture of the next step, but I do show it in the video tutorial below at 18:21.
Starting in the bottom right corner, join on the spring green yarn (or whatever color you used for row 1) by placing the hook through the front of the first stitch in the corner, pull through and do 3 sc’s in the corner space going towards the right edge of the blanket.
Make 1 sc into the ends of the rows of the right side of the blanket, spacing them as evenly as possible. There are no actual stitches to work into here…do the best you can. Pick up 2 strands of yarn for each sc. If you make too many stitches, the side of the blanket will fan-out, if you make too few stitches, it will pull in. This is a bit tricky and you may have to unravel a time or two to get it right (the video tutorial shows this step clearly.)
Continue the row of single crochets up the side of the blanket until you reach the top right corner. If you are happy with the placement of the stitches, work around the corner with 3 sc’s in an obvious space. Again, there will not be an actual stitch to work into here. Place 1 sc in each stitch along the top of the blanket with 3 sc’s in the top left corner. Work down the left side of the blanket placing your sc’s as evenly as possible. Finish with 3 sc’s in the bottom corner and fasten off. See the video tutorial on how to do this at 25:00.
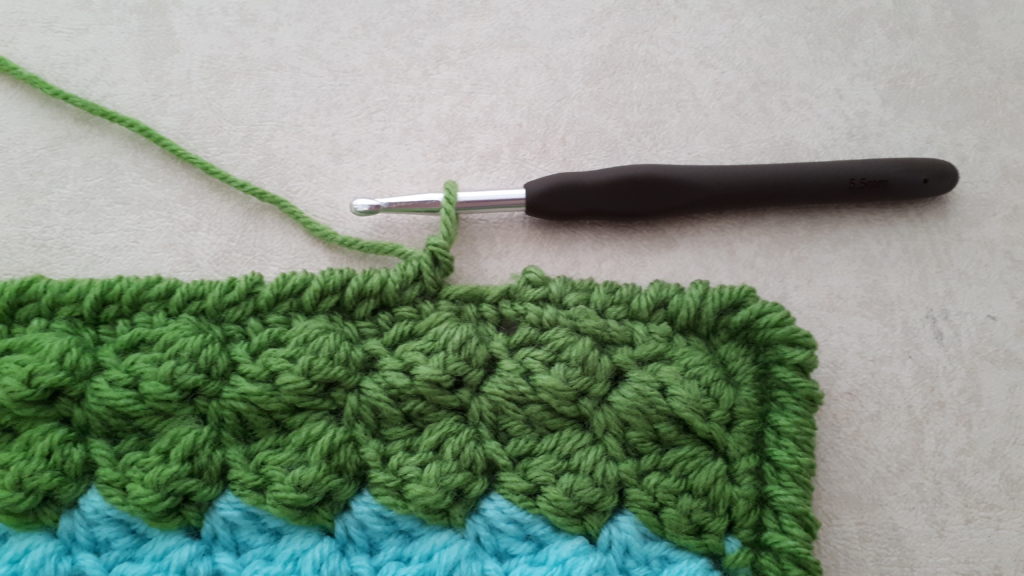
Normally, you would do a round of single crochets on all four sides of a blanket to set up a foundation row for the border. For this pattern, there was already one row of single crochet at the beginning so there would be the option to make the blanket without a border, therefore, we are crocheting around three sides only.
Final round~reverse single crochet: Join with a sl st into any sc and ch 1, then 1 sc in the stitch to the right of the sl st (behind the stitch). *1 sc in the stitch to the right of the sc. Repeat from * all the way around, working from the left to the right. Fasten off with an invisible stitch (see video tutorial for the reverse single crochet at 27:37)
This easy crocheted baby blanket is made using acrylic yarn, so, in theory, it is can be machine washed and dried. I always use a gentle cycle with cold water and then lay the blanket flat to dry, using this as an opportunity to block the blanket. I hope you enjoyed this pattern and tutorial. Please leave a comment below or give it a thumbs up on YouTube!
If you like this pattern, then you may also like:
Sharing is caring! Click on the social share button at the top of this blog and choose an image from below to share on social media. Thank you so much!!