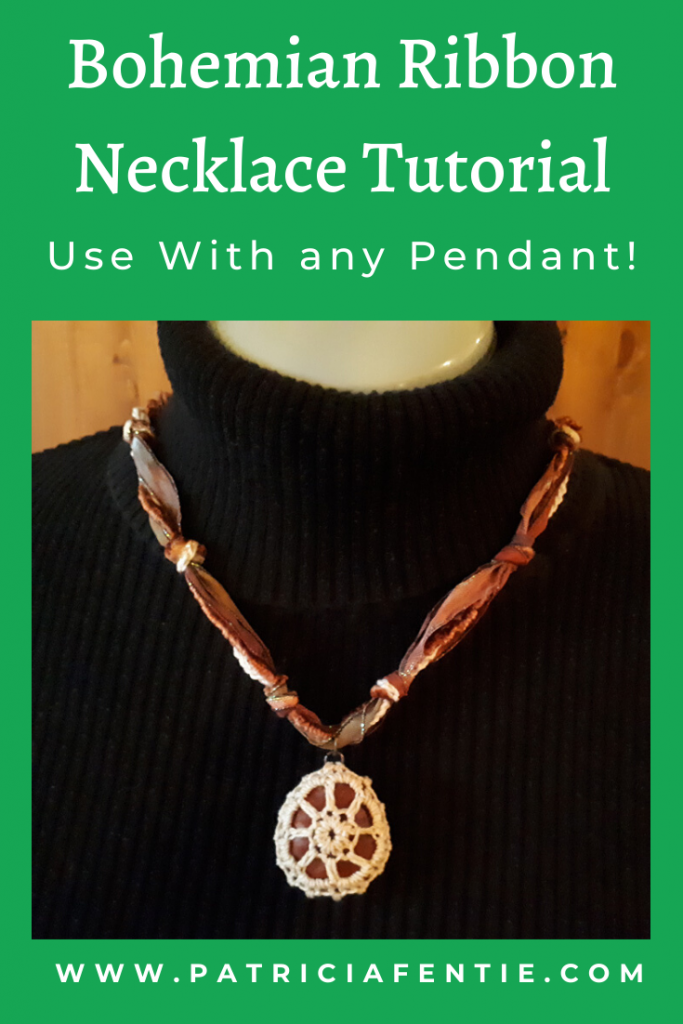
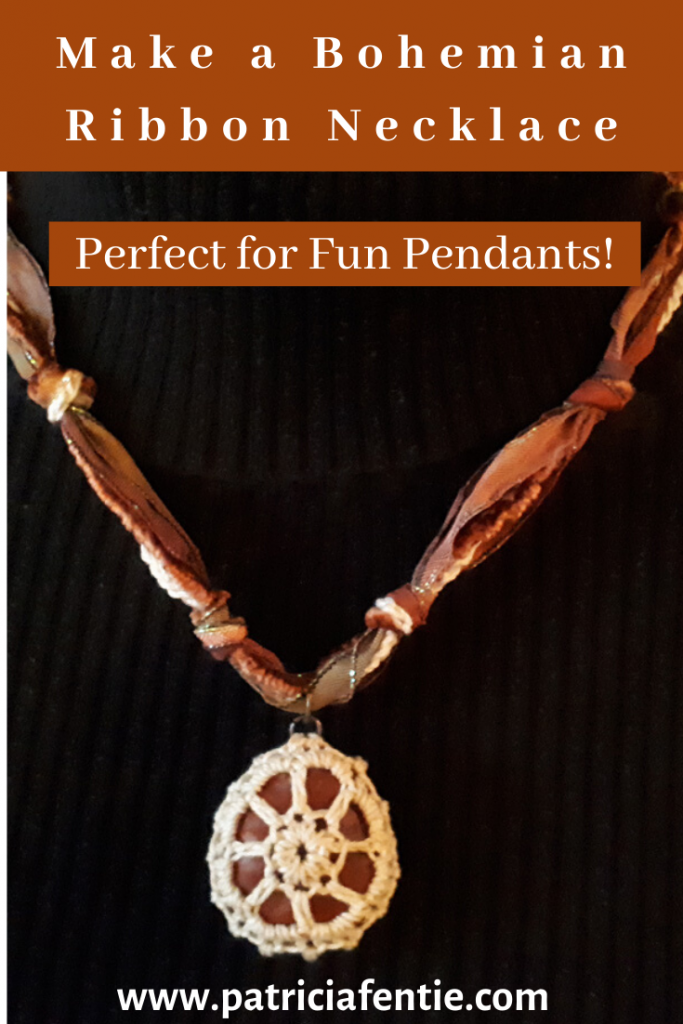
Create a beautiful Boho style necklace made with ribbon, yarn or crocheted strands. There are so many possibilities for this necklace by using any number of strands or types of yarn. It is perfect to use with the wire wrapped pendant tutorials that I have here on my blog, and also for any pendant that you may have. I have created a video tutorial for this project that offers other possibilities, and that can be found at the bottom of this post.
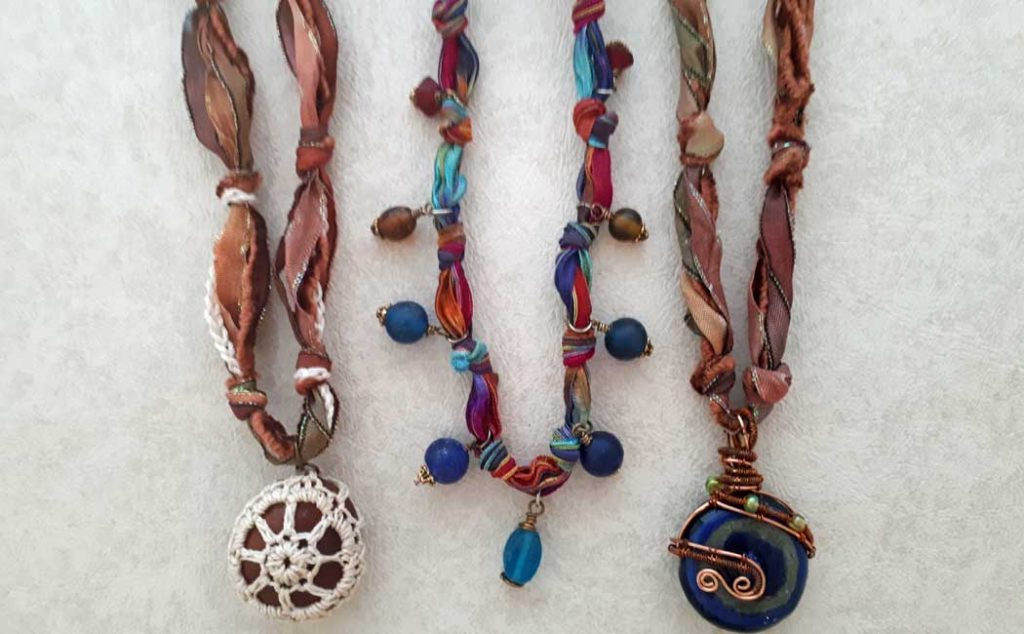
The ribbon and yarn I have is an assortment of thrift store finds and yarns purchased from small yarns shops. The colorful ribbon yarn pictured above is made by FFF and is called Jolliet Multi. I couldn’t find a source online, but there does appear to be some available by second sellers on Etsy and eBay.

Look for fun textured and colorful yarns. If you can’t find ribbon yarn, you can crochet strands using a simple chain stitch. I have a Beginners Crochet Series that teaches how to do this.
Some (but perhaps not all) of the links in this blog are affiliate links to Amazon.com. As an Amazon Associate, I earn from qualifying purchases. This page contains some affiliate links. Please see my policy page for details. I look for the best possible option for your convenience, however, I encourage you to support your local shops!
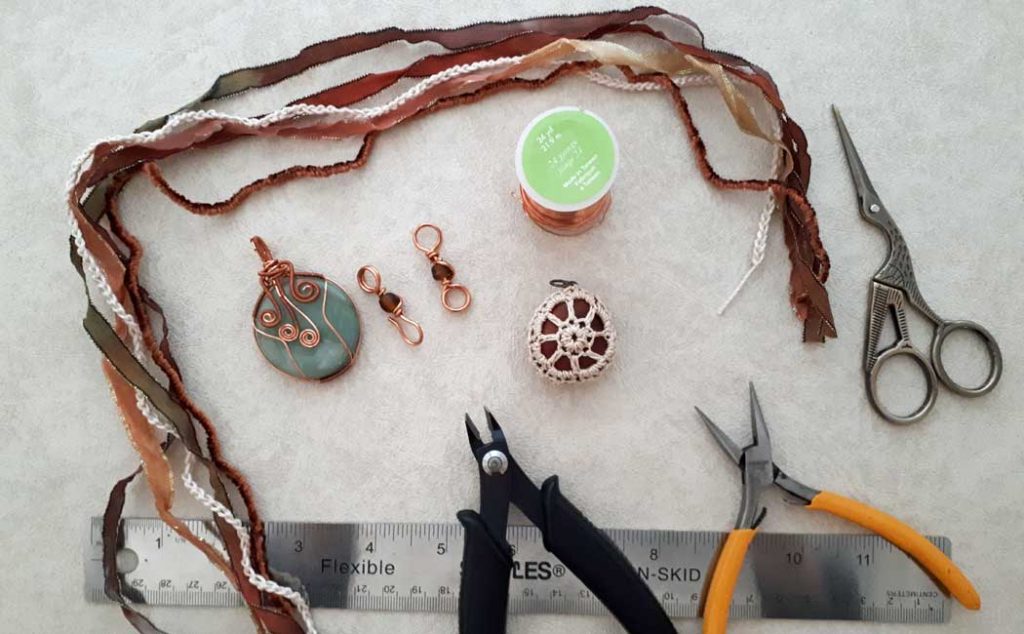
The supplies you will need for this project are:
- Hook and loop clasp (see tutorial here)
- An assortment of ribbon yarn, textured yarn and crocheted strands (optional)
- 24 gauge wire
- Wire cutters
- Chain nose pliers
- Tape measure or ruler
- Scissors
- Pendant (see links below)
I have a few tutorials to go with this ribbon necklace. The first one is for the hook and loop closures. These are so pretty and easy to make! I didn’t create the design for this set (although I modified it somewhat), I got the idea from a book called Handcraft Wire Jewelry. It is a great resource.
The other tutorials I have are for the wire wrapped pendants. I have two different options for this pendant…a cage technique and a technique for a top-drilled pendant. I will be doing a tutorial on how to crochet around rocks, beads and other round objects soon. The pendant in the image above is a walnut done with this technique!
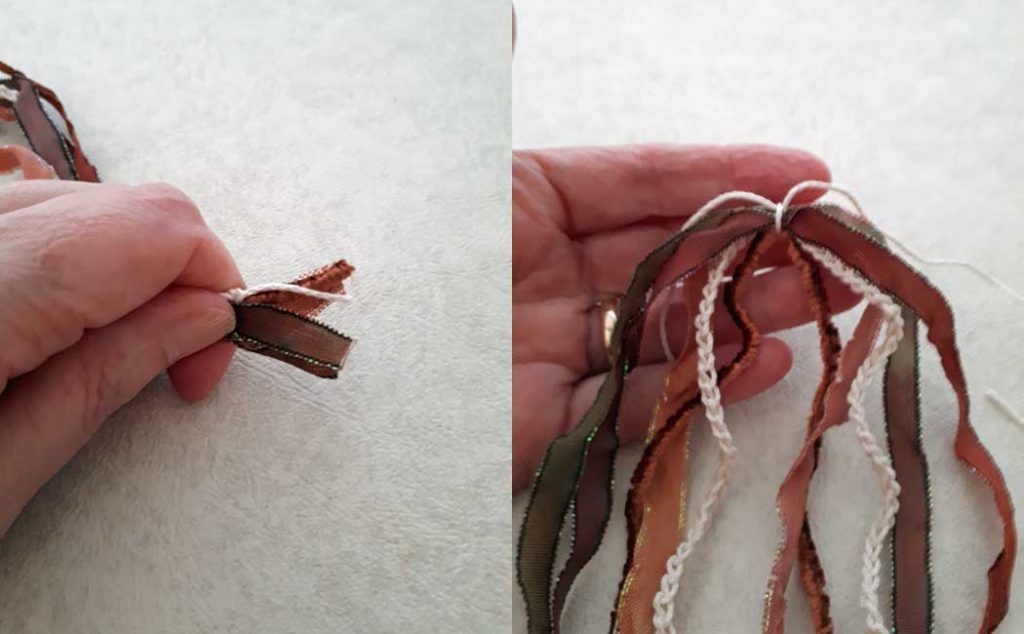
To begin, cut three to seven strands of ribbon and/or yarn 28″ (71cm) in length (I used five strands). If you are crocheting the strands, make the chain 26″ (66cm) in length with a 1″ (2.5cm) tail on each end. Line up all the strands evenly on one end, find the middle and mark it with a piece of yarn.

Tie your first knot 1″ (2.5cm) to the right of center, keeping the outside edge of the knot on the inside of the 1″ measurement. Depending on the size of bail on your pendant, you may want to string your pendant on now. If the bail is too small to fit over the hook and loop or knots, string the pendant on now. If you have a pendant with a jump ring or a large bail, you can attach that later.
Repeat on the left side. Your two knots will sit on the inside of the 2″ (5cm) measurement. (The tape measure marks are not the actual center of the necklace, just notice how the knots are between the 2″ mark…sorry for the confusion.)
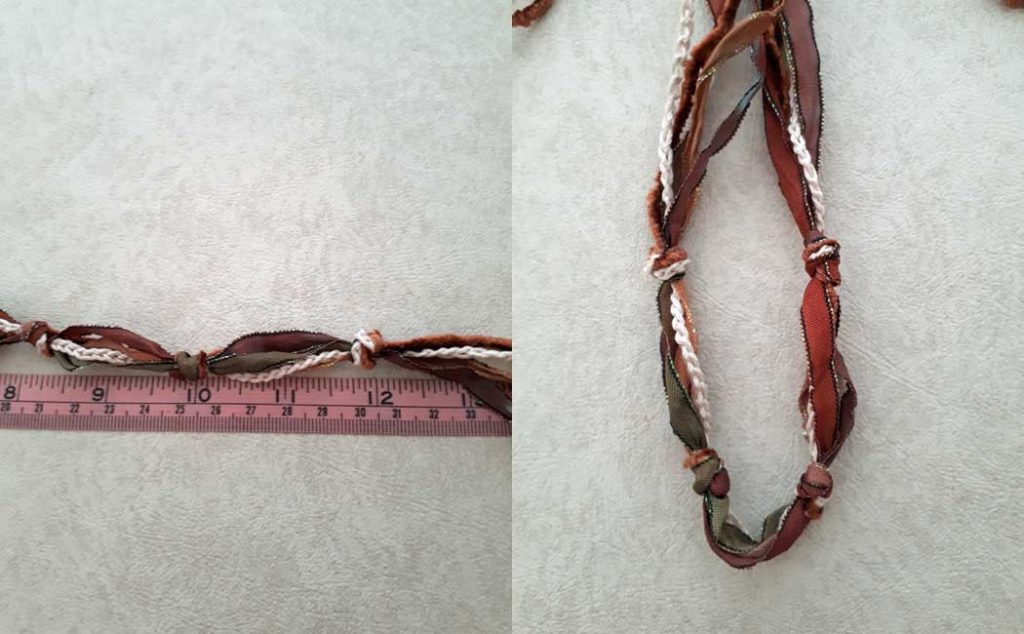
Tie the third knot 2″ (5cm) to the right of the first knot, again…keeping the outside of the knot on the inside of the 2″ measurement. Repeat this on the left side making sure to make each side even.
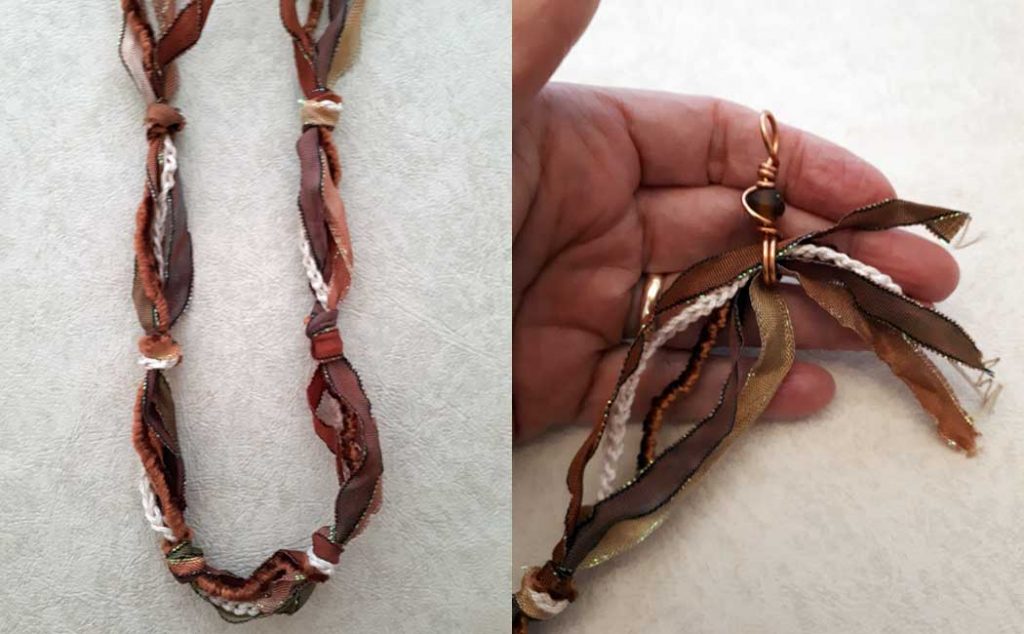
Repeat this again, creating two more knots, 2″ apart for a total of six knots. If you are using a pendant with a large bail that will fit over the knots, you will want to string that on now, otherwise, it will not fit over the hook and loop clasps.
Thread the ends through the loop attachment, leaving about a 1″ (2.5cm) tail. Fold the ribbon over and hold it in place. If you are using the set I created the tutorial for, use the end with the two wraps of wire.
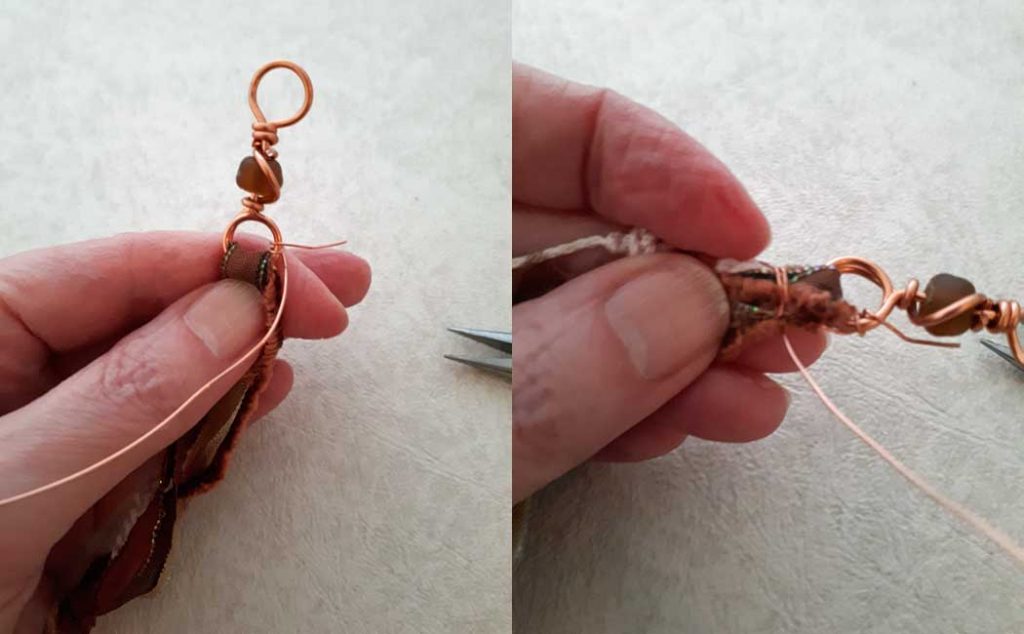
Cut a 7″ (18cm) piece of 24 gauge wire and wrap twice around the loop. Bring the wire down one side of the ribbon, about 1/2″ (1.25cm) and make a flat wrap around the ribbon. Pinch the wrap with your pliers. Make another wrap just below the first wrap and pinch it flat again. (This encases the first wrap).
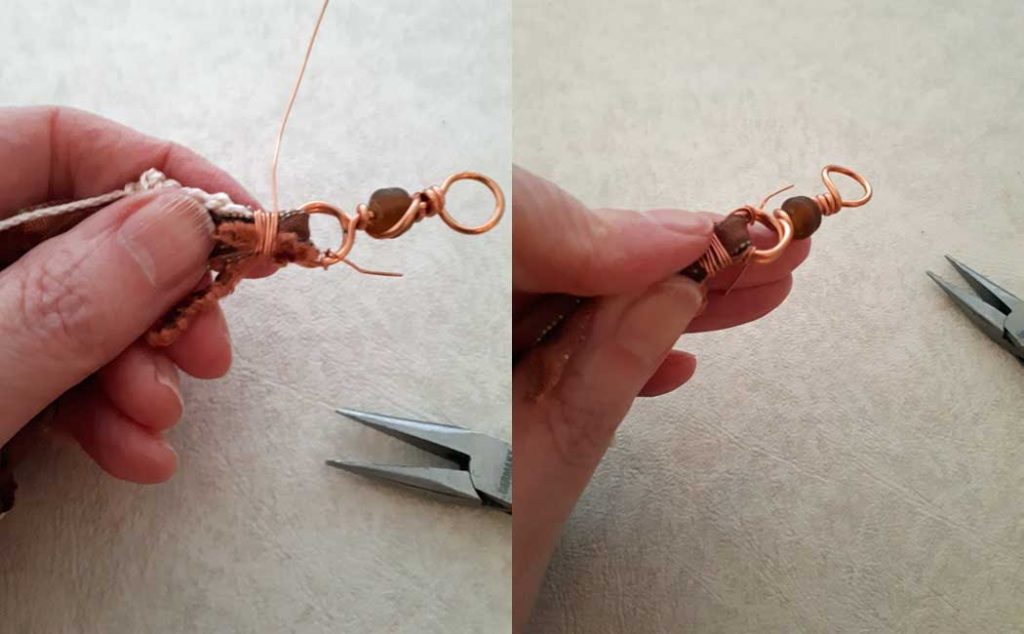
Continue to flat wrap the wire back up towards the loop, crimping each wrap with your pliers. Once the wire is snug up against the loop, bring the tail of the 24 gauge wire back up onto the loop, on the opposite side of your starting wire, and create two wraps around the loop. Cut the wire on the inside of the loop and crimp it snuggly to the inside.
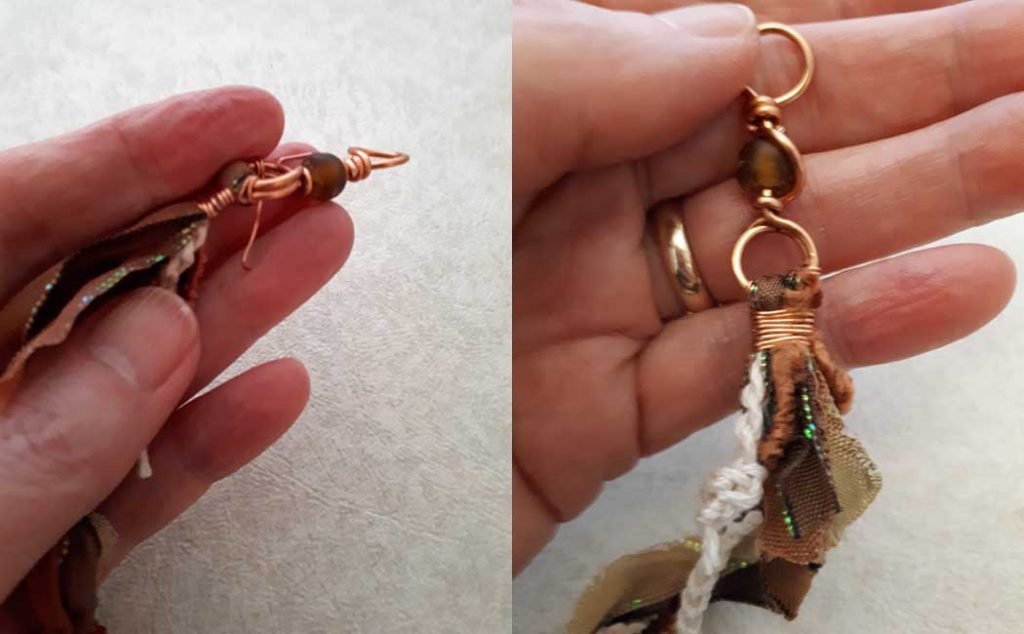
Repeat with your starting wire, cutting the tail to the inside and crimping it nice and snug. Trim the tail ends of your ribbon (making sure not to cut the necklace ribbons…I’ve done that before…boo-hoo!) If your pendant has a jump ring, attach it now and you are done!!
For your convenience, I have also created a video tutorial. Let me know what you think in the comments below, and don’t hesitate to click the share button and pick a nice image to share on FB or Pinterest!