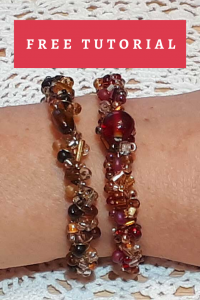
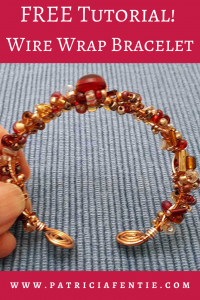
This wire wrapped bracelet is very easy to do and is so beautiful! We start with creating the bracelet frame, and then it is just a process of weaving seed and glass beads around the frame! You can use an assortment of sizes and colors of beads for an eye-catching creation.
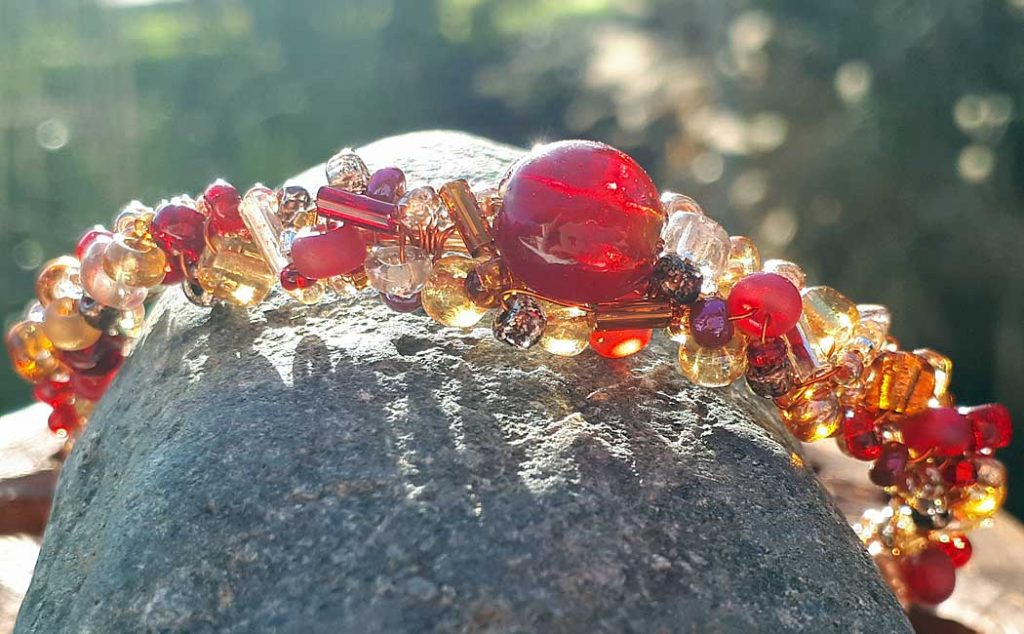
This bracelet is so pretty when the light shines through it. Let’s get started!
Some (but perhaps not all) of the links in this blog are affiliate links to Amazon.com. As an Amazon Associate, I earn from qualifying purchases. This page contains some affiliate links. Please see my policy page for details. I look for the best possible option for your convenience, however, I encourage you to support your local shops!
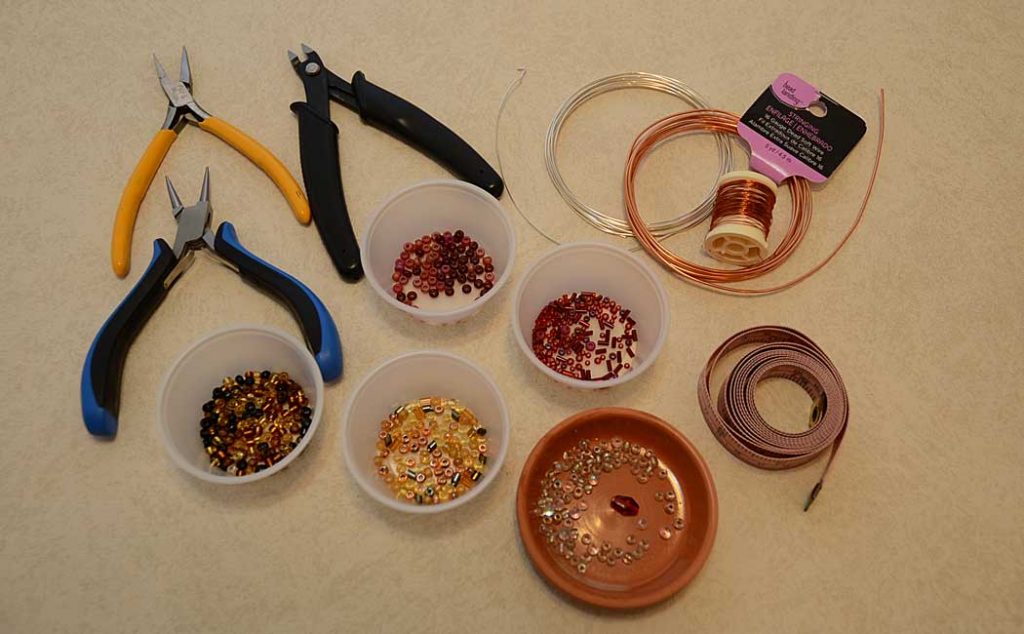
The supplies you will need for this project are:
- Round nose pliers
- Flat nose pliers
- Side cutters
- 16 gauge copper wire
- 20 gauge copper or other wire
- 28 gauge copper or other wire
- An assortment of sizes and colors of seed and glass beads (dollar stores and craft stores have a great selection…these are best to see in real life)
- 1 feature glass bead
- cloth tape measure
- form to shape bracelet such as a vitamin bottle
The written directions are below, but I have created a video tutorial as well and you can find that at the bottom of the post.
The frame of the bracelet will be made with the 16 gauge wire and 20 gauge wire. To figure out what length to cut the wire, start by measuring the circumference of your wrist. For the 16 gauge wire, add 4 inches or 10 cm. For the 20 gauge wire, add 6 inches or 15 cm. My wrist is 6″ or 15 cm, so I cut the 16 gauge at 10″ or 25cm and the 20 gauge to 12″ or 30 cm.
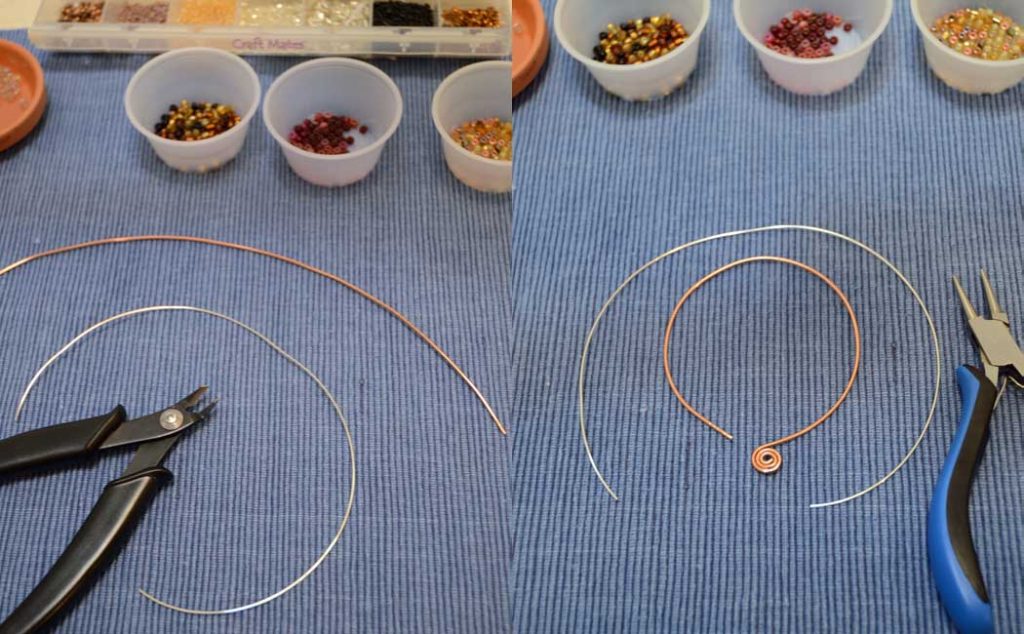
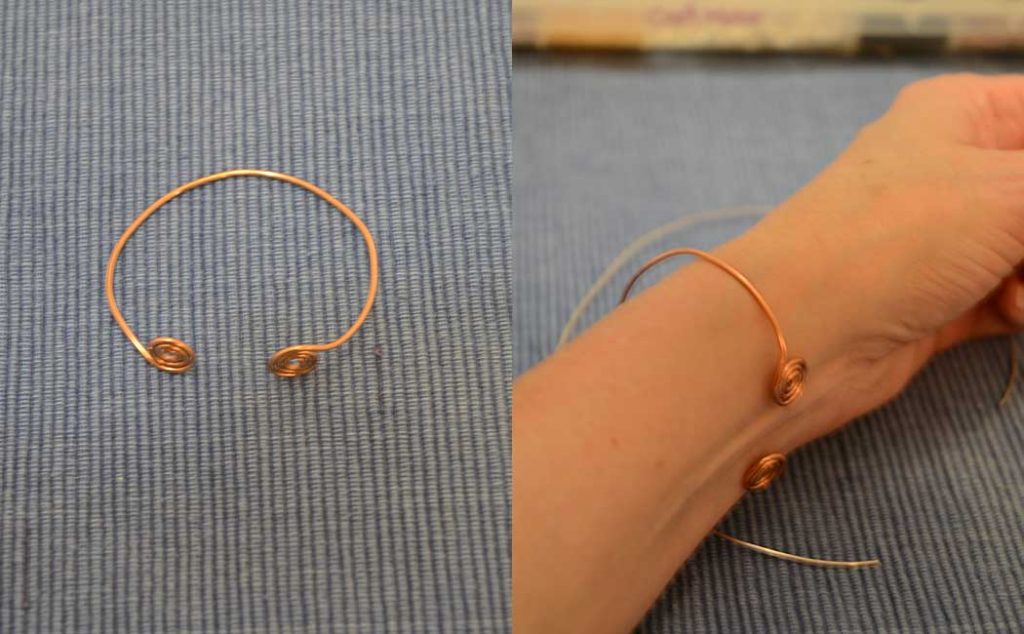
Start with the 16 gauge wire and create a spiral on each end. Then shape this wire around a form or your wrist to fit and turn the spiraled ends inwards to face your wrist. Allow about a 1.5 inch or 4 cm gap between the spirals to slip the bracelet on your wrist.
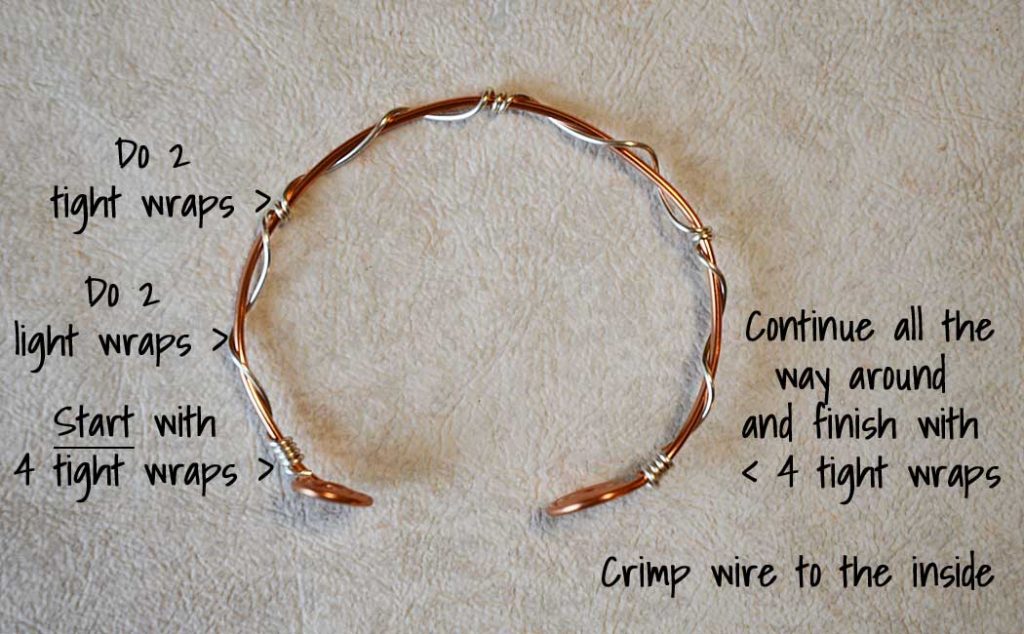
Then take the 20 gauge wire and start with 4 tight wraps near one of the spirals. Do 2 loose wraps around the bracelet and then do another 2 tight wraps. Continue all the way around and finish with 4 tight wraps. Cut the wire to the inside of the bracelet and crimp the ends in.
Measure the length of your bracelet from one side to the other, from spiral to spiral. Mine was 5″ or 13 cm. Multiply that amount by 10 to calculate how much 28 gauge wire you will need. Add another 10″ or 25cm for good measure. For my bracelet, it was 5″ x 10 = 50″ + 10″ = 60″ or 155 cm.
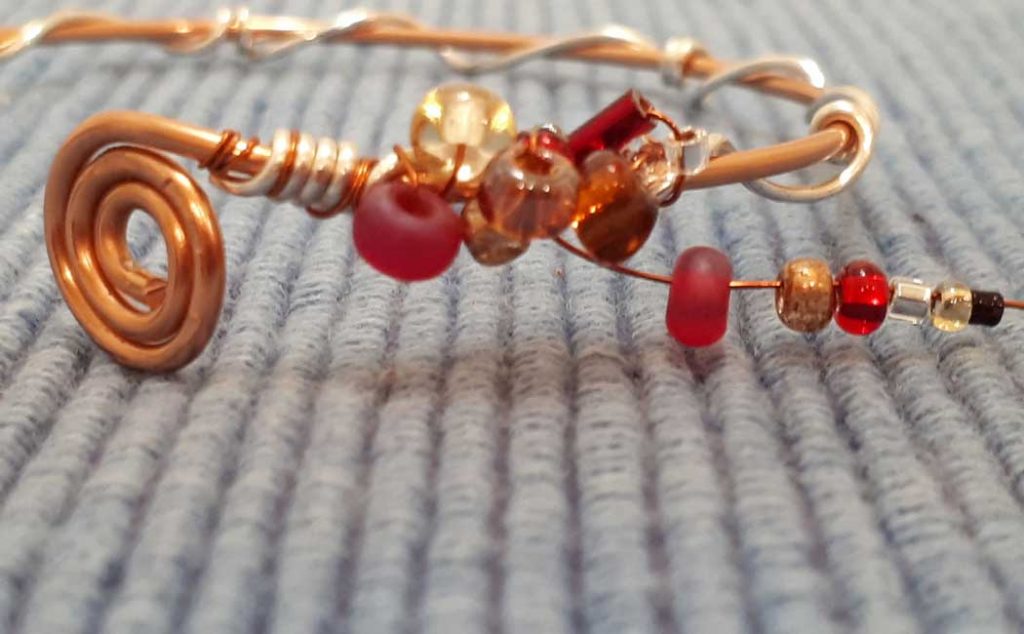
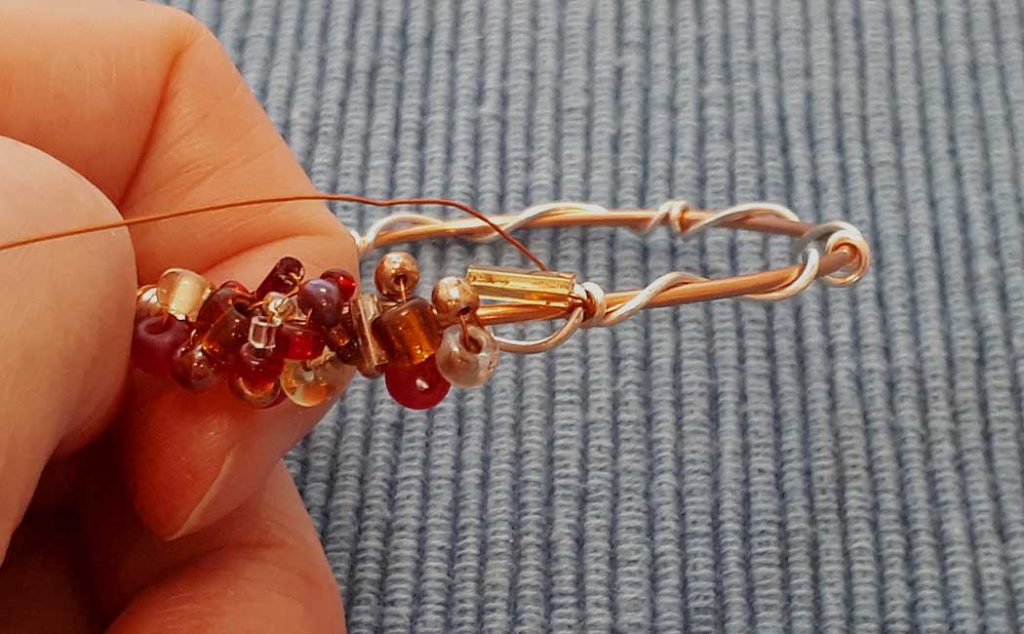
Start the 28 gauge wire by doing a few wraps at the base of the 20 gauge wire. Wrap fine wire over the 4 wraps a couple of times. String 4 to 6 beads onto the fine wire and wrap around the bracelet frame, keeping the beads on the top (as best as you can…see below). Do a few wraps of wire to secure the beads in place. If desired, feed the wire back through some beads for additional security.
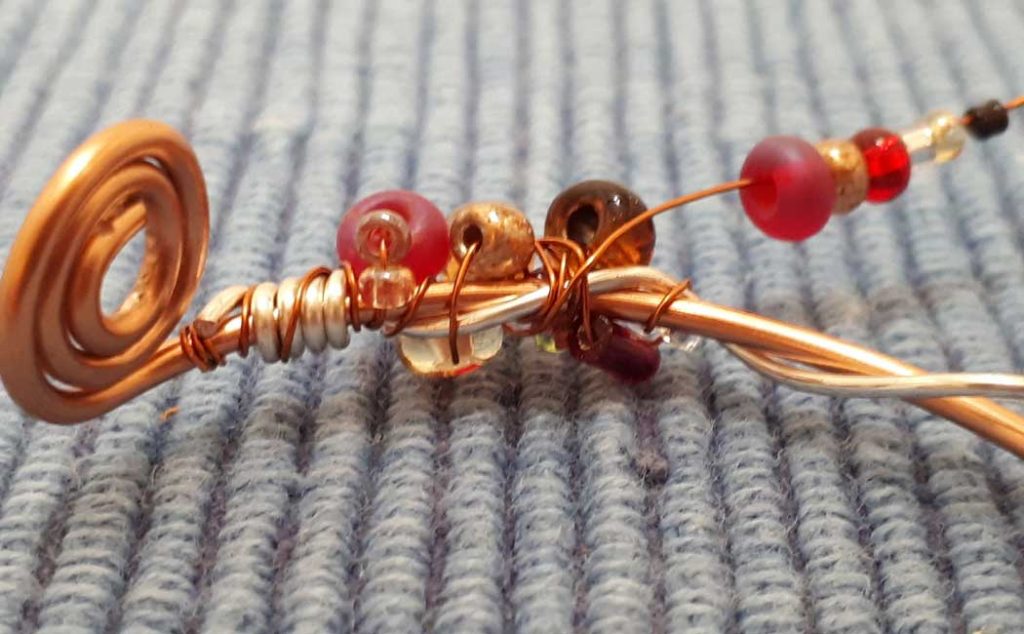
Continue to add a few beads at a time, building them on the top side of the bracelet.
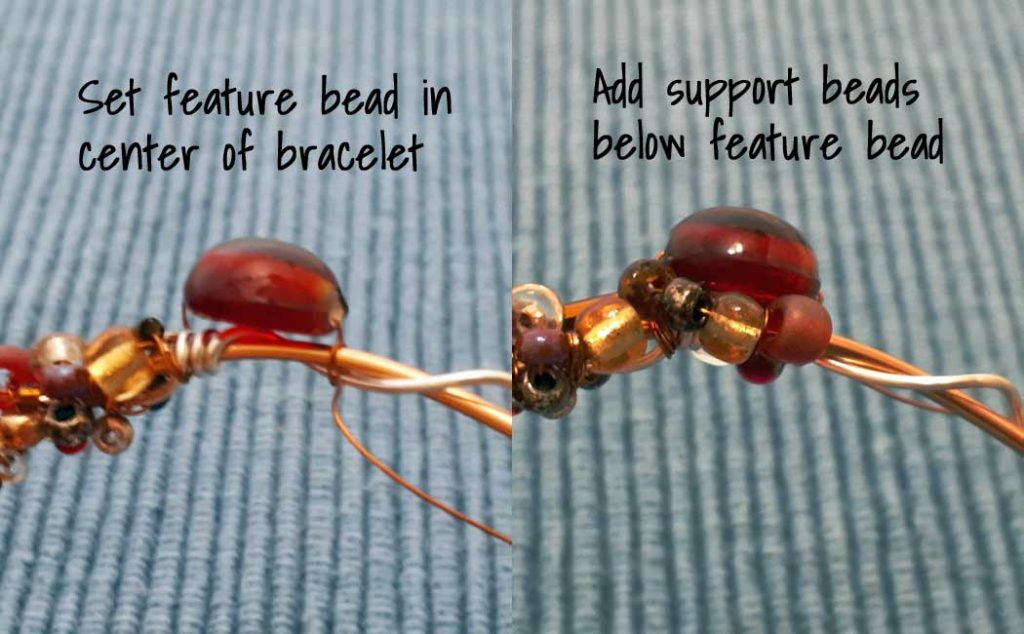
Once you get to the middle of the bracelet you can set a feature bead if desired. Make sure to feed the wire back through this bead at least once to secure it. When it is nice and secure, add support beads around the base of the feature bead. Continue to wrap beads around the bracelet until you reach the other side.
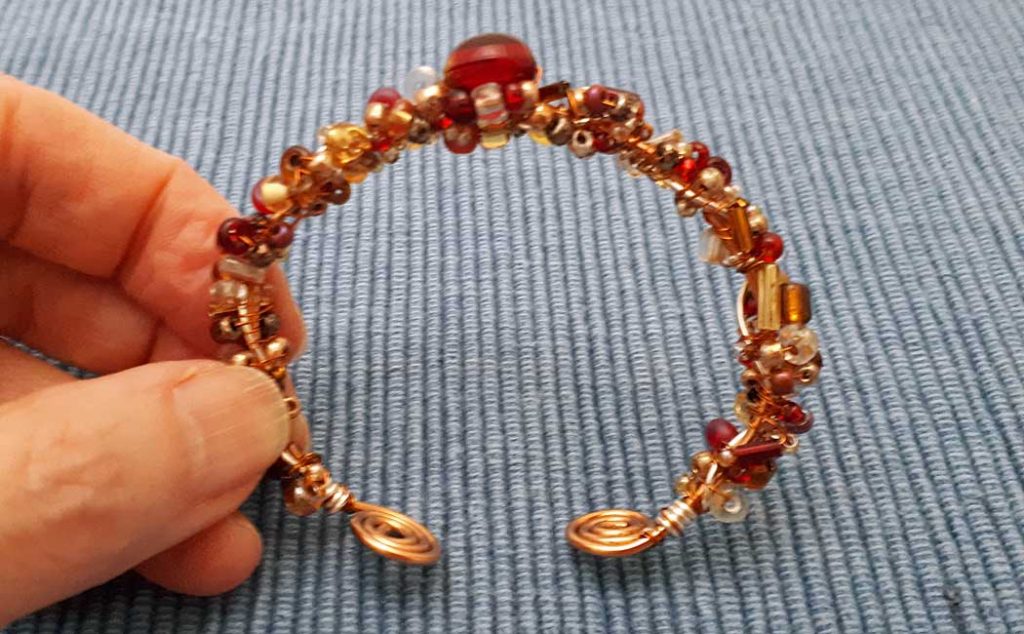
Fasten off the 28 gauge wire by wrapping it a couple of times around the 4 wraps of the 20 gauge wire, and then do a few wraps between that and the spiral. Cut the ends to the inside and crimp close. Shape the bracelet to your wrist and you are done! Isn’t it pretty!!!
Check out the video tutorial for more detailed instructions!
If you like this tutorial, you may also like:
Sharing is caring…Click on the Share Button and pick one of these Pins!