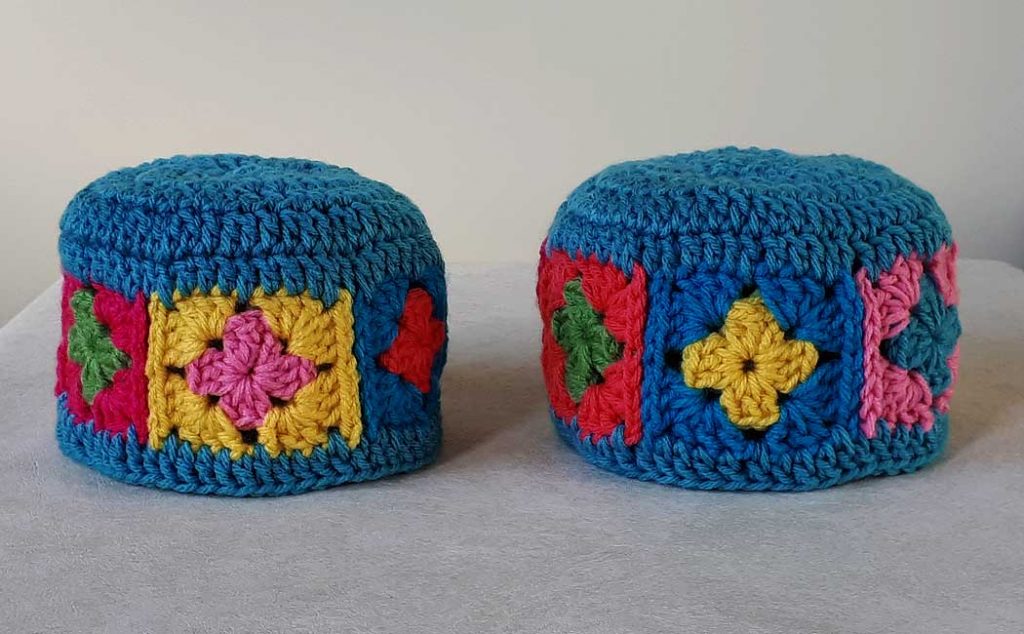
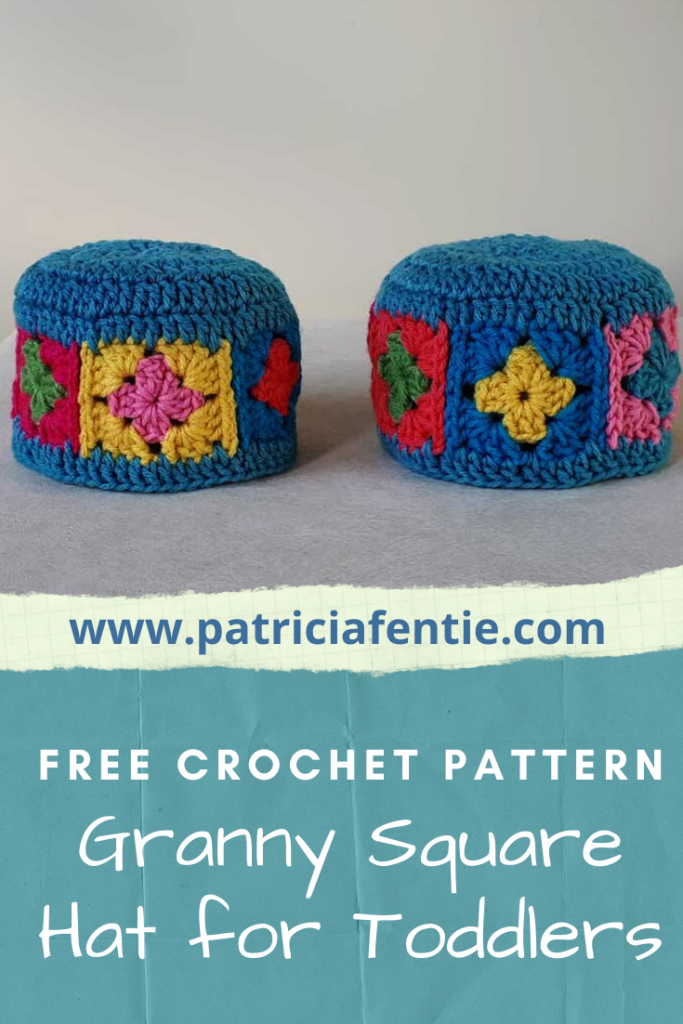
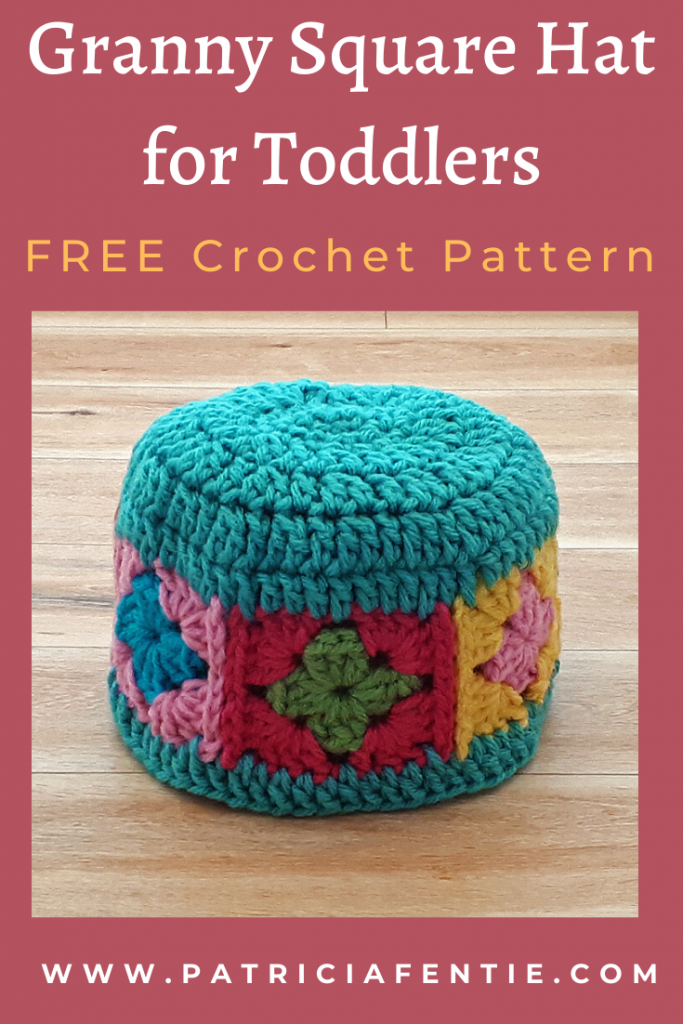
Now, this has to be one of the cutest patterns I’ve ever made! I created the Granny Square Hat for Toddlers to go along with the Granny Square Poncho pattern I shared here a couple of weeks ago. I am thrilled with how it turned out! What is so fabulous about this pattern is how easy it is to crochet and you could make a hat in just two or three hours (depending on how speedy you are).
I have created a video tutorial for this project and you can find that at the bottom of the post. Everything you need for this project is listed in Part One of the Poncho Tutorial, but for your convenience, here is what I used. The Bernat Premium line is currently not available online, but I did find some at Walmart.
- Assorted colors of a number 4 medium weight yarn. These are the colors I used and you can substitute similar or different colors!
- Bernat Super Value Peony Pink
- Bernat Super Value Aqua
- Bernat Premium Coral Peach
- Bernat Premium Hot Pink
- Bernat Premium Teal
- Bernat Premium Spring Green
- Bernat Premium Gold
- Cascade Yarns Anthem 09
- Crochet hooks in sizes E-4 (3.5mm), G-6 (4mm) or 7 (4.5mm) depending on garment size.
- Scissors
- Darning Needle
Some (but perhaps not all) of the links in this blog are affiliate links to Amazon.com. As an Amazon Associate, I earn from qualifying purchases. This page contains some affiliate links. Please see my policy page for details. I look for the best possible option for your convenience, however, I encourage you to support your local shops!
You will need just six granny squares as shown below, which are the same size and colors as the granny squares from the poncho pattern. So rather than repeating all those directions, just pop over to Part One of the poncho pattern to get all the information and directions you need.
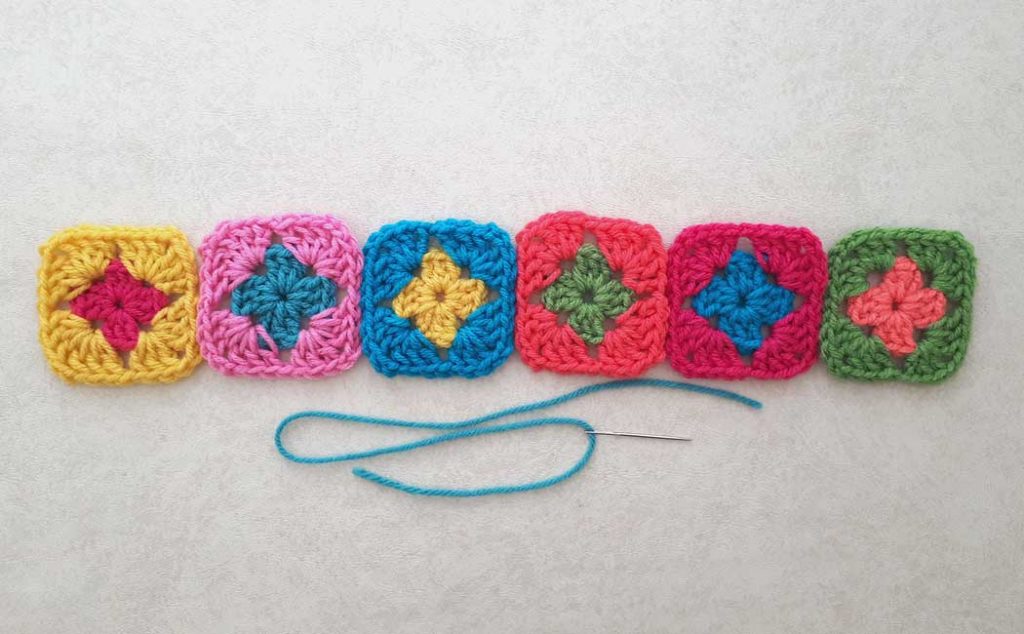
The size of squares required for this project are the same as for the poncho. The infant size is for 6 to 12 months, the medium fits 12 to 18 months, and the large fits 18 to 24 months.
- Infant = 2.5″ (6.25 to 6.5cm) with an E-4 (3.5mm) crochet hook
- Medium Toddler = 2.75″ (7cm) with a G-6 (4mm) crochet hook
- Large Toddler = 3″ (7.5cm) with a 7 (4.5mm) crochet hook
The length of the band for each size should be:
- Infant = 15″ (38 cm)
- Medium Toddler = 16″ (40.5 cm)
- Large Toddler = 17″ (43.25 cm)
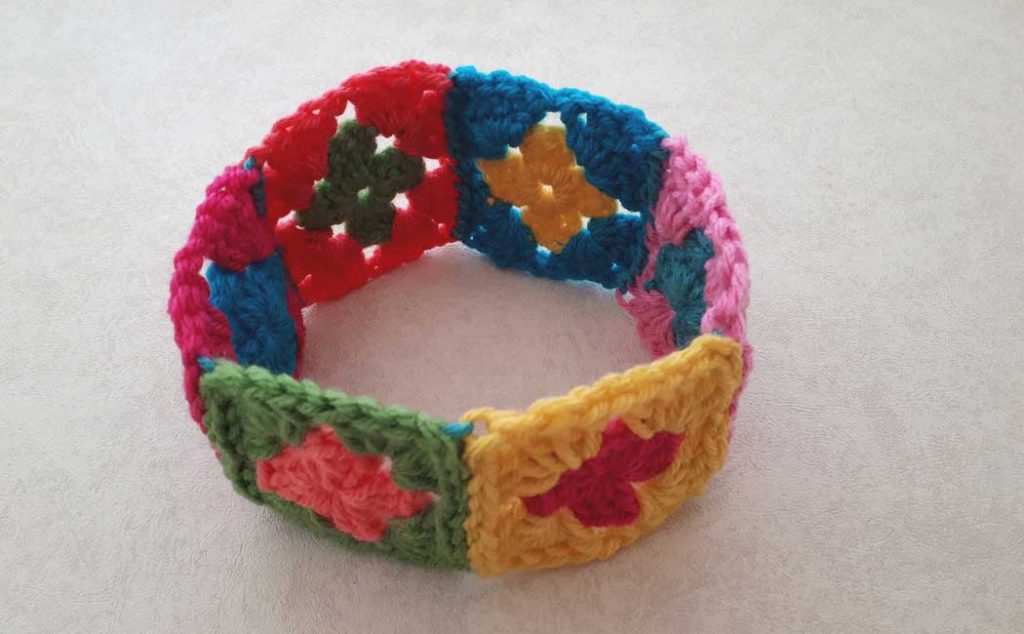
Sew all the granny squares together in a row using the invisible whip stitch (shown in Part One of the poncho pattern), and then join them together to create a band. The length of the band for each size is listed above. If after sewing the six squares together, the band is not the correct length (chances are it might be a bit short), you can add a row or two of single crochet on the end to get the length you need.
Bottom Band: Join the same yarn color used for the trim of the poncho pattern (or color of choice) in any chain one space. I’m using Aqua.
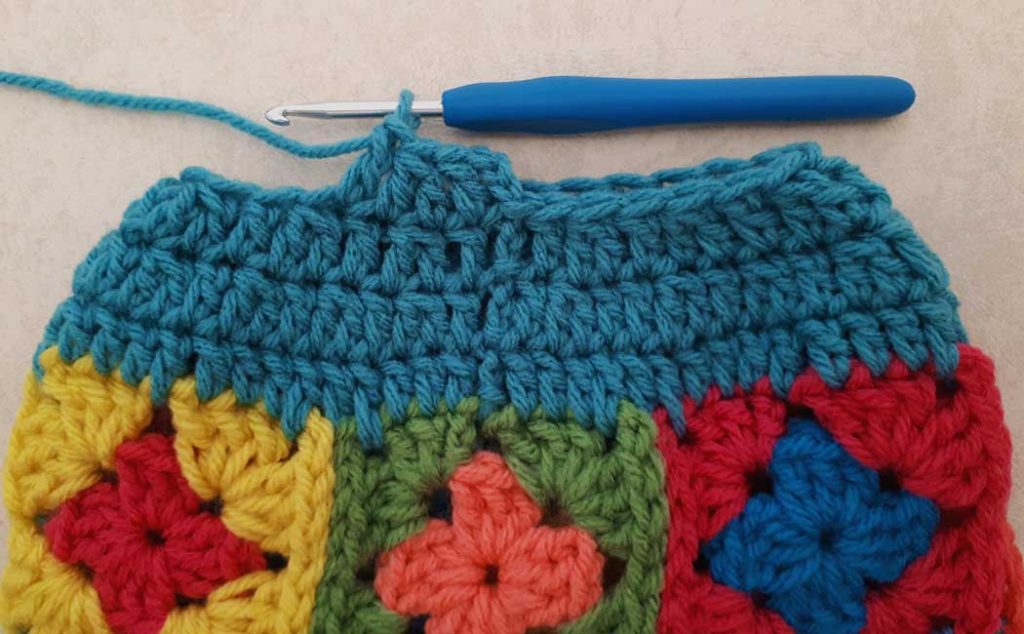
Ch 3 (counts as the first dc), 1 dc in each stitch all the way around the band. This will include 1 dc in each ch2 sp and 1 dc in the joining seam for a total of 60 dc including beg ch3.
Join with a slip stitch in the 3rd ch of the beg ch3. Fasten off.
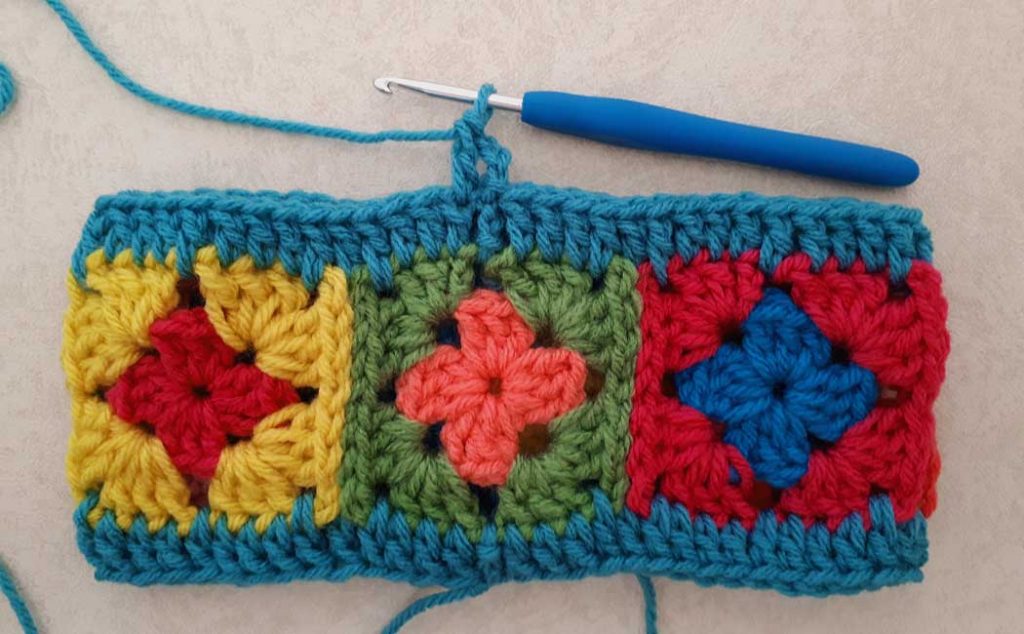
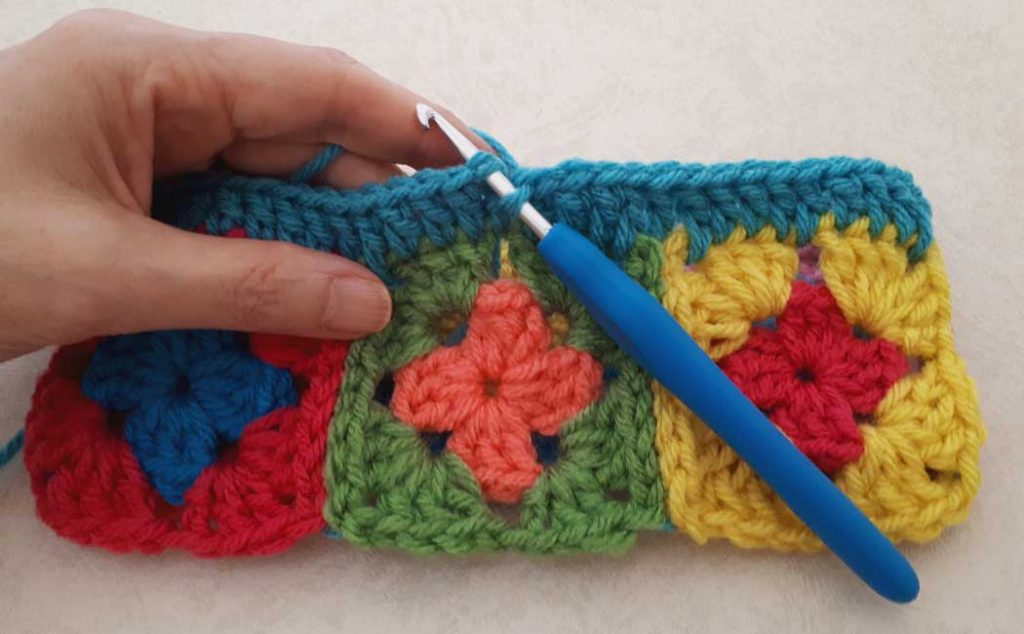
Now to create the crown, start Row one by crocheting another row of dc on the other side of the band, just like the bottom band, but don’t fasten off.
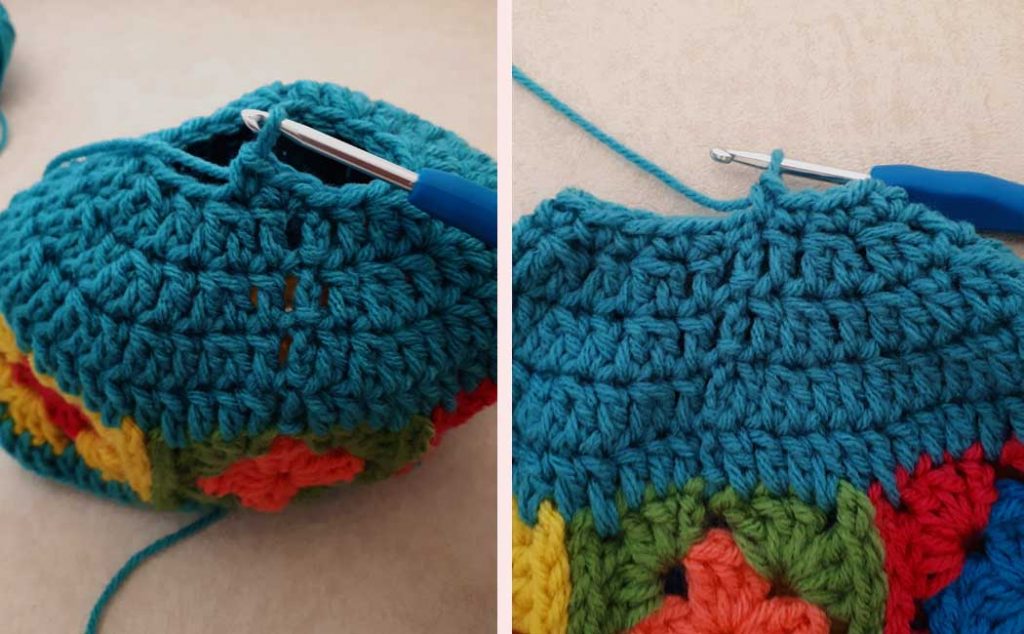
Row two: Ch 3 (counts as your first dc), 1 dc in next stitch. *1 dc2tog (double crochet 2 stitches together…see below) in the next 2 stitches, 1 dc in the next stitch. Repeat from * 16 times.
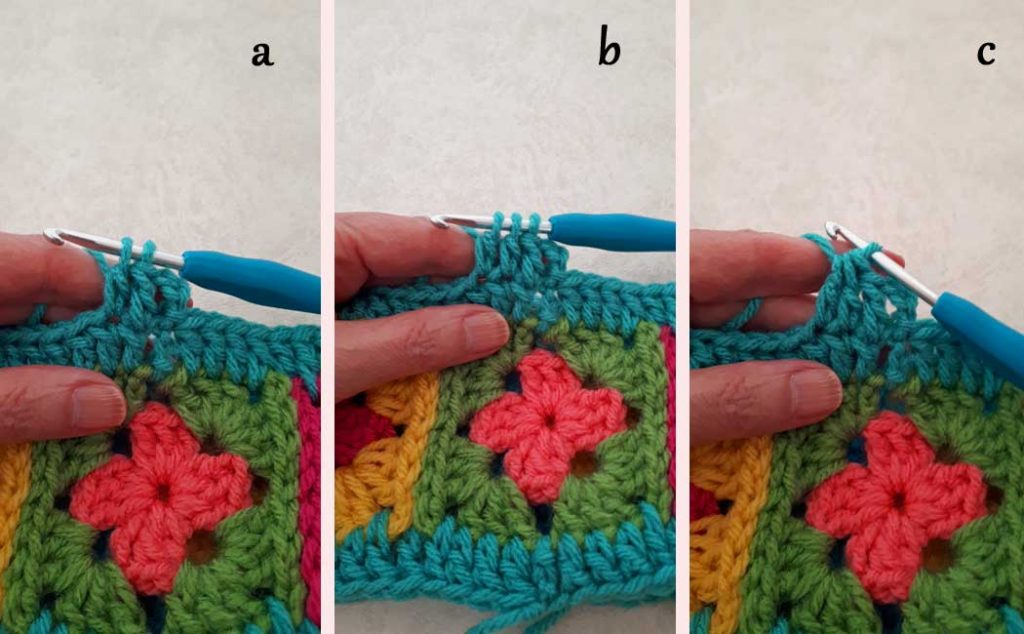
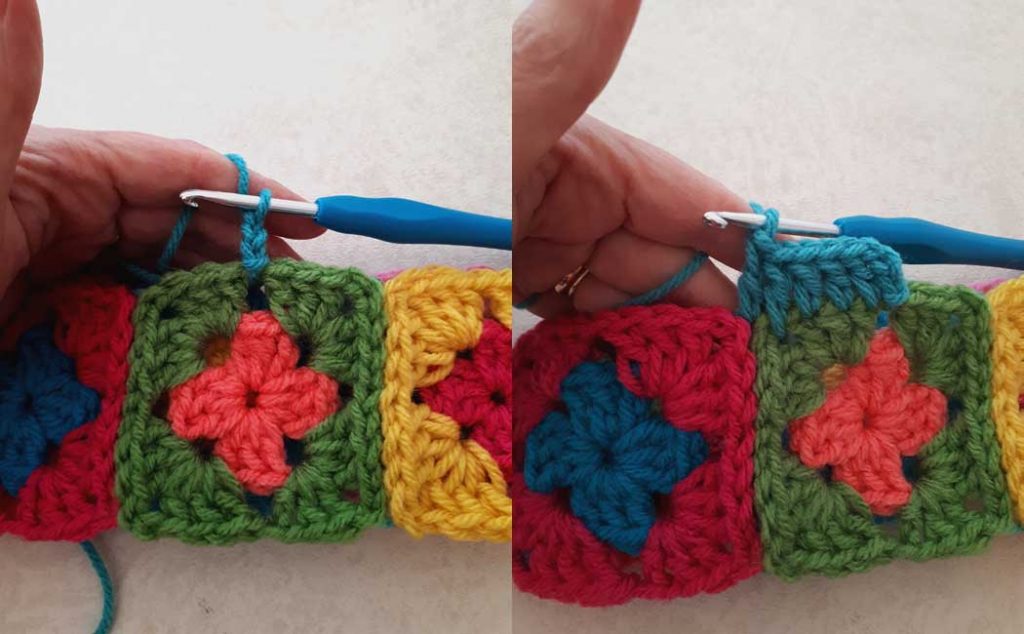
Double crochet 2 stitches together ~ dc2tog: Begin 1 dc in next stitch, but only complete half the stitch by pulling through 2 loops, leaving 2 loops on your hook (a). Begin 1 dc in the next stitch, but only complete half the stitch by pulling through 2 loops, leaving 3 loops on your hook (b). Yarn over and pull through all 3 loops (c).
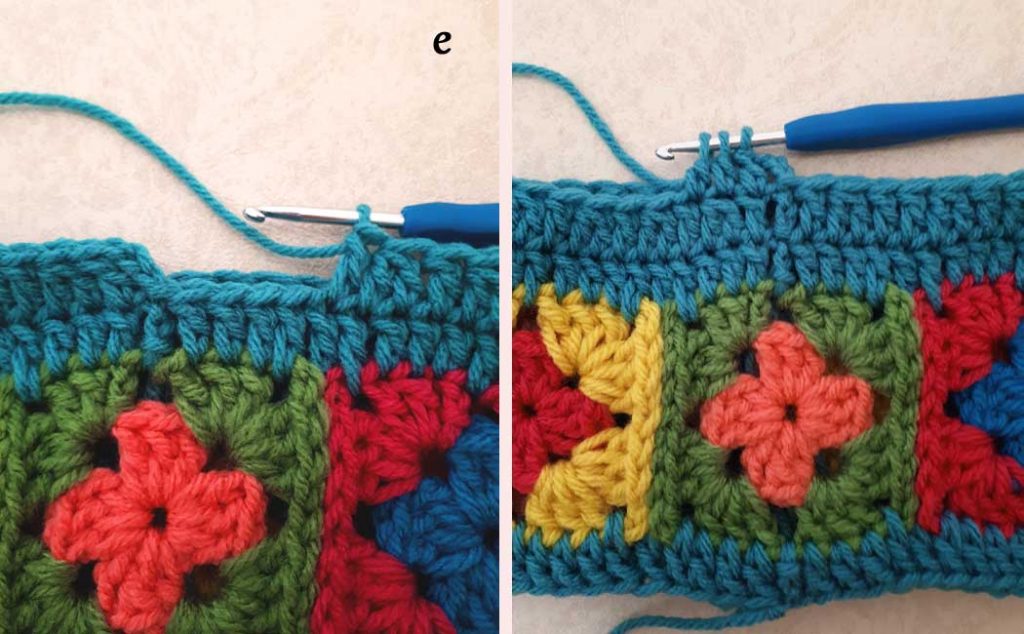
After the 16th repeat of the pattern, you will have 4 stitches left (e). Do 1 dc in the next stitch, 1 dc2tog in the next 2 stitches, and 1 dc in the last stitch. Join with a slip stitch in the 3rd chain of the beg ch3.
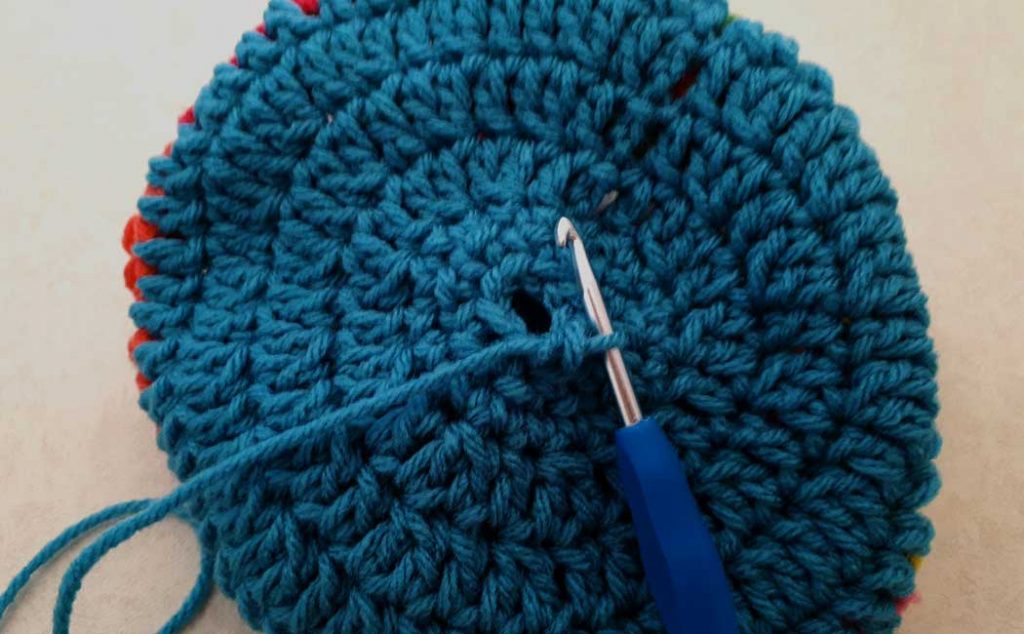
Row three: Ch 3 (counts as your first dc), 1 dc in next stitch. *1 dc2tog in the next 2 stitches, 1 dc in the next stitch. Repeat from * 11 times. Join with a slip stitch in the 3rd chain of the beg ch3.
Row four: Ch 3 (counts as your first dc), 1 dc in next stitch. *1 dc2tog in the next 2 stitches, 1 dc in the next stitch. Repeat from * 7 times. Join with a slip stitch in the 3rd chain of the beg ch3.
Row 5: Ch 1 (you can mark this with a stitch marker, but it is quite obvious where the row begins), 1 sc in each stitch all the way around (18 sc including beg ch1). You will now be crocheting in a spiral pattern, but will begin to decrease at this point. As you begin this next round, skip one stitch, 1 sc in the next stitch. Repeat this all the way around until the crown of the hat is closed.
Finish with the last sc in the opposite stitch to close the crown completely. Cut your yarn and pull it off the hook as if fastening off.
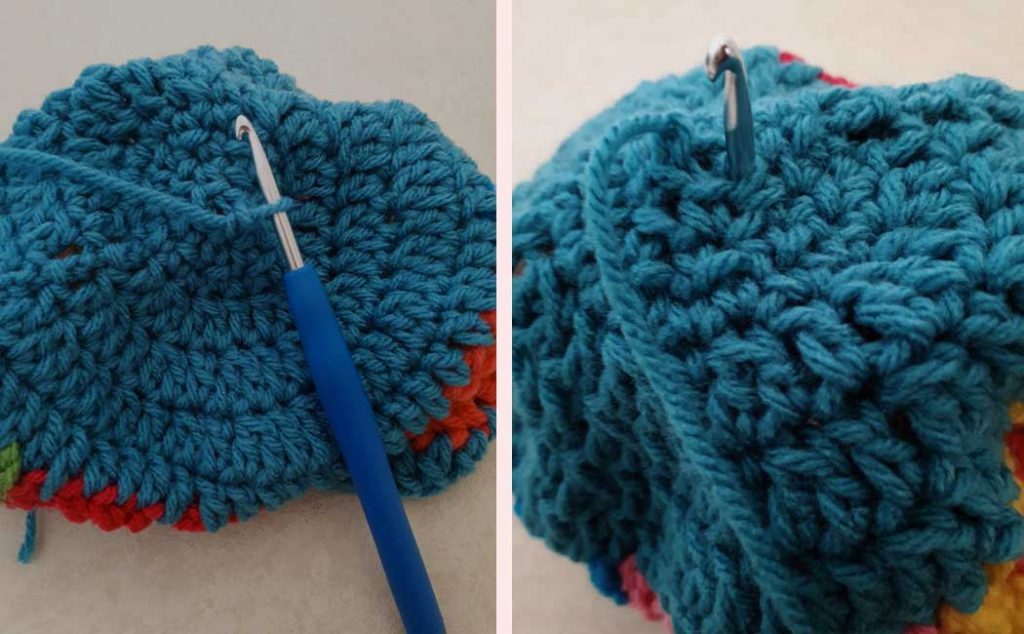
Bring the crochet hook through from the inside of the hat and pull the tail end of the yarn to the inside of the hat. Darn in all your tail ends and you are done!
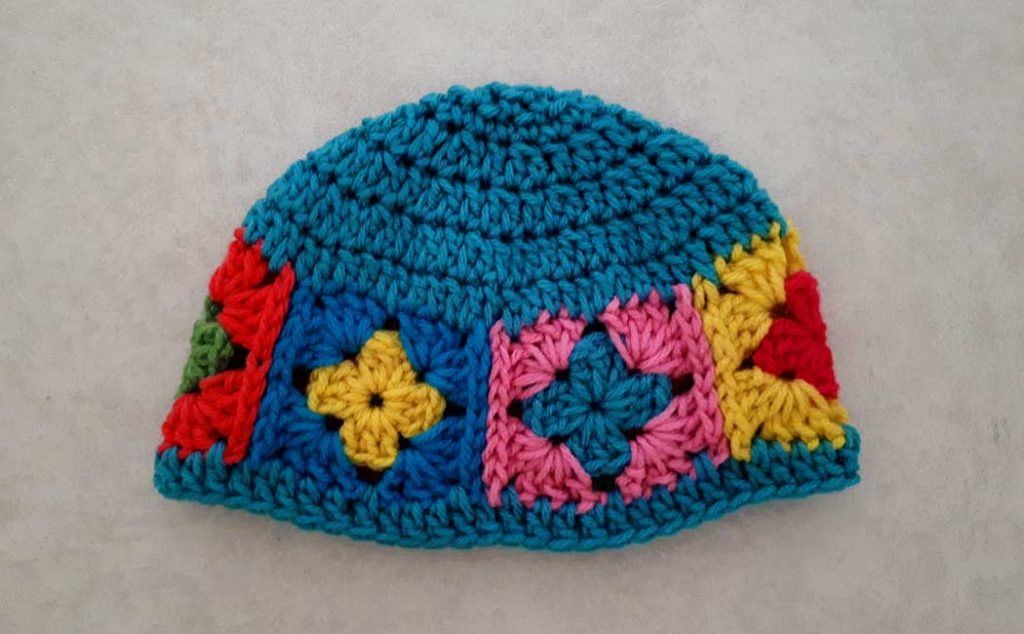
Isn’t this just the cutest hat? Leave a comment below and let me know what you think. Also, tell me what you’d like to see for new crochet patterns and tutorials. Here is the video tutorial for your convenience!
If you liked this tutorial, you may also like:
Sharing is caring!
Click on the social share button and choose an image from above to share on social media!