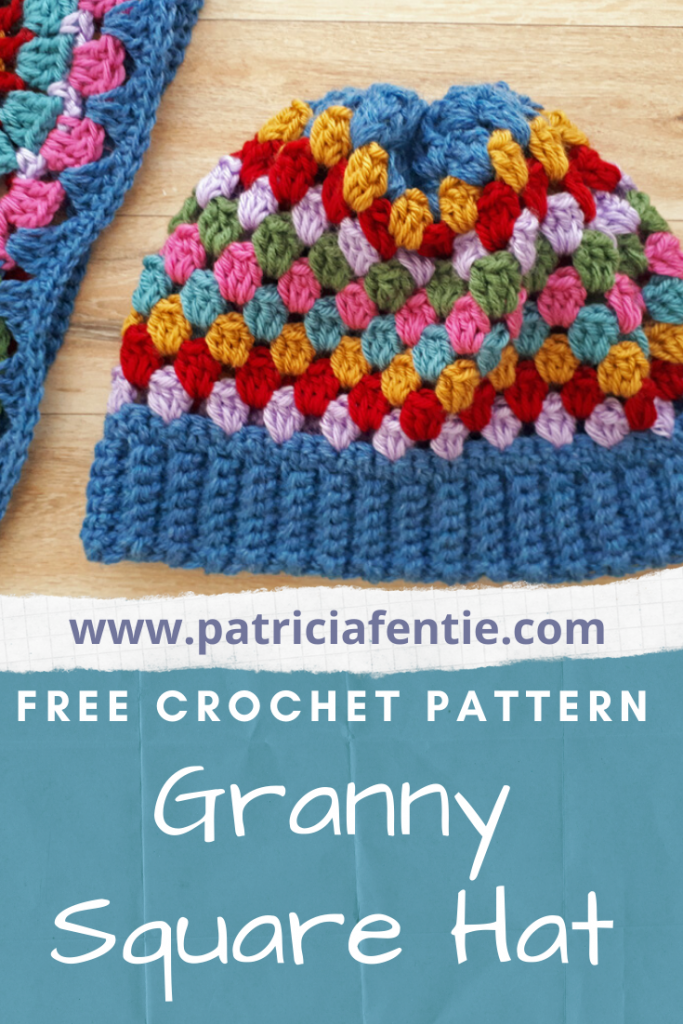
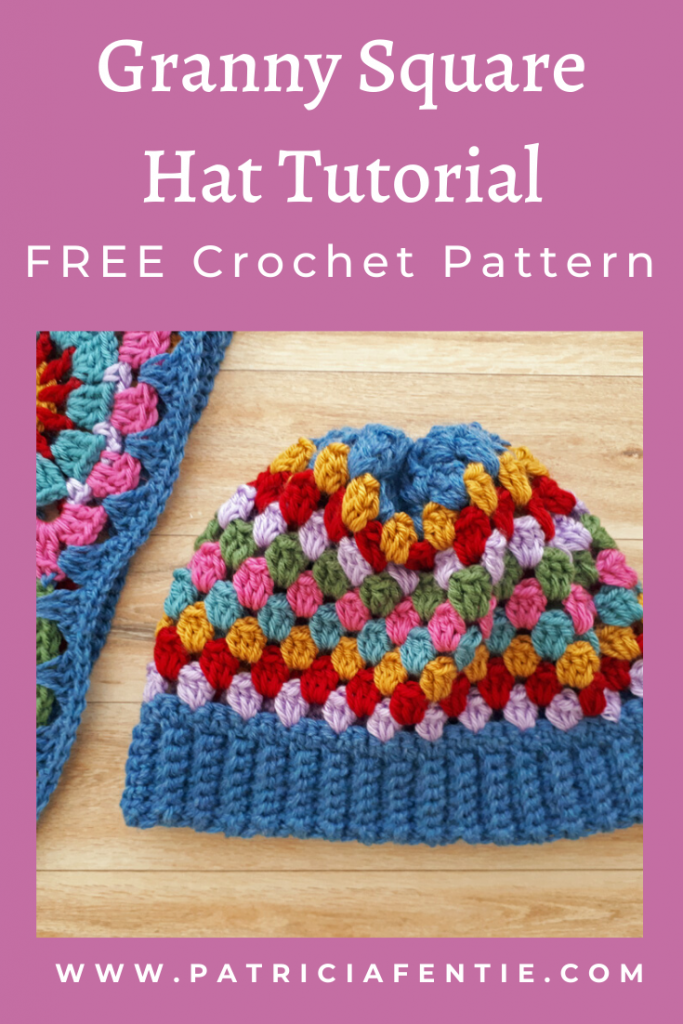
This crocheted granny square hat pattern will go perfectly with any granny square project you make! I had made a scarf and hat set (you can see the scarf below), but there was a copyright claim on the motif I used for the scarf so I had to remove that pattern and tutorial. It was a complete coincidence that I had created the exact same motif that another crochet artist published in a book. Oh well…it’s bound to happen!
The hat pattern is a very basic pattern and super easy to make, so it is suited for beginners. I used all the same colors from the scarf, and just did rows of 3 double crochet clusters. If you wanted, you could put a pom-pom on this hat. I have a tutorial for that if you like.
As always, I have also created a video tutorial for this project, and you can find that at the bottom of this post. The yarns I am using for this project are the same as what I used for the Ferris Wheel Scarf pattern. For that, I used an assortment of acrylic yarns that I had in my stash. Some came from the thrift store and others were from previous projects.
I could only find links for the green yarn which is Cascade Yarns-Anthem-44. I will write the colors that I used in the supply list below, but I’ll put links to similar colors in the Anthem line (which is lovely yarn!) For my Canadian friends, it may be hard to have this yard shipped to Canada, but Yarn Canada has a great selection in the Patons line.
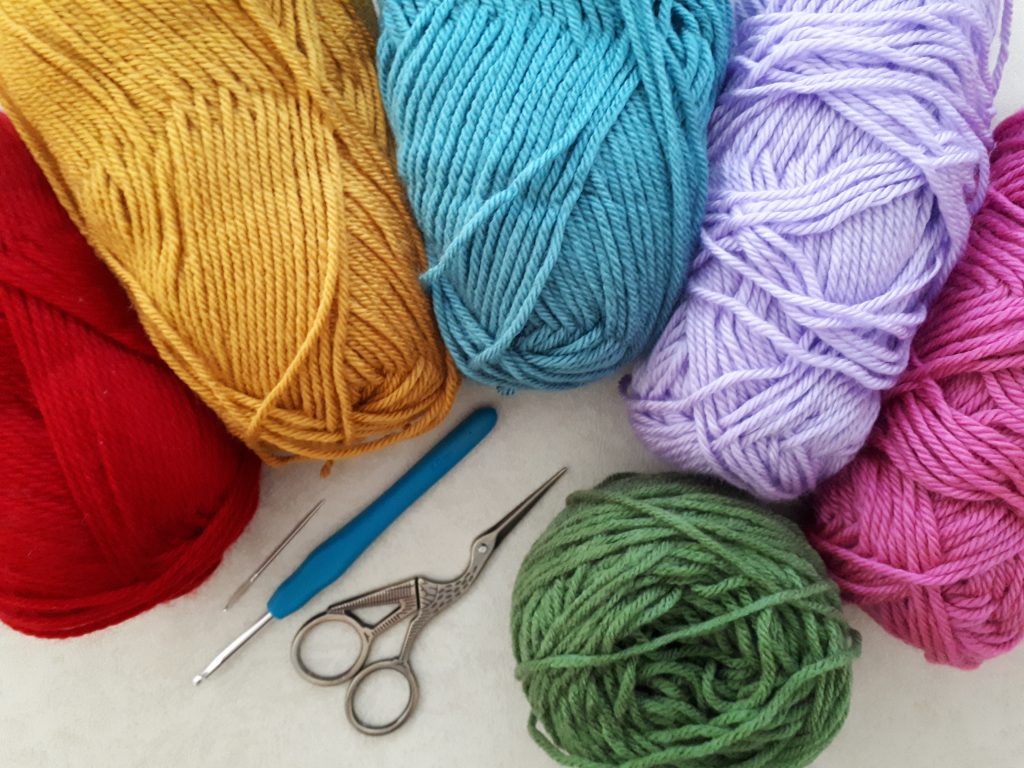
The supplies you will need for this project are:
- Number 4 medium weight yarn in at least two different colors:
- Patons Canadiana-Medium Teal (Cascade Yarns-Anthem-30)
- Patons Canadiana-Fool’s Gold (Cascade Yarns-Anthem-20)
- Bernat Satin-Star Dust (Cascade Yarns-Anthem-55)
- Bernat Satin-Maitai (Cascade Yarns-Anthem-09)
- Cascade Yarns-Anthem-44
- Cascade Yarns-Pacific-43 (Cascade Yarns-Anthem-50)
- 4mm (G-6) crochet hook
- Scissors
- Darning needle
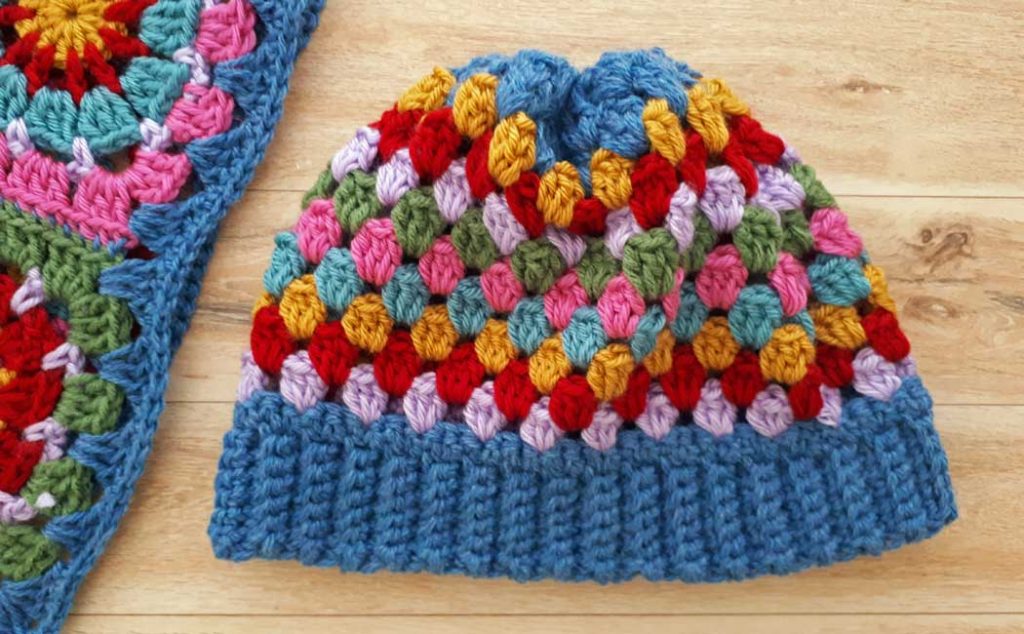
I used the Berroco Vintage DK in color number 2170 for the brim and crown of the hat, which is the yarn I used for the trim around the scarf (it’s not shown above, but you can see it in the brim of the hat). It is actually a number 3 weight yarn and that worked well for the scarf, but I wanted the brim to be more sturdy, so I doubled up on this yarn for the brim. You can use any number 4 medium-weight yarn for the brim, or if you want to use the Berroco yarn, you’ll want to use 2 strands as well.
There are several online yarn shops that carry this yarn including Yarnatopia. I love the look of the denim color, but you could use any neutral color such as tan, grey, or black.
The stitches required for the hat are very basic. We will be using a slip knot, a slip stitch (sl st), a chain stitch (ch), a single crochet (sc), and a double crochet (dc). If you are new to crochet, you can check out my Beginner’s Crochet Series here.
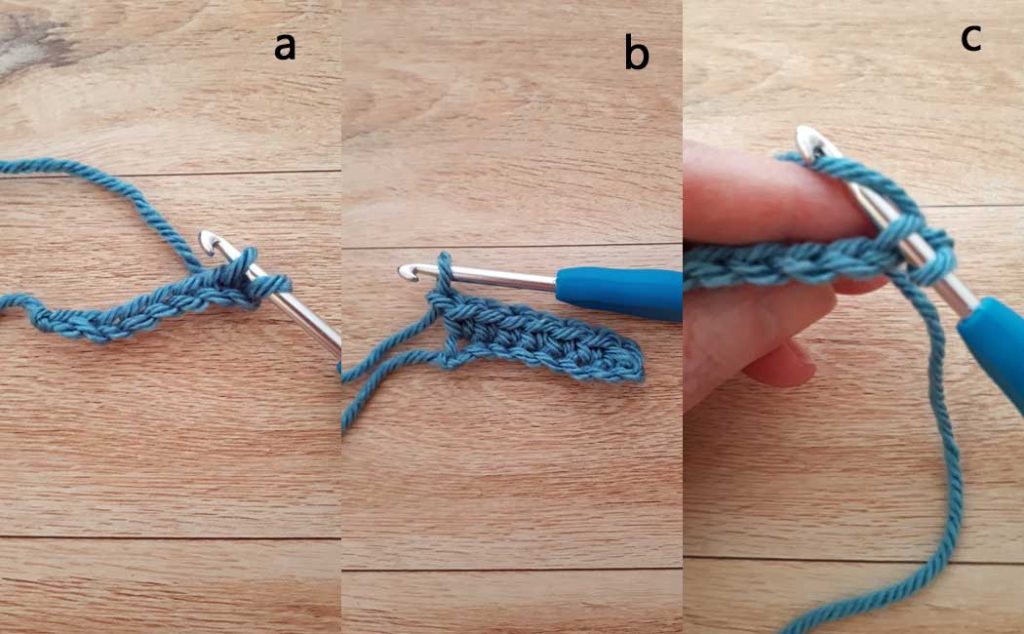
For the brim, I am using a number 4 medium weight acrylic yarn in images ‘a to d’ because it was a little easier to demonstrate with. I carry on with the Berroco Vintage yarn from image ‘e’.
Begin with a ch 8.
Row one: 1 sc in the top post of the first stitch from hook [a]. 1 sc in the top post of the next 6 stitches [b]. Ch 1, turn your work.
Row Two: 1 sc in the top post of the first stitch (not the ch1) [c], 1 sc in the top post of the next 5 sts, 1 sc in both posts of the last st [d], ch 1, turn your work.
Rows Three and onward: Repeat row two until the brim is long enough to fit around your head. Your total number of rows needs to be divisible by 3. My brim was 18.5 inches (47 cm) with 69 rows in total.
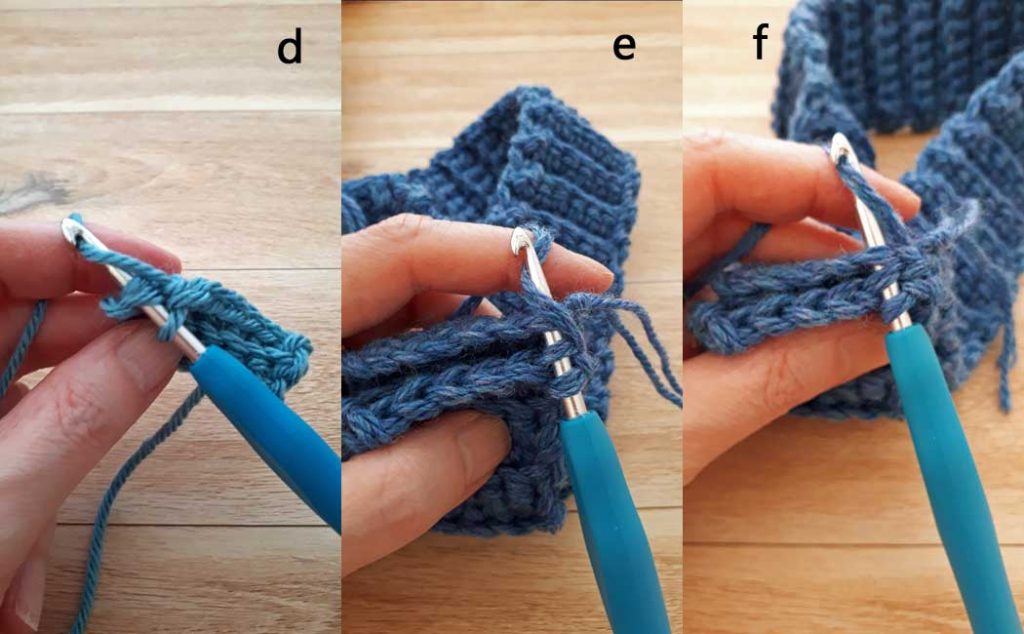
Join the short ends of the brim with a sl st into each adjacent stitch. Put your crochet hook through the first stitch, picking up the post closest to you (not the turning ch1) [e]. Then pick up one post on the adjacent side (again, the one closest to you). Continue to sl st the short ends together [f], making sure to pick up the very last stitch of the row [g].
Now you are at the top of the brim and are going to do a row of single crochets around the brim to create a nice row to work into with the 3dc clusters.
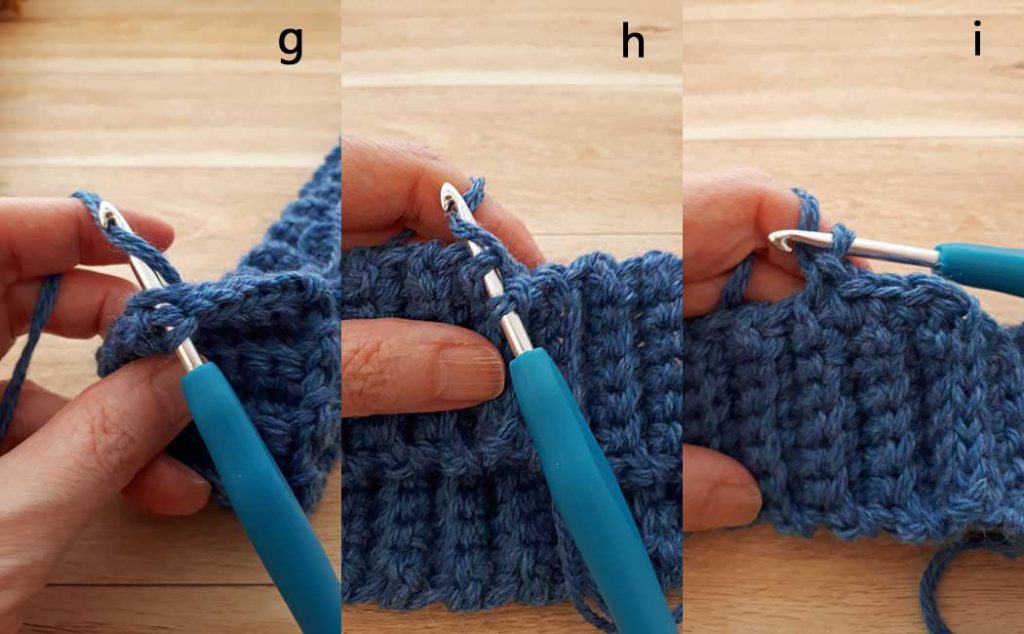
Single crochet around brim: Ch 1, 1 sc in top of the first row [h], 1 sc in top of each row [i] all the way around the brim, sl st into beg ch1 to join and ch 1 to fasten off.
This can be a bit tricky because there isn’t actually a stitch to crochet into, so you need to find 2 ‘posts’ at the end of each row, just do your best. You should have the same amount of single crochets as you have rows, so for my brim, I had 69 sc, including the first ch1.
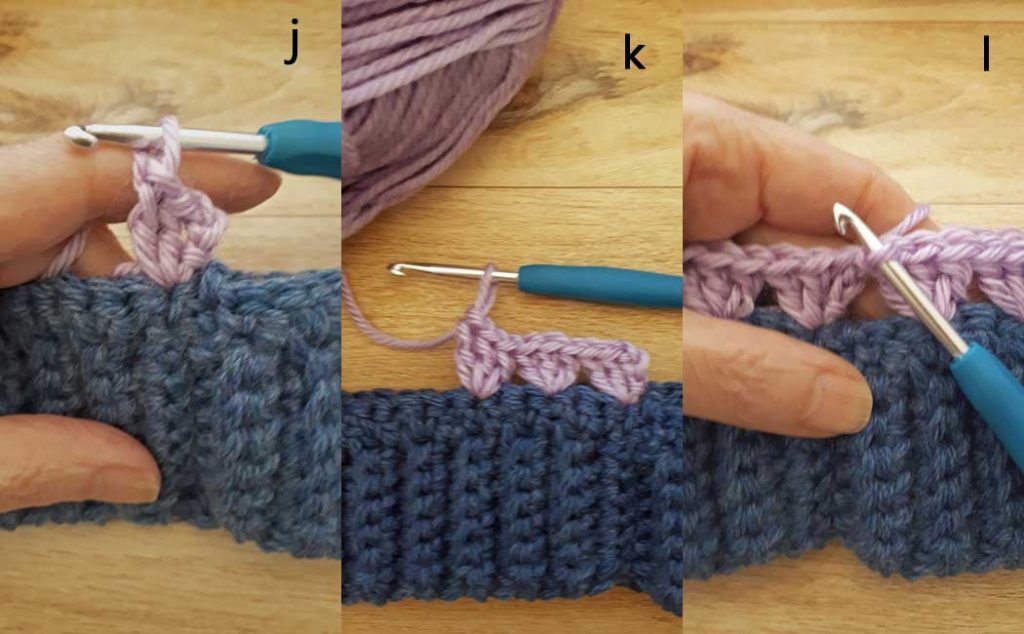
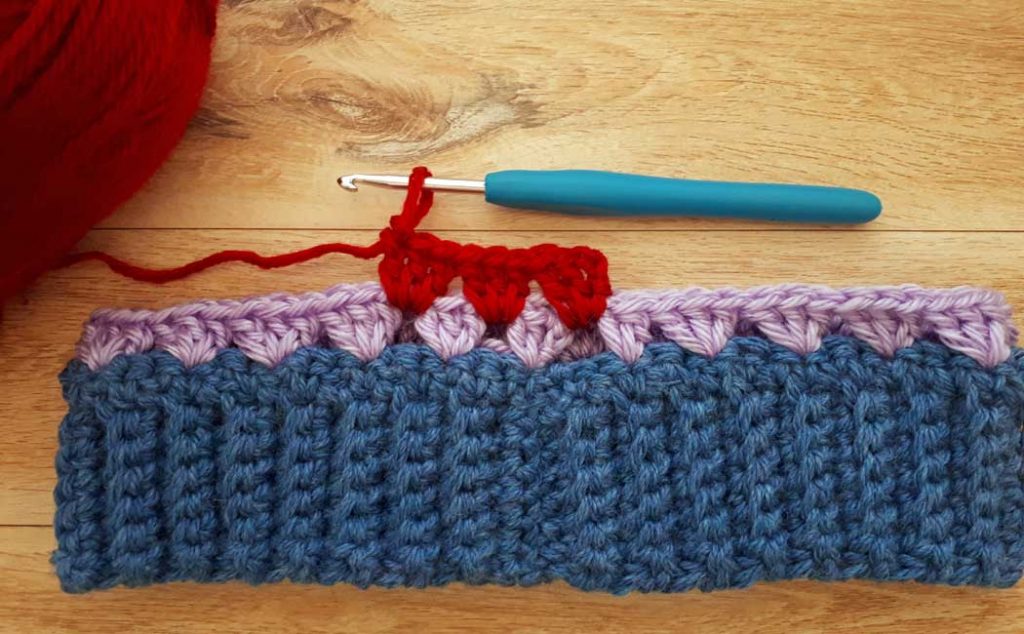
Row One: Join on a new color using a slip knot and slip stitch (see instructions for the Ferris Wheel Granny Square on how to do this…4th image from the top of the post) in the first sc past where you fastened off, going under 2 posts. Ch 3 (this counts as your first dc), 2 dc in same sc, skip 2 stitches. *3 dc in 3rd stitch, skip 2 stitches, repeat from * all the way around. Join round with a sl st in 3rd ch of beg ch3, ch 1 to fasten off.
Row Two: Join with a new color into a space between the 3dc clusters. Ch 3 (counts as your first dc), 2 dc in same space, *3 dc in next space between clusters. Repeat from * all the way around and join with a sl st into 3rd ch of beg ch3. Ch 1 to fasten off.
Rows Three to Ten: Repeat row two.
Row Eleven: Do not fasten off. Join row ten with a sl st. Ch 3, 2 dc in same space, *3 dc in next space, repeat from * all the way around and join with a sl st into 3rd ch of beg ch3. Ch 1 to fasten off (don’t cut tail yet).
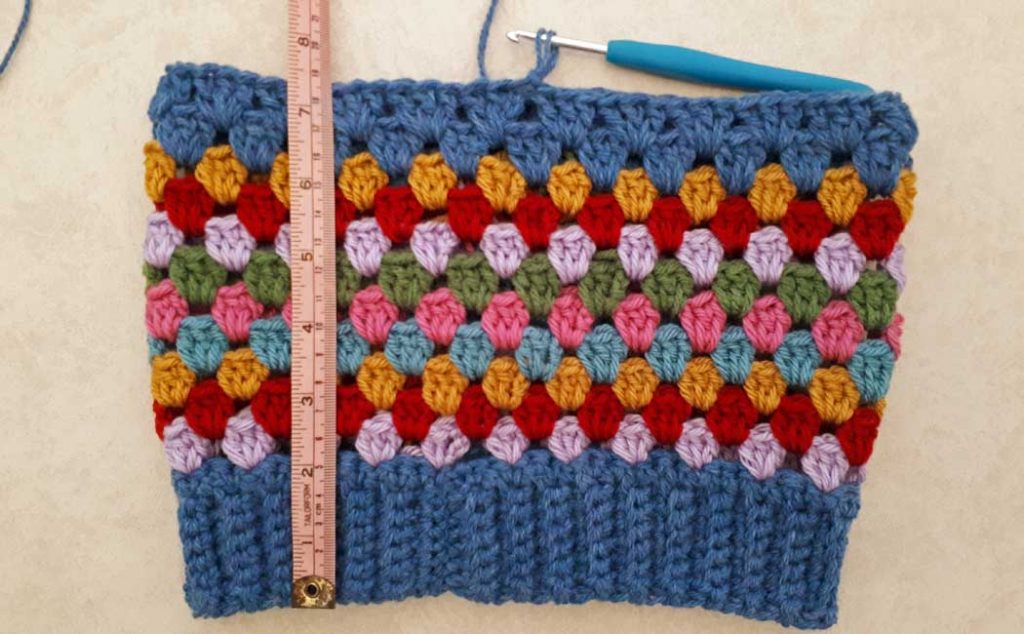
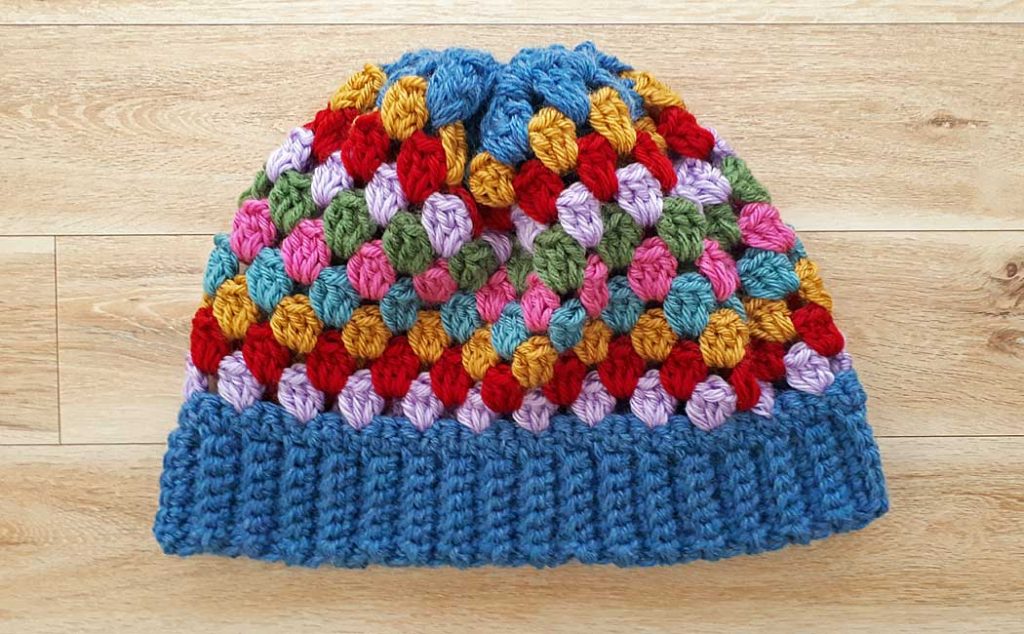
I made this hat with 11 rows of 3dc clusters, with the last two rows using the same color as the brim. The finished height was 7.5 inches or 19 cm. This size fits my head nice and snug, sort of like a beanie. You could make the hat bigger by adding more rows of 3dc clusters to make it more loose-fitting, or even like a slouchy hat. It’s totally up to you!
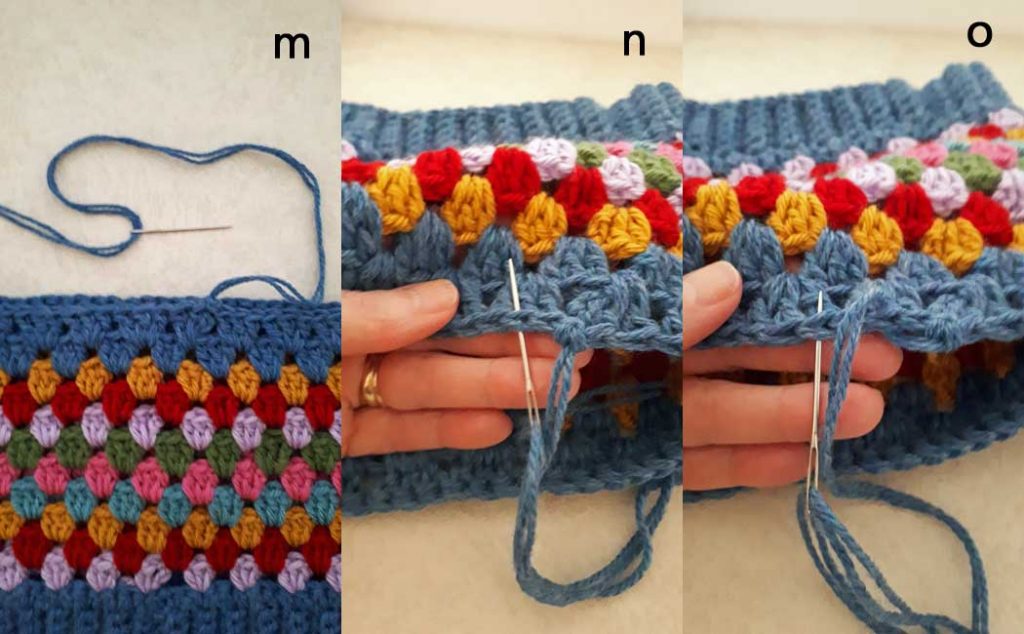
To close up the crown of the hat, cut a tail about 24 inches or 61 cm in length [m]. Thread the yarn onto a darning needle and start sewing a basting stitch under both posts of every second stitch of your last row [n]. Work in the same direction, putting the needle under the two posts of every second stitch all the way around the top [o].
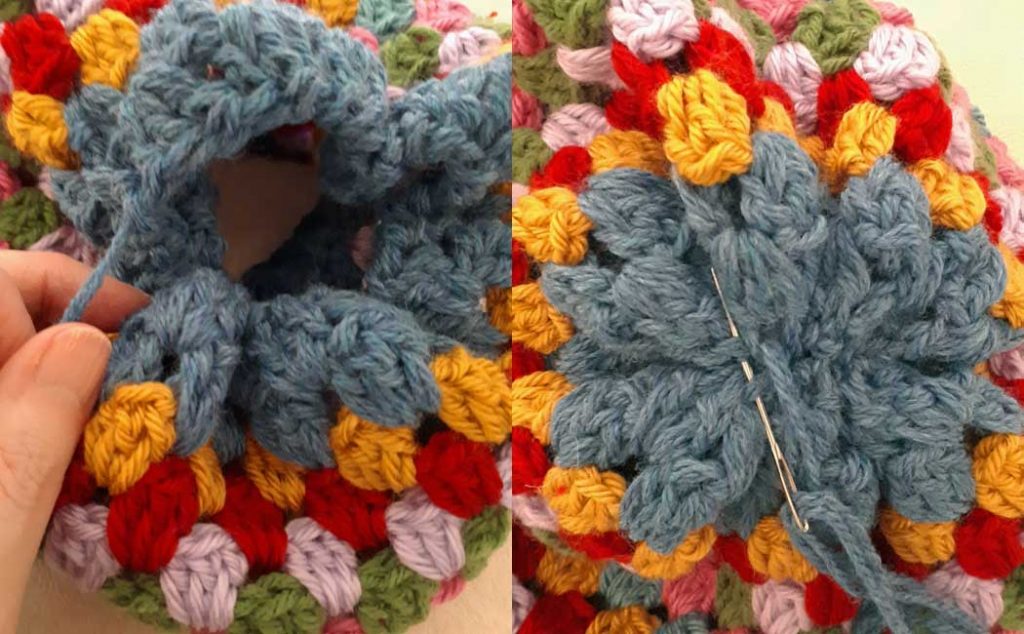
Once you’ve reached the other side with the basting stitch, gently pull the yarn to gather the crown together. This may be a bit bulky, but just continue to gently gather until you have it as tight as possible (be careful not to pull the gathering yarn too tight or the yarn might break). Stitch the crown closed with a few stitches, and bring the yarn down into the inside of the hat and tie a knot. Cut about a 2-inch tail and darn that in. Darn in all your tail ends and you are done!!!
If you want to add a pom-pom to the hat, you can find the tutorial on how to make one here. You could use all the colors from the hat or choose just one color…it is totally up to you! And, as always, I’ve created a video tutorial to go along with this project.
If you like this project, you may also like:
Please leave a comment below…let me know what you think! Also, I would be very grateful if you shared this post on FB or Pinterest. Click on the social share icon and choose an image from below!