Granny squares are so easy to make and can be used to create countless projects! In this tutorial, I am going to show you how to make a lovely Granny Square Tote Bag. You can use the techniques in this tutorial to modify the bag to suit your own creative inspiration!
The tutorial is divided into two parts, and in part one, I will show you how to construct the actual bag. In part two we will create the lining and attach the handles.
Some (but perhaps not all) of the links in this blog are affiliate links to Amazon.com. As an Amazon Associate, I earn from qualifying purchases. This page contains some affiliate links. Please see my policy page for details. I look for the best possible option for your convenience, however, I encourage you to support your local shops!
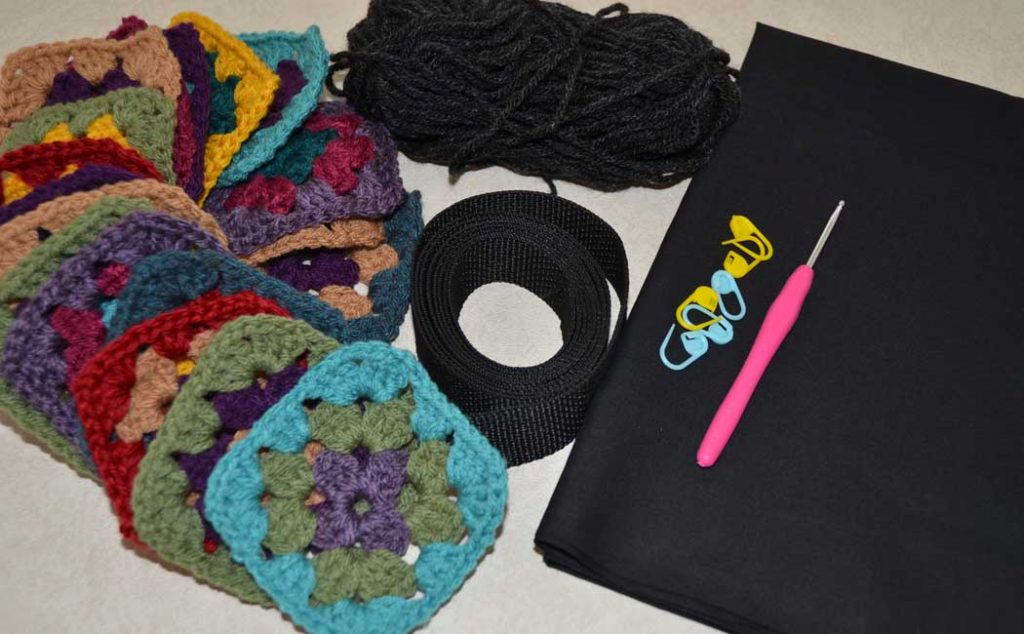
The supplies you will need for this project are:
- Assorted colors of number 4, worsted weight yarn (I used 9 colors), plus one accent color
- 3.5mm (E-4 US) crochet hook
- 1/2 a meter or yard of fabric for lining
- 1 and 1/2 meters or yards of strapping for the handles (about 1″ or 2.5cm wide)
- Stitch markers
- Scissors
- Darning needle
- You can get the hooks, stitch markers, and darning needles all together in this nice kit.
You will need a total of 27 granny squares made with 3 rounds. I have a video tutorial here if you are new to crochet. I recommend using a ‘chain 2’ in each corner of the squares, rather than a ‘chain 3’ which is commonly used.
I have revised my granny square pattern, so the written pattern is slightly different from the video tutorial. Either method of making granny squares is fine, and you can also use any other granny square pattern you like in place of the traditional granny square.
Traditional Granny Square Pattern
Round one: ch 5, sl st into the first ch to create a ring. Ch 2 (counts as middle dc), 1 dc into the ring, ch 2, *[3 dc, ch 2] into the ring. Repeat from * 2 times. 1 dc into the ring (this completes the first 3dc cluster for a total of four 3dc clusters). Sk 2 ch’s, join with a sl st into the top of the first dc and fasten off.
Round two: Join new color into a ch2 sp with a sl st, [ch 2, 1 dc, ch 2, 3 dc, ch 1] into the ch2 sp, *[3 dc, ch 2, 3 dc, ch 1] into the ch2 sp. Repeat from * 2 times, 1 dc into the beg ch2 sp. Sk 2 ch’s, join with a sl st into the top of the first dc, and fasten off.
Round three: Join new color into a ch2 sp with a sl st, [ch 2, 1 dc, ch 2, 3 dc, ch 1] into the ch2 sp, 3 dc, ch 1 in next ch1 sp. *[3 dc, ch 2, 3 dc, ch 1] into the ch2 sp, 3 dc, ch 1 in next ch1 sp. Repeat from * 2 times, 1 dc into the beg ch2 sp. Sk 2 ch’s, join with a sl st into the top of the first dc and fasten off. Fasten off this last round with an invisible stitch as shown in the above video tutorial at 17:23.
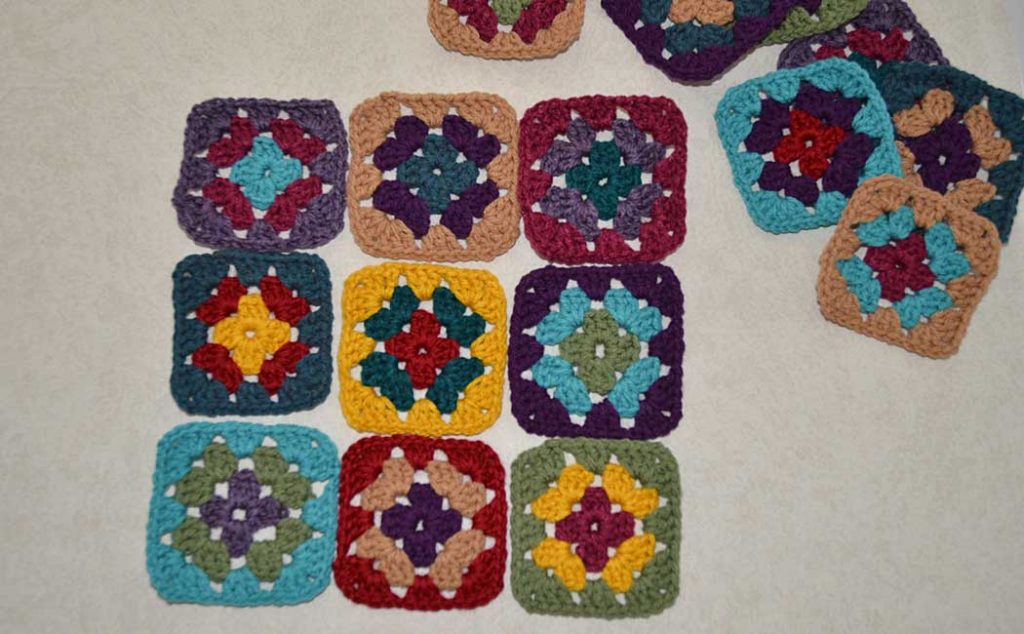
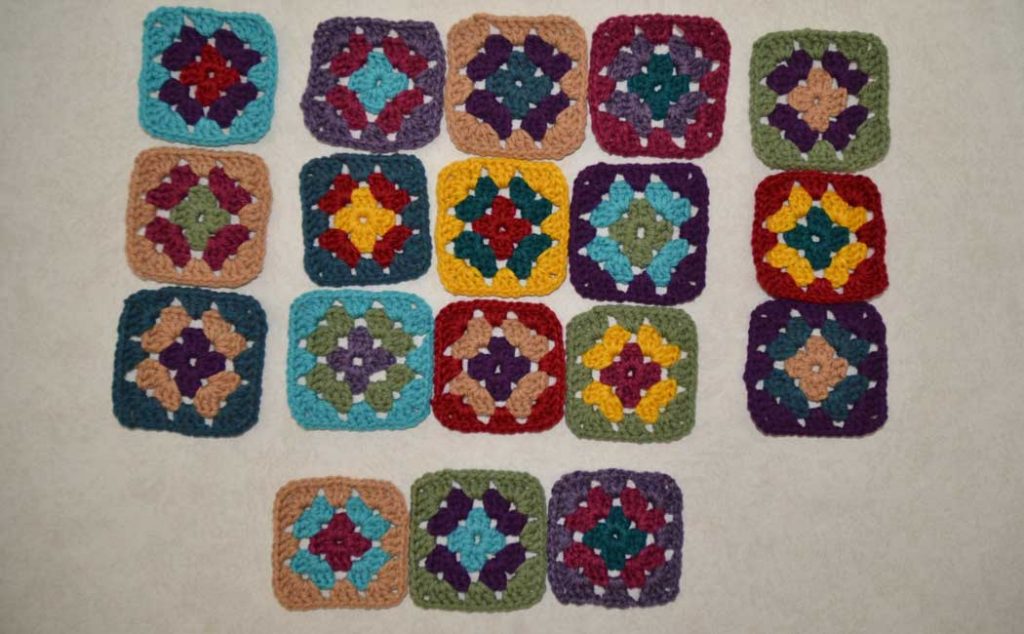
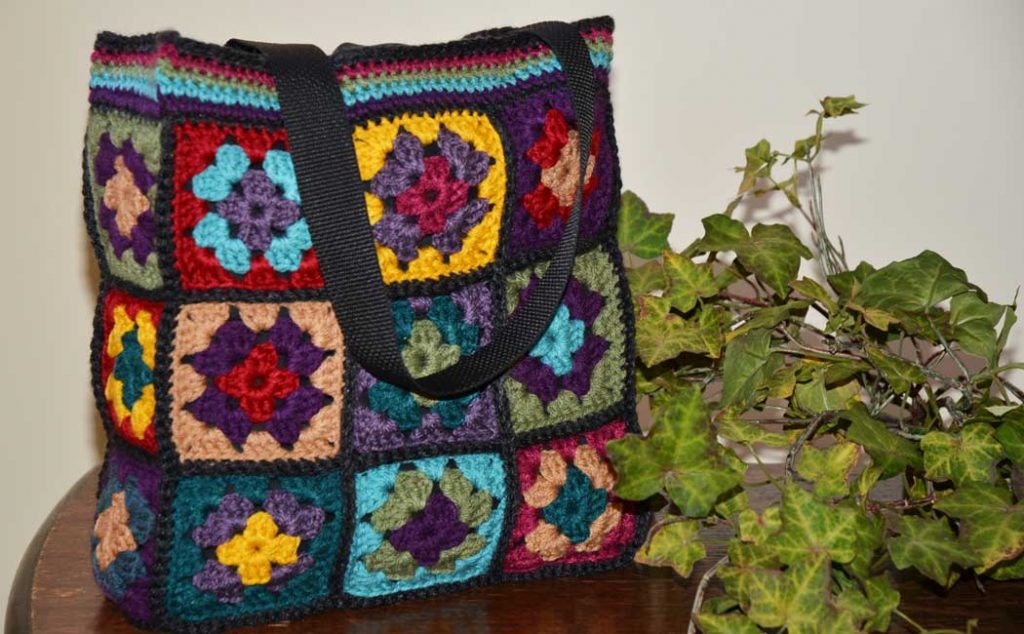
The images above and below show you how to lay out the granny squares. You will need 2 panels with 9 squares in each panel, and then a long strip of 9 squares. I used 9 different colors so I wouldn’t have any 2 colors beside each other in the design. You could do any combination you like.
While this is an easy project to do, the instructions are quite involved, so rather than writing out all the details, I’ve created a video tutorial. It will be much easier to follow than written directions. You can check it out below!
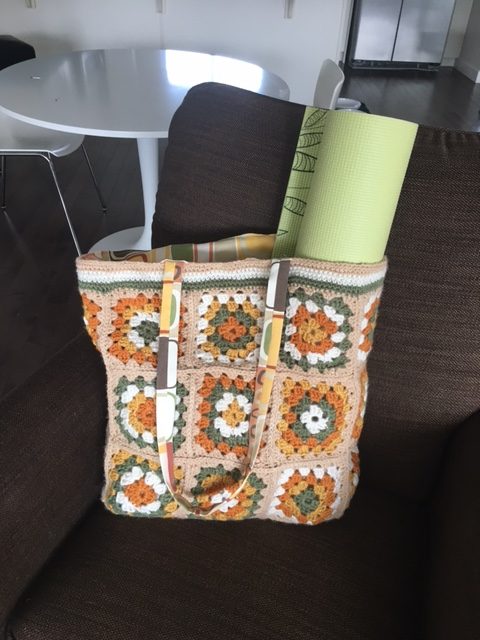
And when you are done, your bag will look something like this! (I’ve just pinned the handles on the bag for now). So in part two, we will make the lining and attach the handles. See you there!
If you like this tutorial, you may also like:
- How to Crochet a Granny Square Blanket
- How to Crochet a Bohemian Scarf
- How to Crochet a Bohemian Hat
Here is a granny square bag made by one of my lovely, creative followers. I love the color combination she used and the lining is such a perfect color match too!
Thank you Jamie for sharing this!