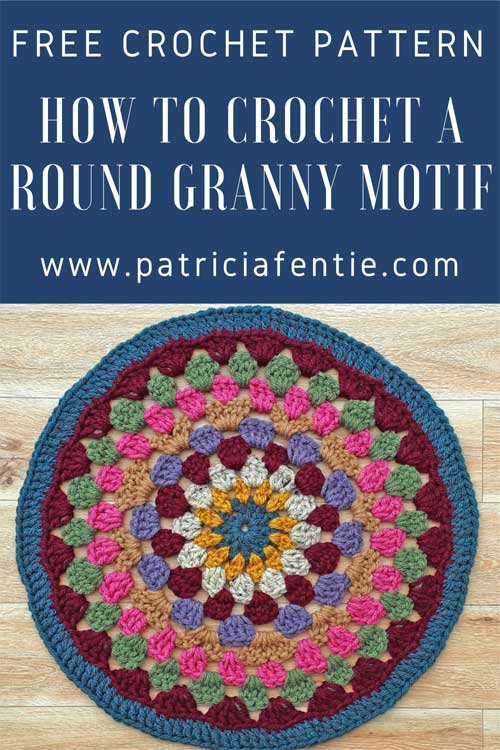
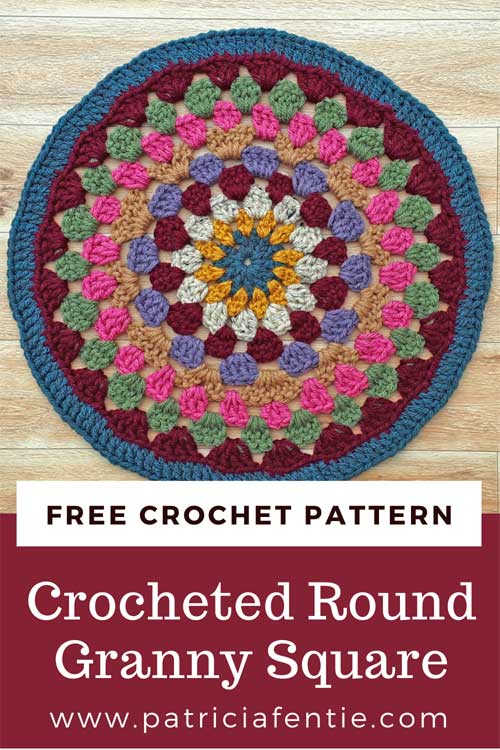
It seems like an oxymoron doesn’t it? How to crochet a round granny square. But that is really the only way to describe this type of pattern. The motif is round, just like a mandala, but the stitches used are the ones used in the traditional granny square. The result is a round granny square!
I think I might be becoming obsessed with crocheting round motifs because once you have the sense of how to increase each round, the possibilities become endless! I always like to offer simple crochet patterns and this one couldn’t be easier. I also give you some tips on how to make this mandala even larger if you like. If you are new to crochet, you can check out my Beginner Crochet Series to learn all the basics.
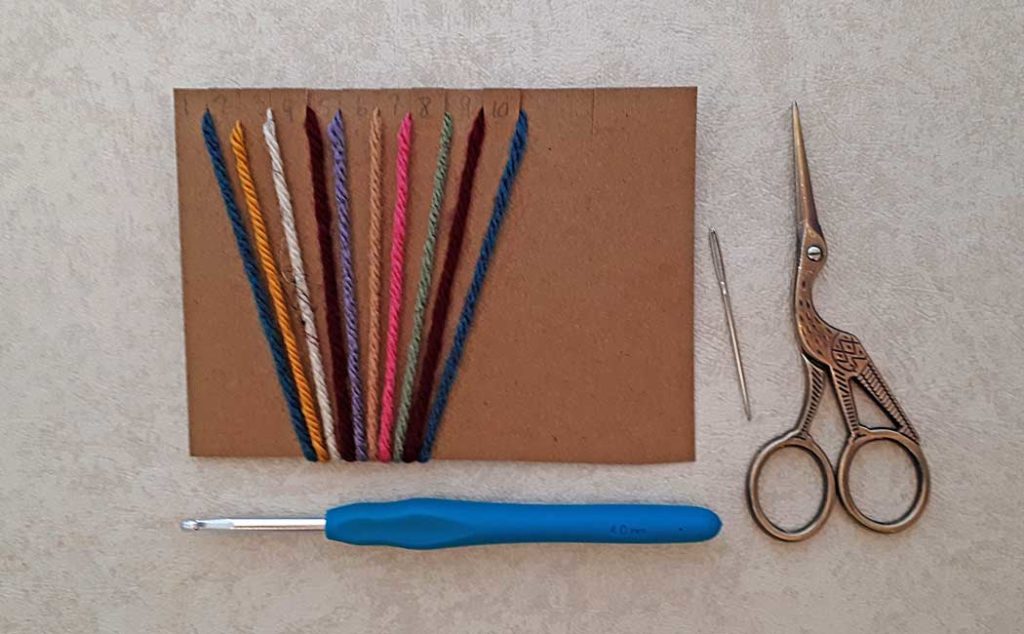
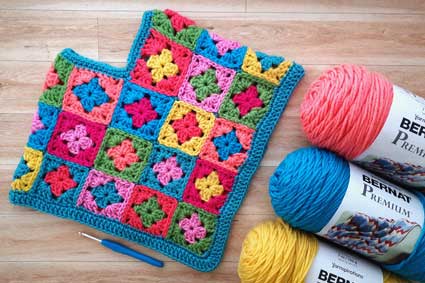
This project is perfect to use up scrap yarn, so grab your stash of yarn, a crochet hook that is suitable for the yarn you’ve chosen, some scissors, and a darning needle! I am using number 4 medium-weight acrylic yarn with a 6mm or G-6 crochet hook. This mandala measures 13″ (33 cm) in diameter based on this yarn and my crochet tension. There are 10 rounds in total.
Some (but perhaps not all) of the links in this blog are affiliate links to Amazon.com. As an Amazon Associate, I earn from qualifying purchases. This page contains some affiliate links. Please see my policy page for details. I look for the best possible option for your convenience, however, I encourage you to support your local shops!
For this pattern, the motif will be turned for each round so that you will be working into ‘the back’ of your work for each new round. This accomplishes three things.
First, when crocheting in consecutive and multiple rounds, sometimes the fabric can become warped because the tension is always pulling in one direction. Flipping the motif for each round prevents this from happening. Secondly, it creates a nice ridge between each round, and thirdly, it makes it easy to crochet the motif using just one color.
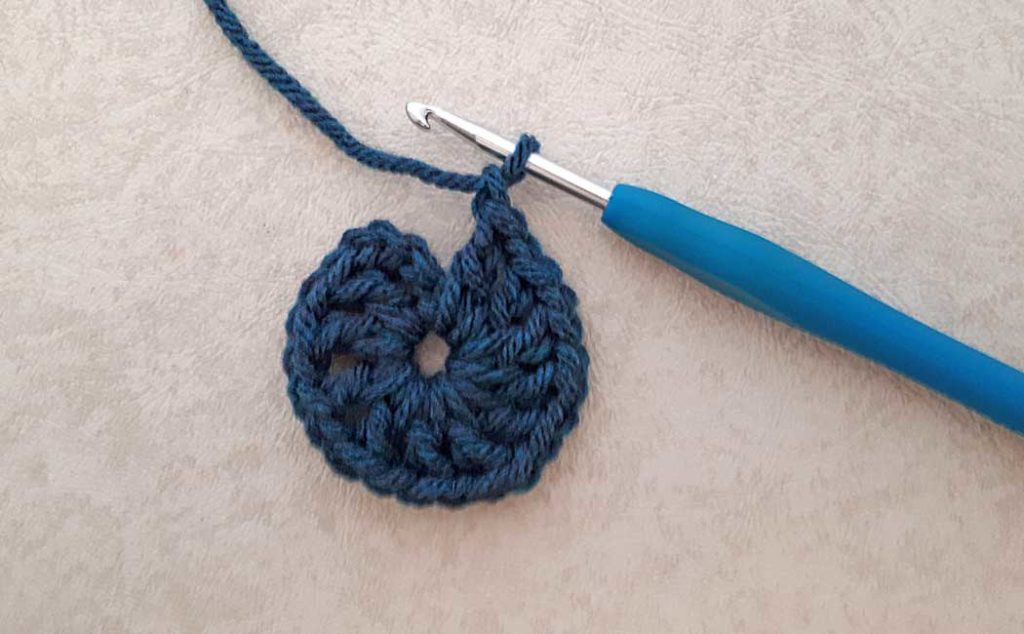
To begin: ch 5, join with a sl st into first ch to create a ring.
Round one: ch 4 (counts as beg ch 3, plus ch1), *1 dc, ch 1 into the ring. Repeat from * 10 times, join with sl st into 3rd ch of beg ch3, fasten off.
NOTE: If you want to make this mandala in just one color, then at the end of each round, you would turn your work, ch 3 (counts as the first dc), and follow the pattern as written.
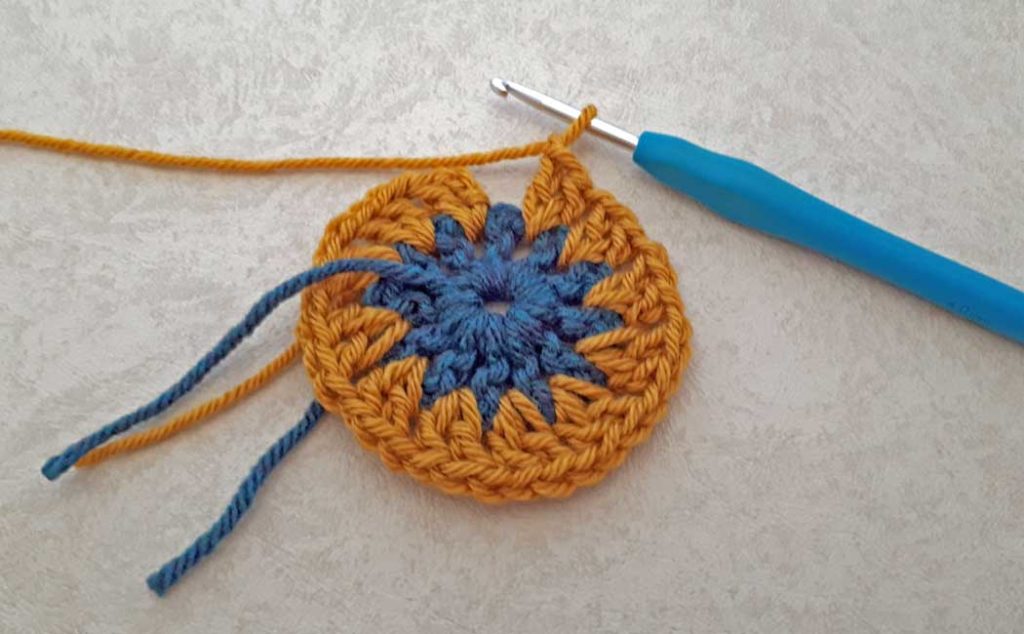
Round two: turn your work, join on a new color with a sl st (or any joining method you prefer) in any ch1 sp. Ch 3 (counts as first dc and will do so for the entire pattern), 1 dc, ch 1 in same ch1 sp. *2 dc, ch 1 in next ch1 sp. Repeat from * 10 times, join with sl st into 3rd ch of beg ch3, fasten off.
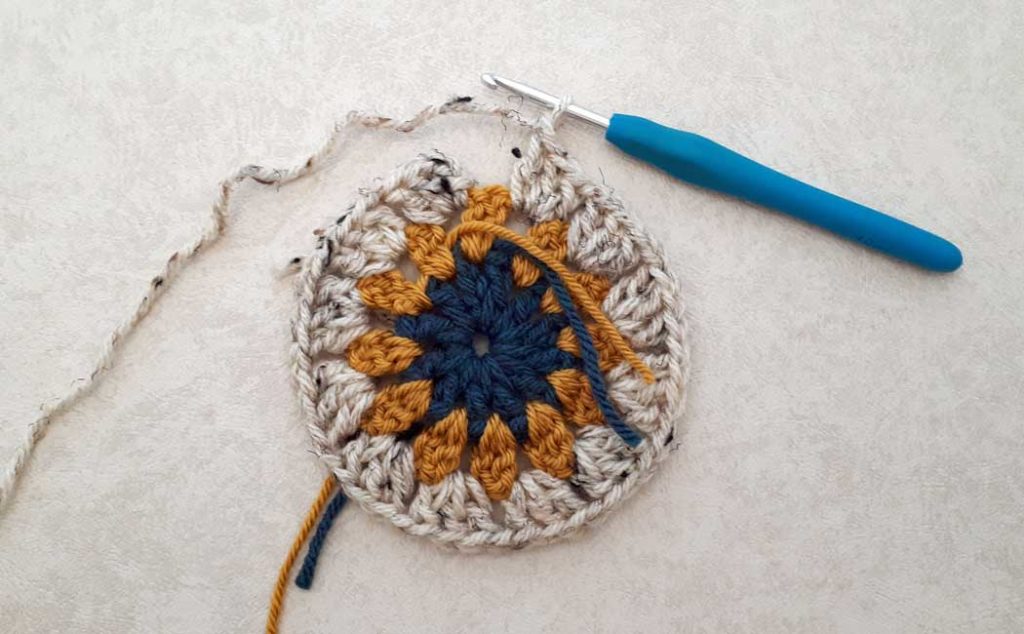
Round three: turn your work, join on a new color in any ch1 sp. Ch 3, 2 dc, ch 1 in same ch1 sp. *3 dc, ch 1 in next ch1 sp. Repeat from * 10 times, join with sl st into 3rd ch of beg ch3, fasten off.
Round four: turn your work, join with a new color in any ch1 sp. Ch 3, 2dc, ch 2 in the same ch1 sp, 4 dc, ch 2 in next ch2 sp, *3 dc, ch 2 in next ch2 sp, 4 dc, ch 2 in next ch2 sp. Repeat from * 4 times, join with sl st into 3rd ch of beg ch3, fasten off.
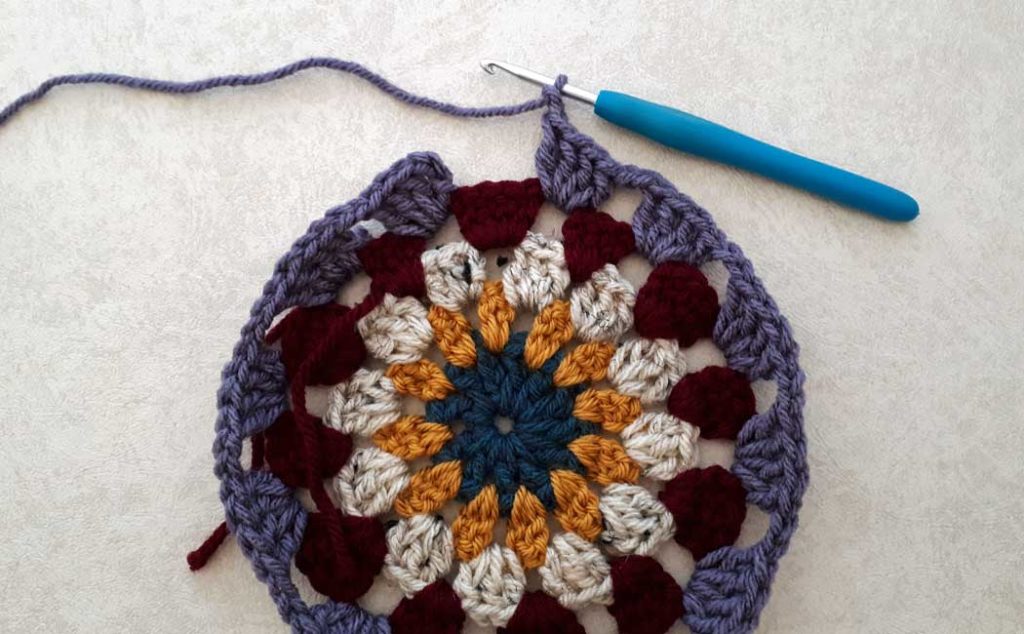
Round five: turn your work, join with a new color in any ch2 sp. Ch 3, 3 dc, ch 2 in the same ch2 sp. *4 dc, ch 2 in next ch2 sp. Repeat from * 10 times, join with sl st into 3rd ch of beg ch3, fasten off.

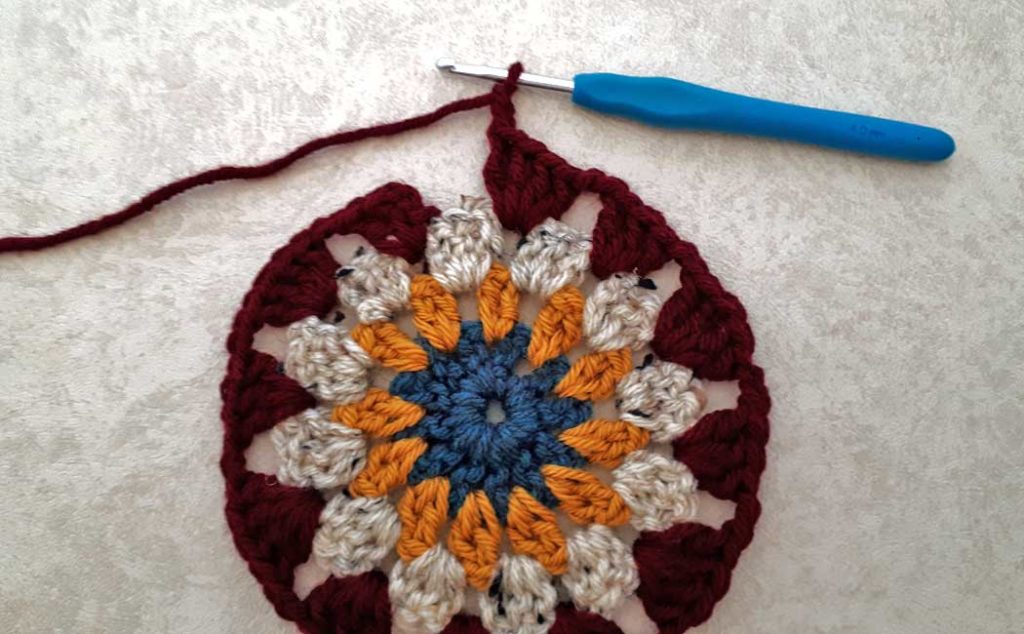
Round six: turn your work, join with a new color in any ch2 sp. Ch 3, 3 dc, ch 1 in same ch2 sp, 5 dc, ch 1 in next ch2 sp. *4 dc, ch 1 in next ch2 sp, 5 dc, ch 1 in next ch2 sp. Repeat from * 4 times, join with sl st into 3rd ch of beg ch3, fasten off. (This round will curl up slightly, but that is ok.)
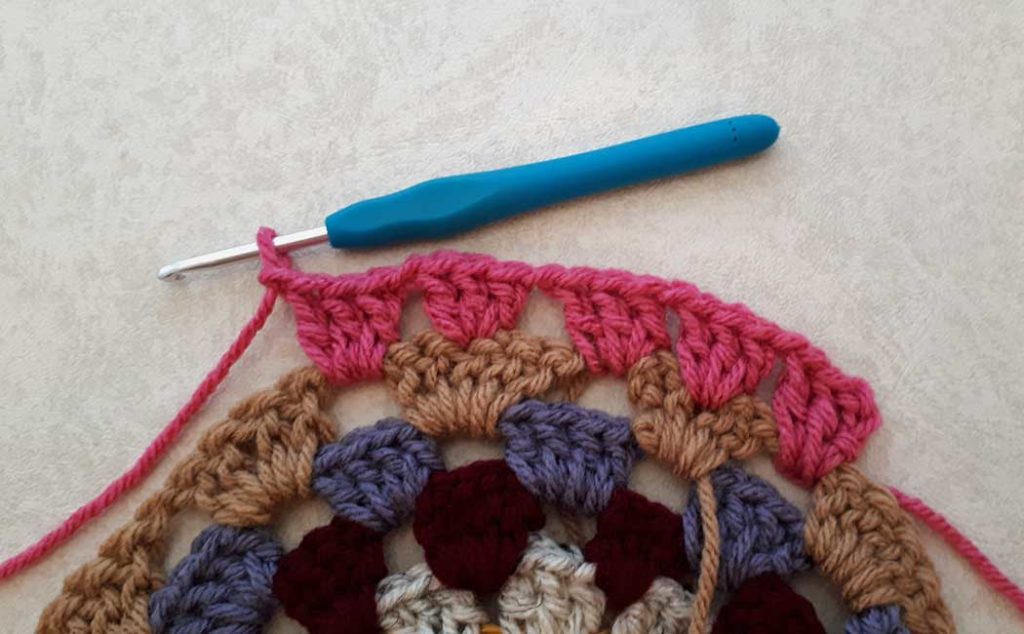
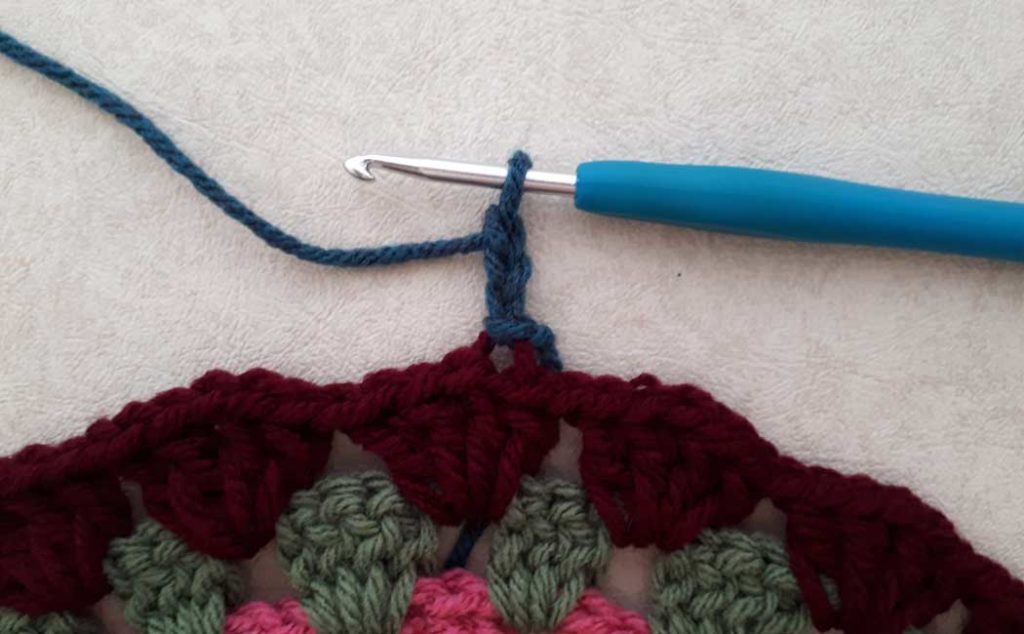
Round seven: turn your work (in the video tutorial and picture above, I joined my new color in the ch1 sp before a cluster of 4dc, but I should have joined on before a cluster of 5 dc…oops, just follow the directions below). If you are working with just one color, then when you turn your work, the first cluster will be the 5dc cluster.
So…join with a new color in any ch1 sp before a 5dc cluster! Ch 3, 2 dc, ch 1 in same ch1 sp, sk 2 sts, 3dc, ch1 in next st (top of middle dc of 5dc cluster), 3 dc, ch 1 in next ch1 sp, sk 2 sts, 3 dc, ch 1 in between 2nd and 3rd st of 4dc cluster. *3 dc, ch 1 in next ch1 sp, sk 2 sts, 3dc, ch1 in next st (top of middle dc of 5dc cluster), 3 dc, ch 1 in next ch1 sp, sk 2 sts, 3 dc, ch 1 in between 2nd and 3rd st of 4dc cluster. Repeat from * 4 times, join with a sl st into 3rd ch of beg ch 3, fasten off.
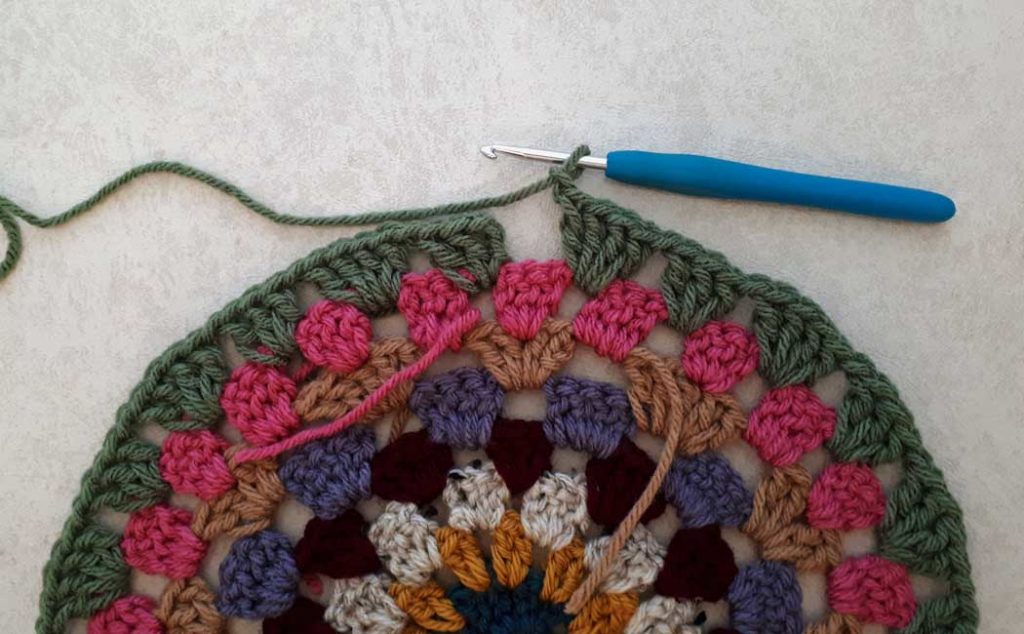
Round eight: turn your work, join with a new color in any ch1 sp. Ch 3, 2dc, ch 1 in same ch1 sp, 4 dc, ch 1 in next ch1 sp. *3 dc, ch 1 in next ch1 sp, 4 dc, ch 1 in next ch1 sp. Repeat from * 10 times, join with a sl st into 3rd ch of beg ch 3, fasten off.
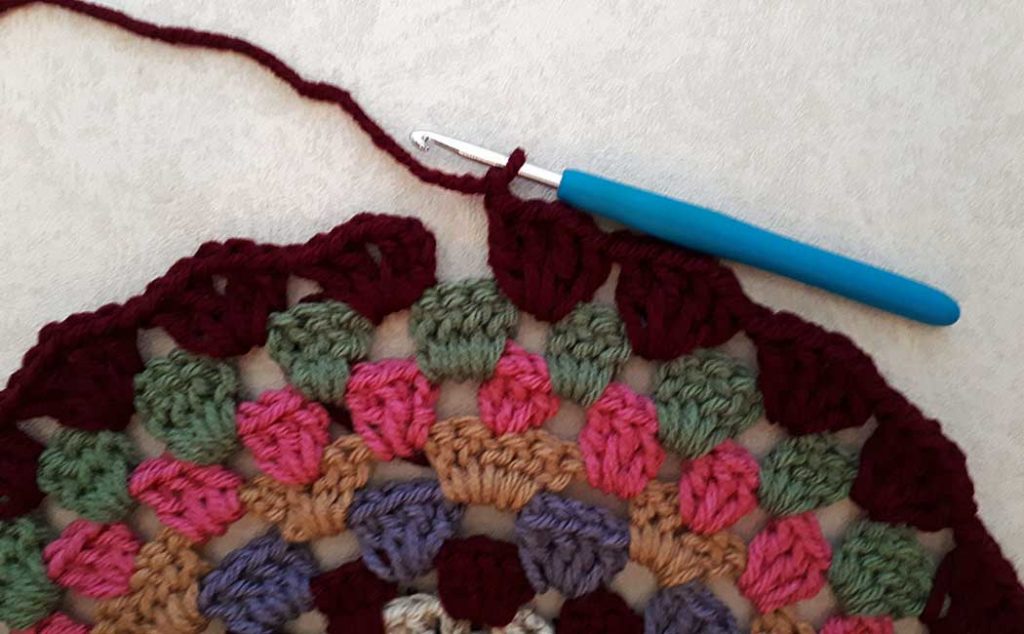
At this point, you can finish the motif with a round of sc, hdc, or dc, it’s totally up to you, but I have two more finishing rounds if you like. Alternatively, you could repeat rounds 4 through 8 in various combinations to create a larger mandala.
As the motif becomes larger, the number of ‘increasing stitches’ required for each round will become less, and in some rounds, an increase may not be required. The way to tell is if the round begins to curl, then the next round needs to be increased.
For example, you may be able to repeat round seven twice before having to increase to the round eight repeat. Feel free to be playful and create a larger pattern yourself! The worst that can happen is that you have to unravel a round and try again (that is how I figure these patterns out). You can usually tell within the first quarter or third of the round if it is working out.
Round nine: Turn your work, join with a new color in any ch1 sp. Ch 3, 1 dc, ch 1, 2 dc, ch 1 in same ch1 sp. *2 dc, ch 1, 2 dc, ch 1 in next ch1 sp. Repeat from * 22 times. Fasten off with an invisible stitch (see video below).
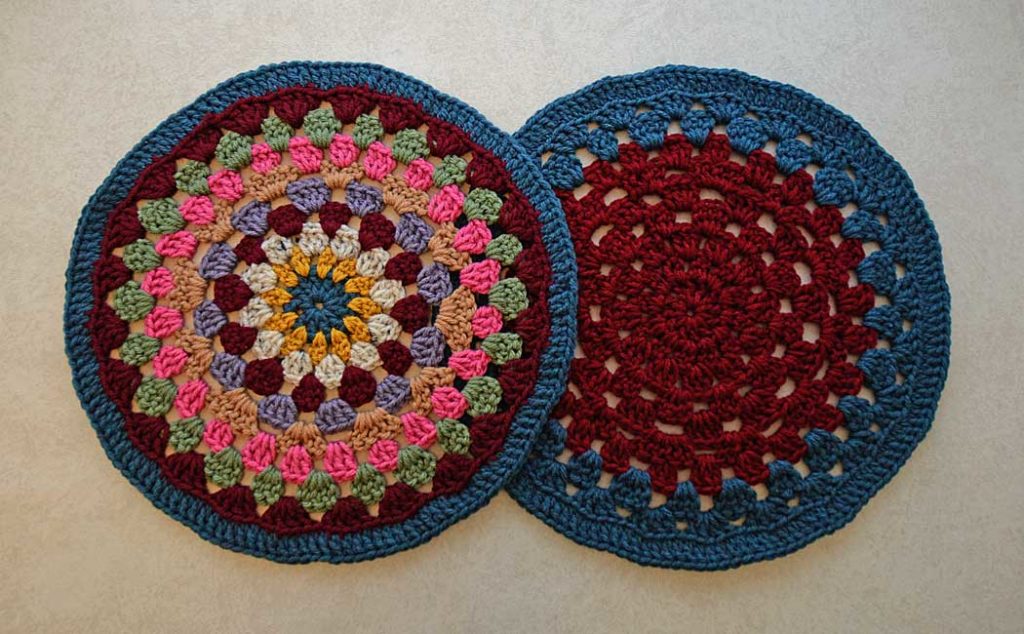
For the final round, decide which side you want to be the front side. This pattern is reversible, but there may be one side that you think looks better.
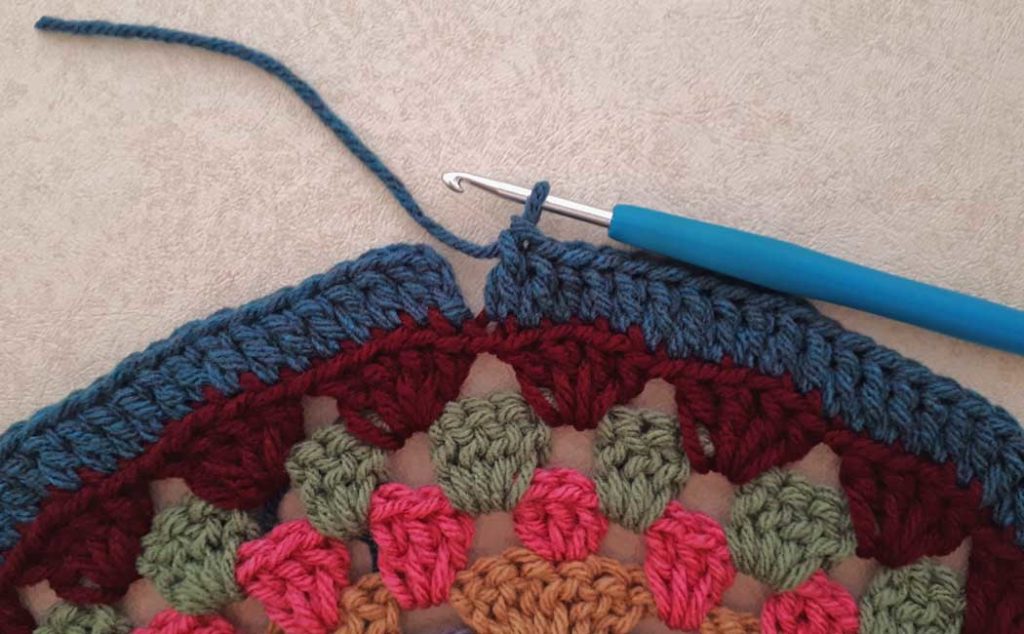
Round 10: Join with a new color into the top loop of any stitch, ch 3. 1 dc in the top loop of each stitch all the way around. Fasten off with an invisible stitch.
Once you have completed your round granny square, you can block it with a hand steamer, or using the traditional method. Next time, I will be doing a tutorial on how to make these round granny squares into a pillow, including how to make the inner pillow form!
I hope you enjoy this pattern and tutorial. As always, I have created a video tutorial if that is your preferred method of learning. There is also a short video tutorial on how to do the invisible finish I refer to at the end of rounds nine and ten.
If you like this tutorial, you may also like:
Sharing is caring…click on the social share button at the top of the page and choose an image from below to share on social media!