Learn how to make this Easy Crocheted Summer Bag with my step-by-step video tutorial. I don’t have a written pattern for this project as my cognitive function has been challenging recently. For those of you who like written patterns, I do apologize, however, the video is very comprehensive and easy to follow! If you are new to crochet, make sure to check out my Beginner Crochet Series to learn all the basics of crochet.
I used acrylic yarn for this project, but I think it would be better suited to cotton yarn. I did start with cotton yarn, but an old arm injury prevented me from getting too far along, so I switched to acrylic, which is much easier to work with. Both the cotton yarn and acrylic yarn are a number four medium-weight yarn, so the supply list is good for either yarn. I do show how to crochet cording, or you can buy cording if desired.
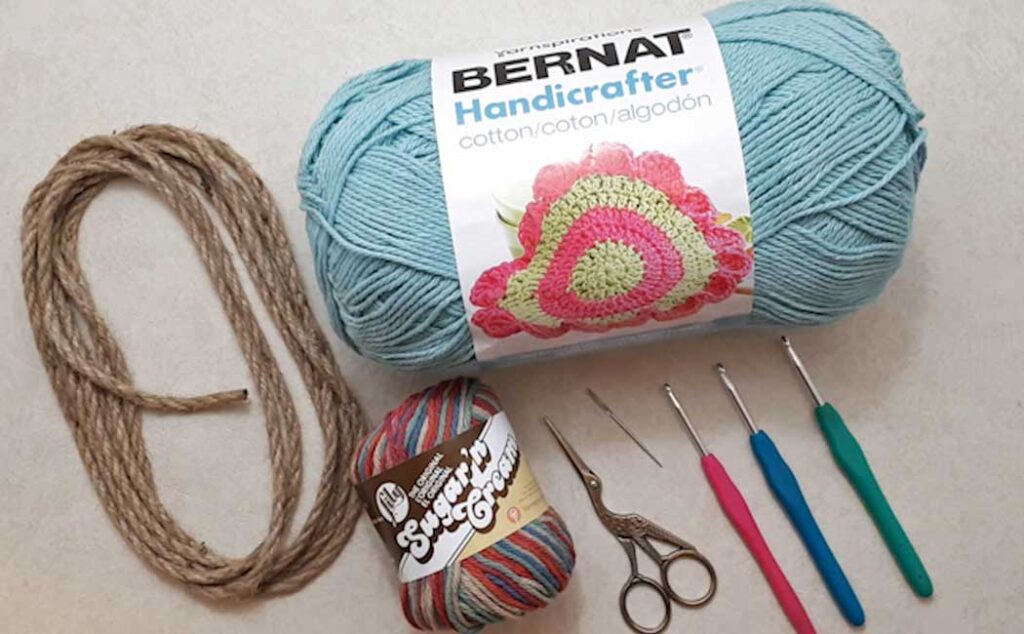
Supply List
- Cotton Yarn 540 yards or 495 meters (360 yards for main color and 180 yards for accent color if desired) Plus extra yardage if crocheting cording.
- Or… acrylic yarn in the same quantity
- 3/8 to 1/2 inch cording: 3.25 yards or 3 meters
- Crochet hooks in sizes: 3.5 mm (E-4), 4 mm (G-6), optional 4.5 mm (7)
- Darning needle
- Scissors
- Large safety pin
Some (but perhaps not all) of the links in this blog are affiliate links to Amazon.com. As an Amazon Associate, I earn from qualifying purchases. This page contains some affiliate links. Please see my policy page for details. I look for the best possible option for your convenience, however, I encourage you to support your local shops!
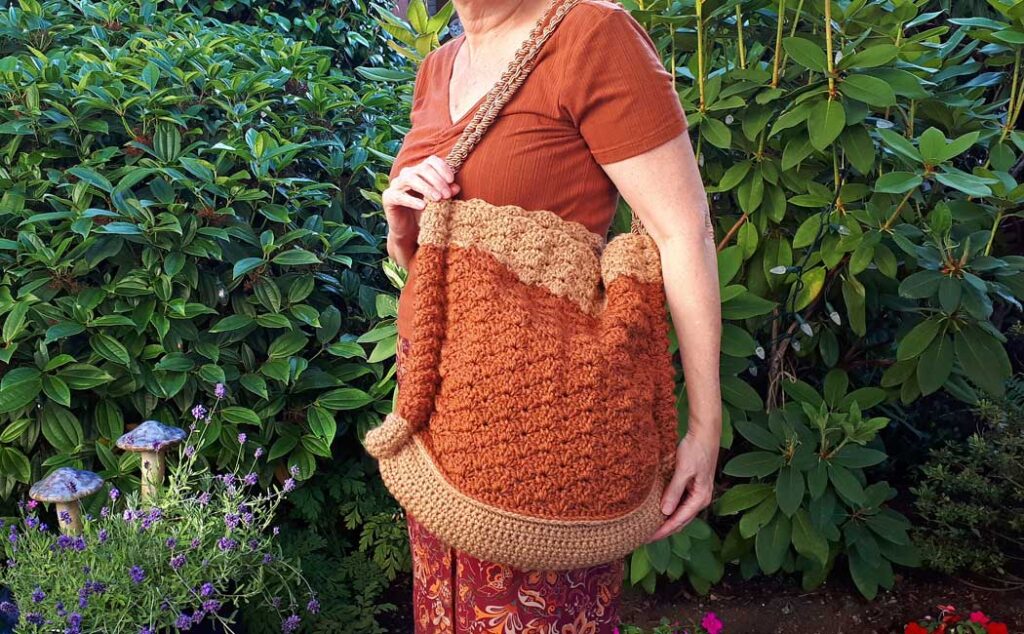
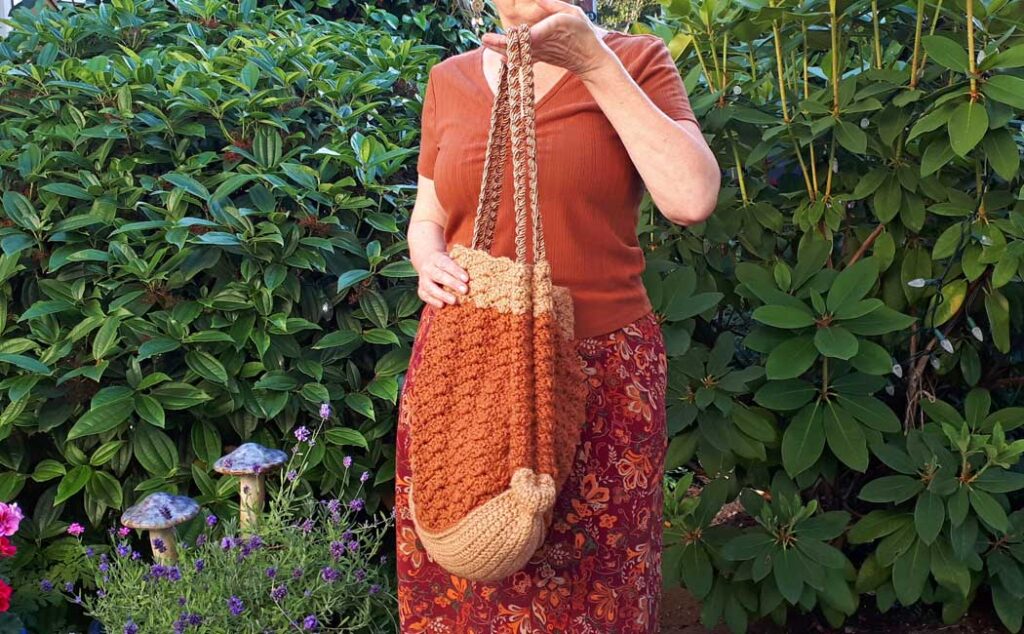
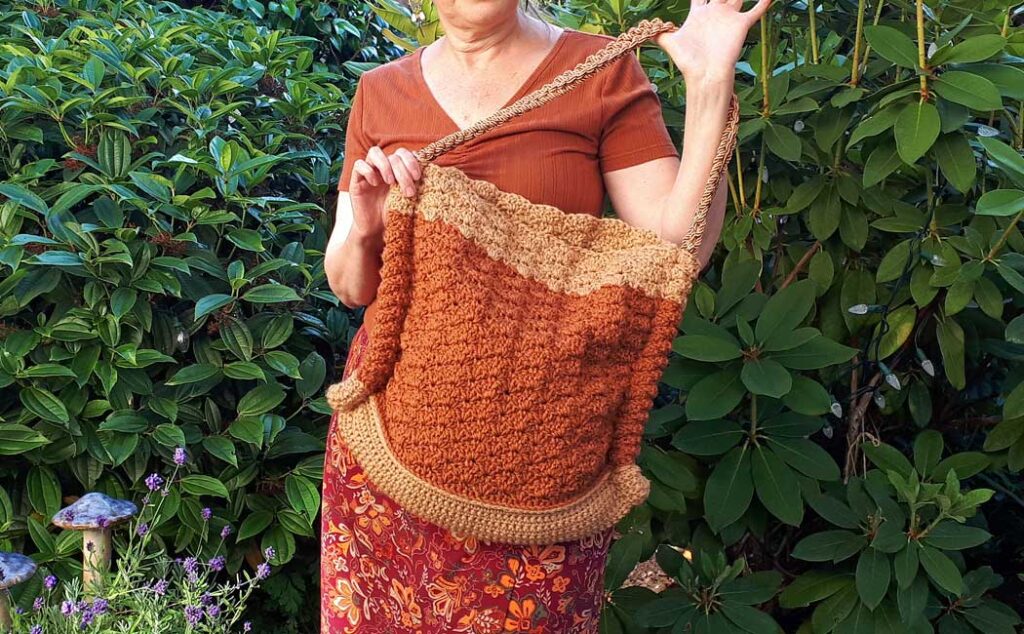
The finished size is 16″ wide by 18″ high
The bag is made by crocheting two panels with a shell design and then a bottom panel of single crochets. They are joined together so the shell pattern has the scallops at the top of the bag on both sides. The video tutorial takes you through the pattern step-by-step, and while there are several steps, nothing about this bag is difficult. Have fun!
In the video tutorial for the Easy Crocheted Summer Bag, there is the option to add a lining to the bag. I have a great video tutorial that shows how to make a hand-sewn lining for any style of crocheted bag. Check it out below!
I also talked about adding beads to the crocheted cording if that was the style of cording you decided to do. You can find that at 20:40 in this video below. Be creative and have fun!
I have a few purse and bag tutorials on my blog and, for the most part, I do offer a written pattern for these projects. Here is the link for all the projects I have on my blog. You may be inspired to mix and match patterns! I always love to encourage people to explore different possibilities using my tutorials and patterns as a guideline. The wonderful thing about crochet is that you can always unravel your work and start again!