Hello creative friends! Today I have a pattern for the Easiest Crocheted Headband Ever! It is a simple repeat of one row and can be made using any yarn you like. It is easy to custom-fit the headband and it crochets up very quickly, so these would be great to make for gifts or to sell at craft shows or online. As always, you can find both the written pattern and a video tutorial here for this project.
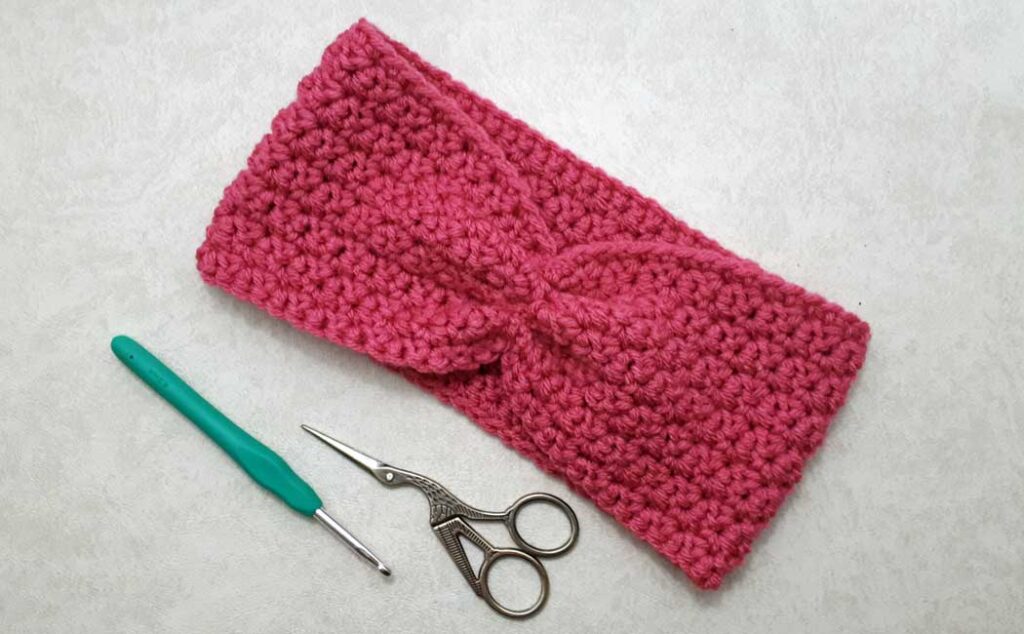
There is no supply list for this pattern because you can use any yarn you like, just make sure to use the recommended size crochet hook for that yarn. I am using the Bernat Premium yarn in Candy Pink. It is a number four medium-weight acrylic yarn. I choose a 4.5 mm (7 US) size hook for the project.
If you are new to crocheting, then I suggest that you check out my Beginner Crochet Series. In this introduction to crochet, I show you how to make a slip knot, how to set up proper tension, and how to do all the basic crochet stitches. I also show how to fasten off and darn in the tail ends. Make sure to check it out.
I do have a few favorite crochet items including this crochet hook set, these embroidery scissors, and this hand steamer.
Some (but perhaps not all) of the links in this blog are affiliate links to Amazon.com. As an Amazon Associate, I earn from qualifying purchases. This page contains some affiliate links. Please see my policy page for details. I look for the best possible option for your convenience, however, I encourage you to support your local shops!
Begin by creating a foundation chain that fits comfortably around your head (or for who you are making it for). It should not be too loose or too tight, you want the ‘goldie locks’ fit. The chain should be an odd number of stitches, so for me, I made my foundation chain 65 stitches which is 19″ (48 cm) in length.
The Pattern for the Easiest Crocheted Headband Ever!
Ch 65 (or an odd number of chains for your desired size), ch 1 for a turning ch.
Note: the foundation chain should be crocheted with a tension that is loose. If you are not proficient with your crochet tension, you can use a crochet hook that is half a size bigger for the foundation chain. Once the chain has been completed, you can return to the regular-size hook.
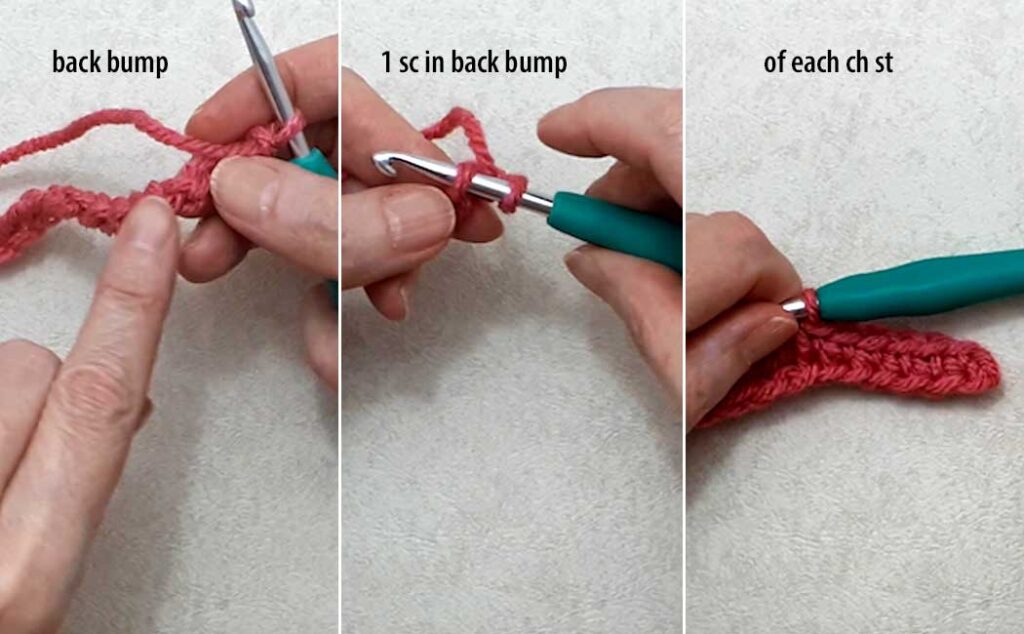
Row one: 1 sc in the back bump of 1st ch (not the turning ch), 1 sc in the back bump of each ch to the end of row (65 sc’s or equal to beg ch, not including turning ch.)
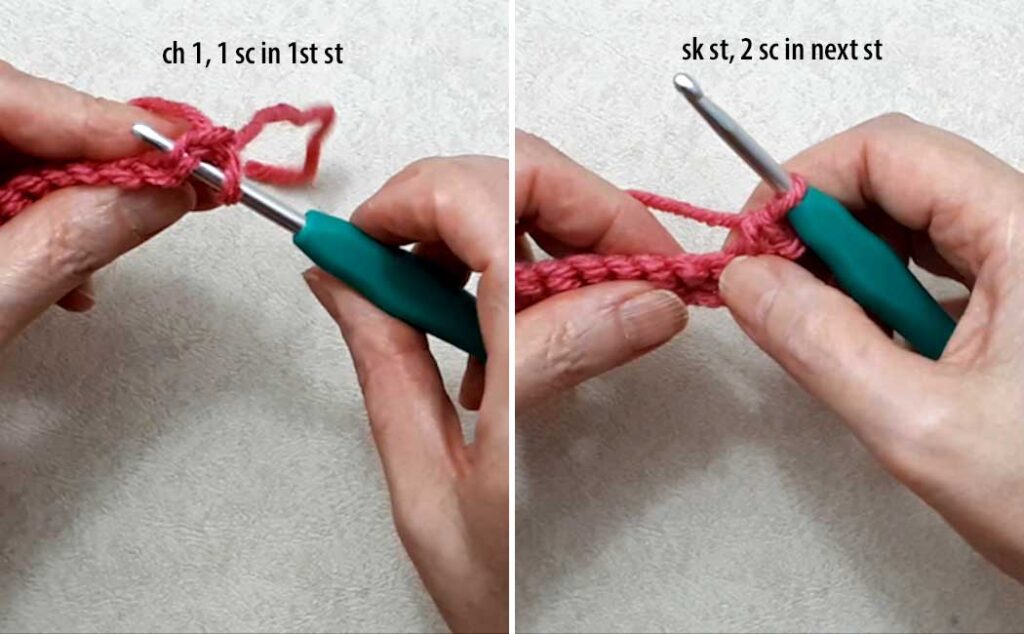
Row two: ch 1, turn your work, 1 sc in the first st (going under both loops), *sk 1 st, 2 sc in next st, repeat from * to the end of the row (finishing with 2 sc in the last st).
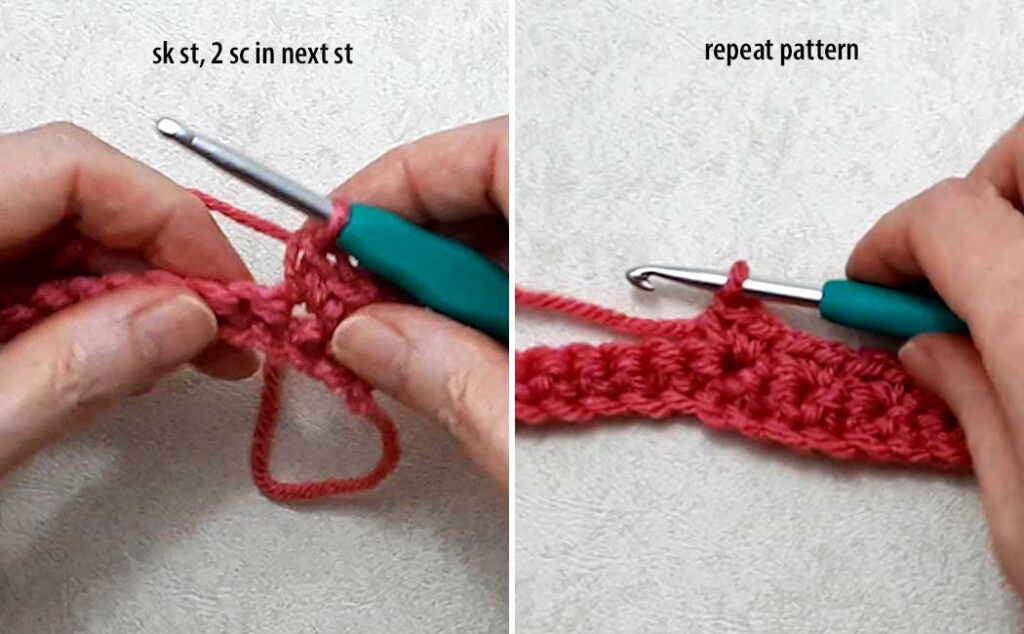
Row 3 and onward: repeat row 2, noting that every row will begin with 1 sc in the 1st st and finish with 2 sc in the last st.
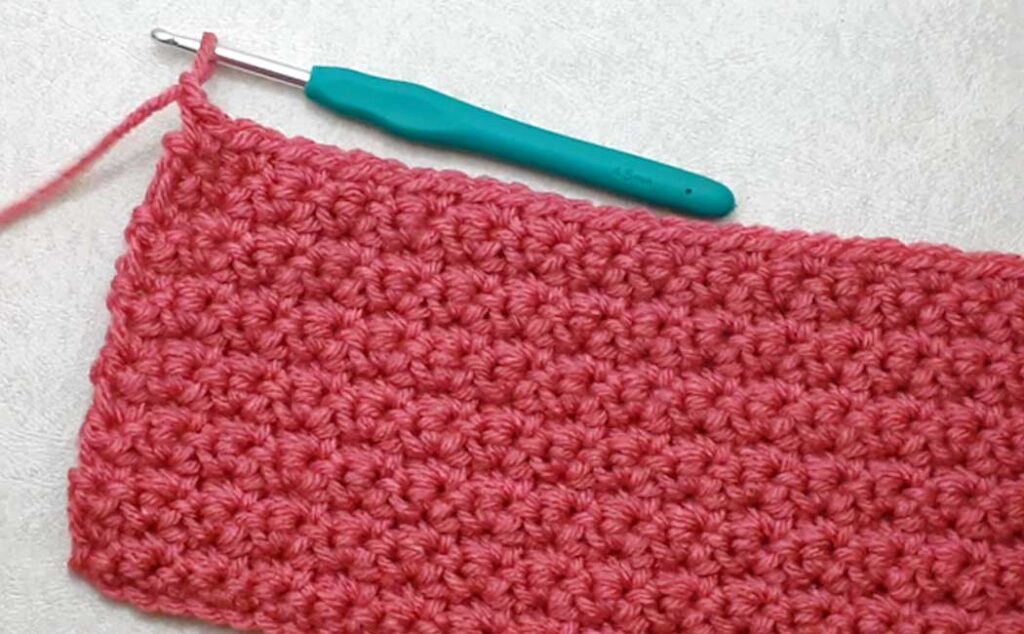
Crochet as many rows of the row two repeat as you like, until the headband is the desired depth. Fasten off and leave a long tail (about 12″ or 30 cm) to use as a gathering stitch. Darn in the beginning tail end.
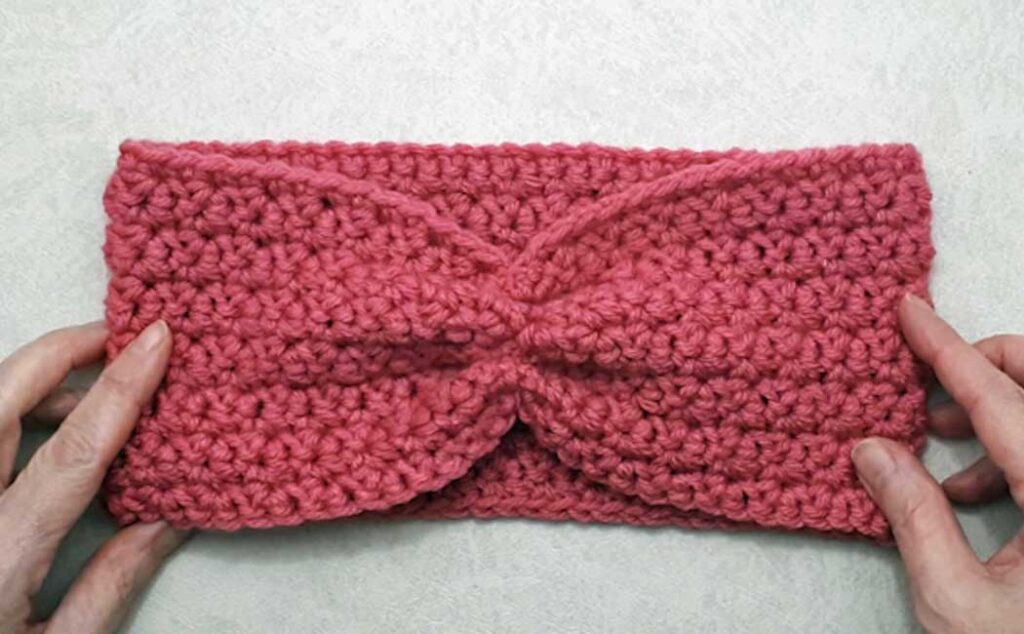
I crocheted a total of 13 rows of the pattern repeat, so including the first row of single crochet, my headband finished with 14 rows. The final measurement of the panel is 19.25 inches by 4.25 inches (48 cm by 11 cm). This is a good size for an average woman or adult teen.
You can block the rectangle fabric at this point using either a hand steamer or a regular blocking technique for crochet. Here is a tutorial from a different crochet channel that is very informative. There will be no “right side” to this fabric, both sides will be the same.
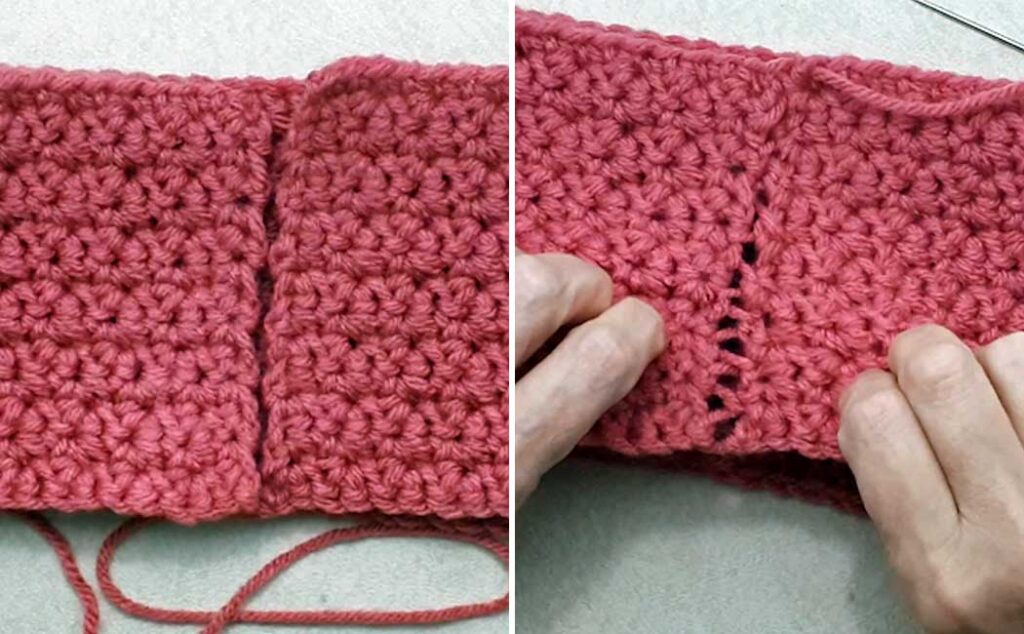
Using the long tail and darning needle for a gathering stitch, sew the short ends of the headband together using a basic back-and-forth stitch. See the video tutorial for more details.
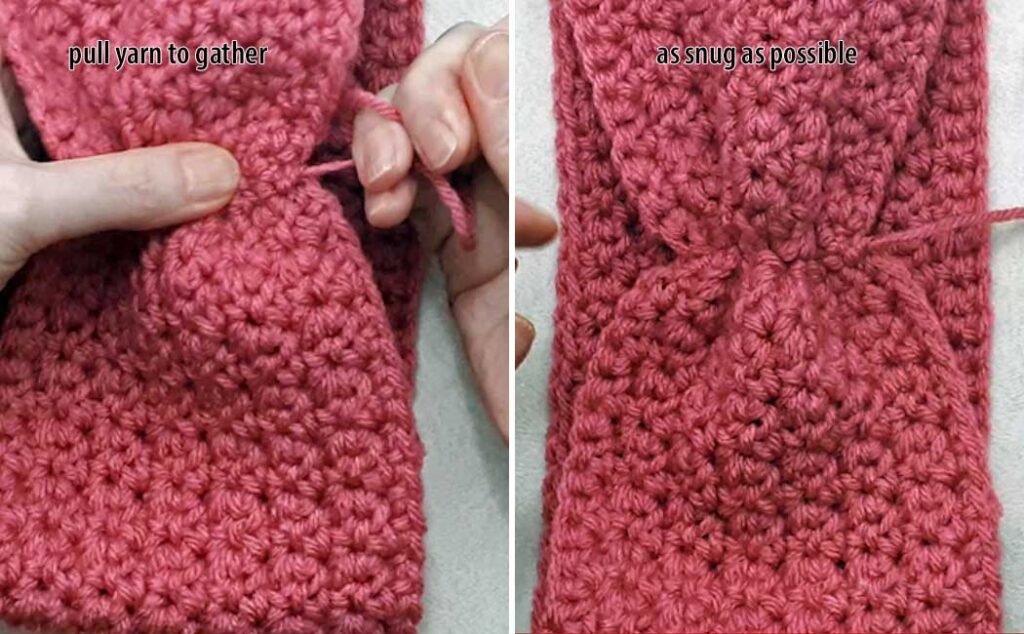
Pull gently on the gathering stitch to gather the seam together. Make it as snug as possible.
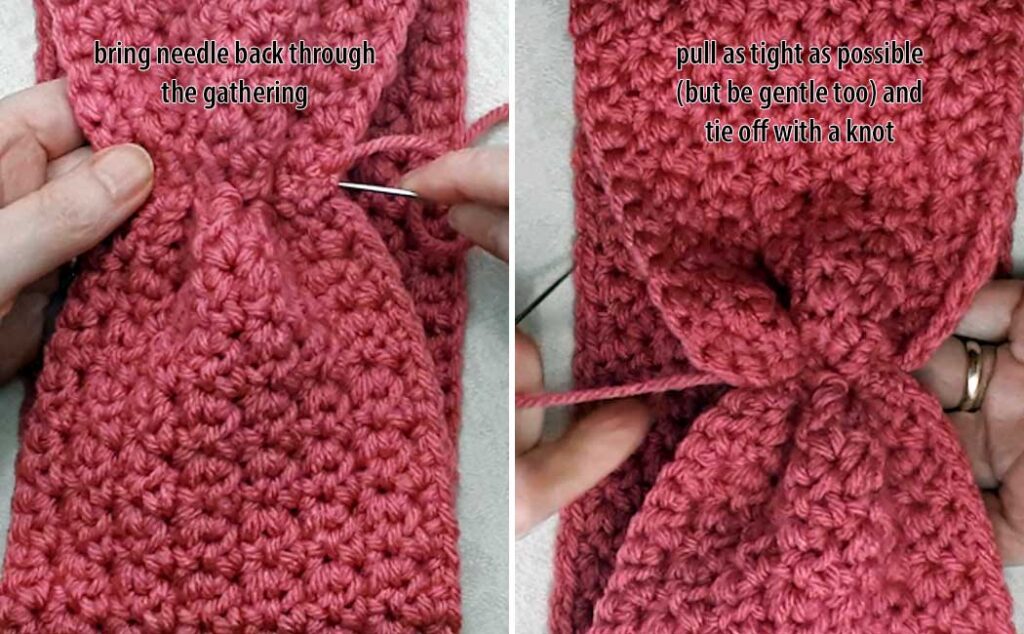
Then bring the needle back down through the gathered section and pull the yarn gently in the other direction. You want the make the gathered section as tight as possible without breaking the yarn. Sew a couple of stitches on this end, tie a knot, and darn in the tail end to the inside of the headband. Then you are done! I hope you enjoyed this pattern for the Easiest Crocheted Headband Ever!
Check out the video tutorial below and have fun!
You can also check out this video tutorial for my headband with a fancy knot finish. You can use the crocheted pattern above and join the fabric together to make the knot design shown in this other pattern if you desire. Just go to the 10-minute mark in this video to see how to make the knot.
If you ever wanted to learn how to design your own crochet patterns, check out this book Crochet Your Way to a Buyer’s Heart. It is a great resource to get you started. You will learn everything from amigurumi design concepts, pattern writing, creative inspiration, and business practices.