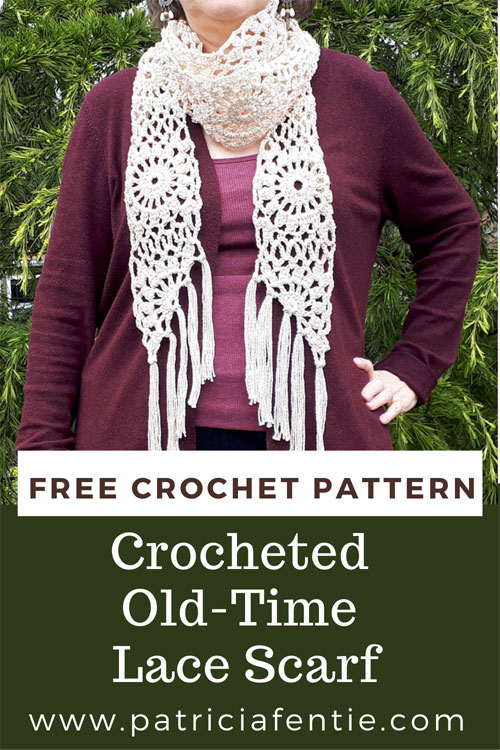
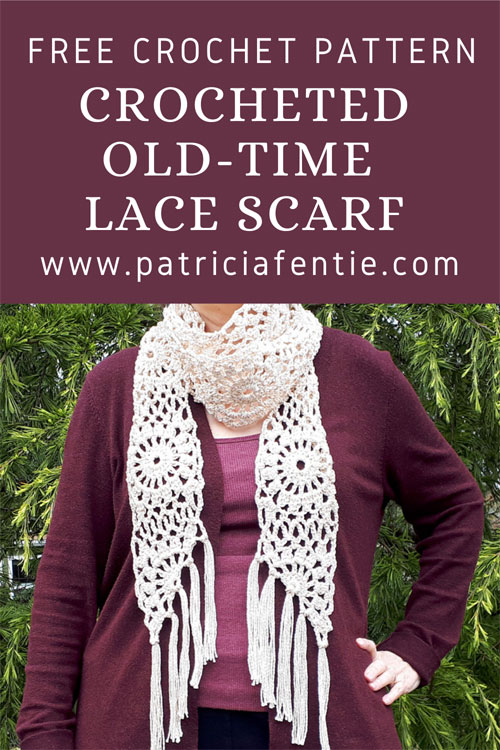
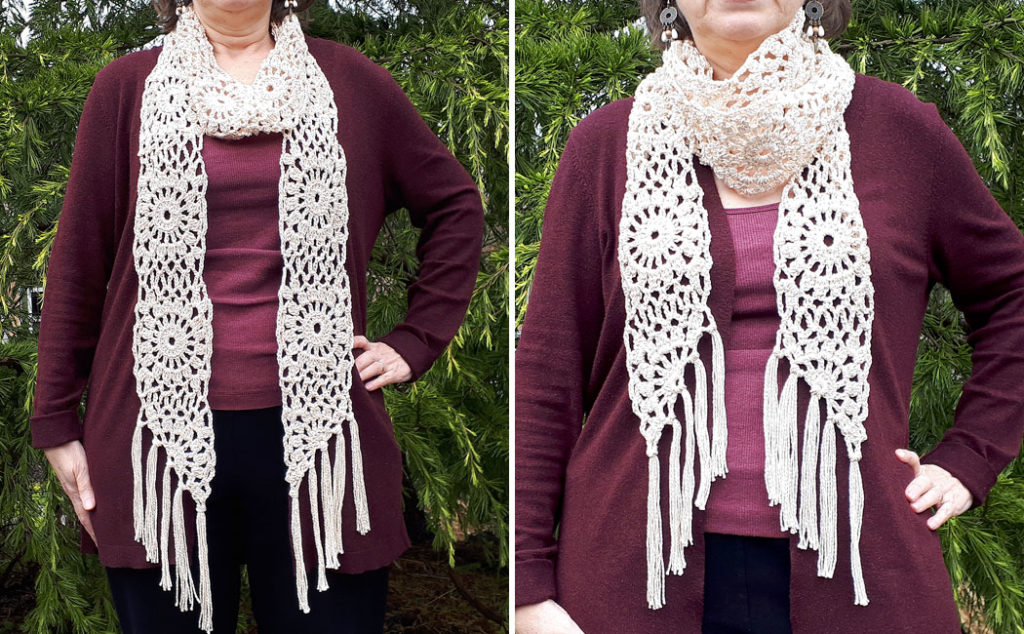
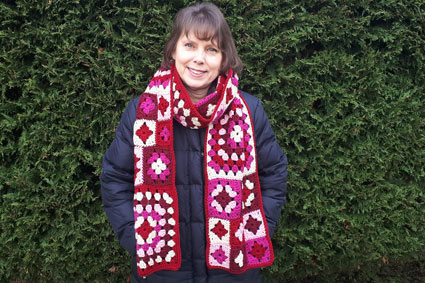
I love how this Crocheted Old Time Lace Scarf turned out! It has a vintage, boho sort of look, yet it is simple and classy. I am using the granny square motif from my Crocheted Old Time Lace Square Pattern from my previous post. In this pattern, I will show how to use a crochet technique to join the motifs together, how to crochet a half square to use at the bottom of the scarf, and how to add tassels. The square motifs, along with the half square motif could also be used in any shawl or sweater design. As always, I have a video tutorial at the bottom of this post for your convenience.
The yarn I am using in this project is a thrift store find, but you can use any number three, light-weight yarn, or a heavy cotton thread. I would recommend a yarn that has some cotton included in the blend to give the scarf some strength. A synthetic yarn may stretch too much. While I don’t know the fiber content or brand of this yarn, I have provided a couple of possible comparable yarns in the supply list below.
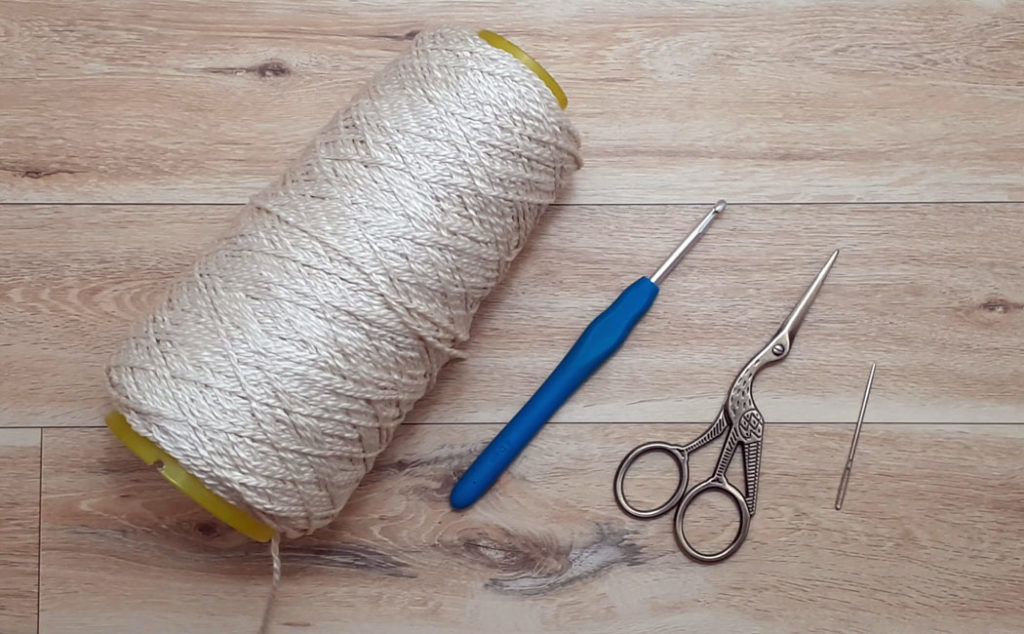
Supply List
- Number 3 light-weight yarn ~ 18 yards (16.5 m) per square (roughly based on yarn choice and personal tension)
- 4 mm (G-6) crochet hook
- Darning needle
- Scissors
- Hand Steamer (recommended)
- Blocking Board (optional)
Some (but perhaps not all) of the links in this blog are affiliate links to Amazon.com. As an Amazon Associate, I earn from qualifying purchases. This page contains some affiliate links. Please see my policy page for details. I look for the best possible option for your convenience, however, I encourage you to support your local shops!
Terms and Abbreviations
- ch = chain
- st = stitch
- sl st = slip stitch
- sc = single crochet
- dc = double crochet
- 3dc cl = 3 double crochet cluster
- yo = yarn over
- beg = beginning
Special stitch ~ 3dc cl: [yo, place hook through sp, yo, draw up a loop, yo draw through 2 loops], 3 times in the same sp, yo draw through all 4 loops on hook.
While this is a slightly more advanced pattern, if you are new to crocheting, make sure to check out my Beginner Crochet Series here. I have several beginner-friendly crochet patterns here on my blog, as well as on my YouTube channel, so after a bit of practice, you can always come back to this pattern!
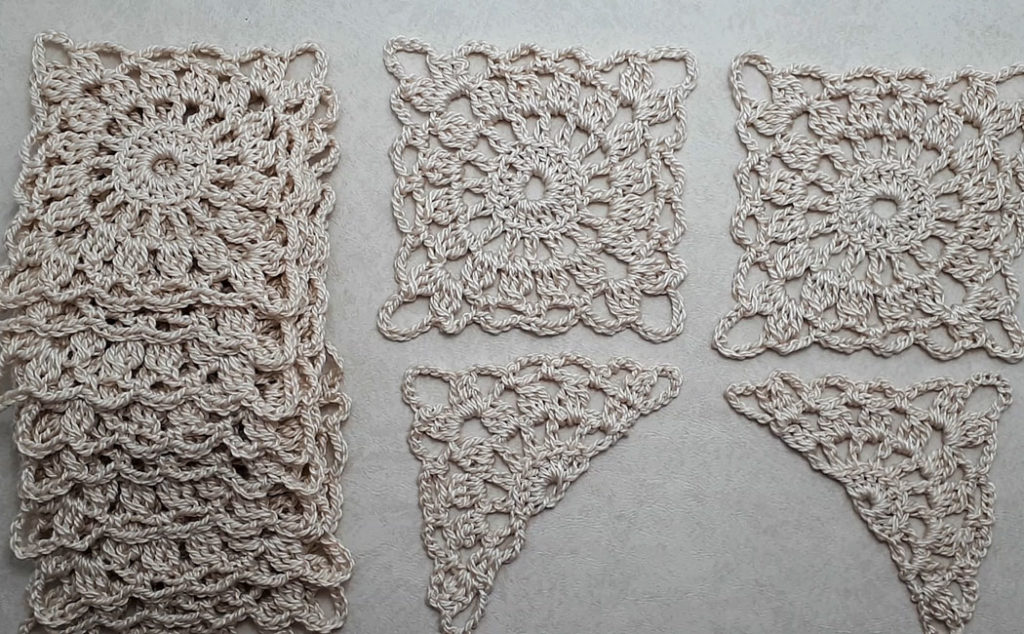
The size of this Crocheted Old-Time Scarf is 5″ x 80″ (12.5 cm x 203 cm), not including the tassels. This is based on my choice of yarn and my tension. You can make this scarf any length you like and you can make it using full squares only, or use half-squares on each end as I have done here. You can add tassels or not…it’s totally up to you! You can make the scarf wider by using two rows of squares. Be creative and have fun!
If you want to make the scarf as I have done here, you will need a total of twelve Crocheted Old-Time Granny Squares (the pattern for that in my previous blog). If you prefer, you can go right to the YouTube video here. You will also need two half-size squares, and I have the pattern for that below!
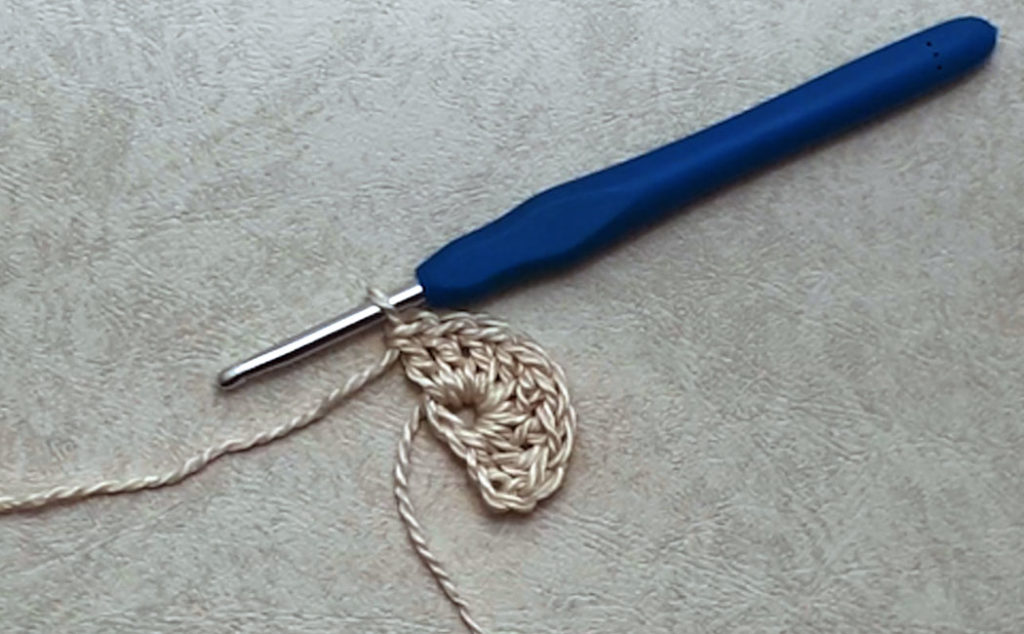
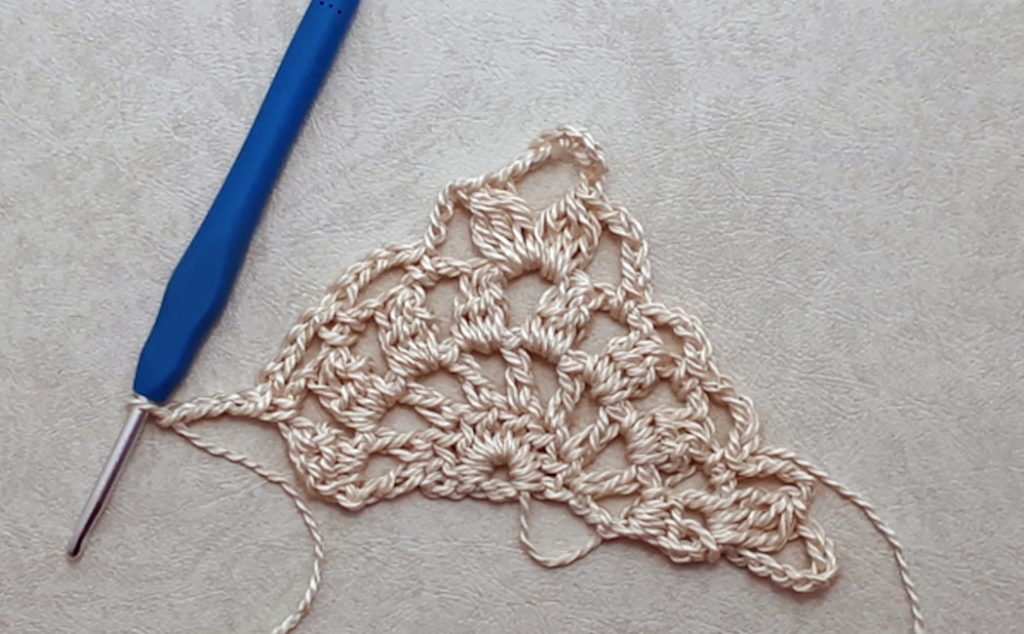
Row One: ch 5, join with a sl st to beg ch1, ch 3 (counts as 1st dc), *1 dc in ring, repeat from * 6 times (8 dc incl beg ch3). Turn your work.
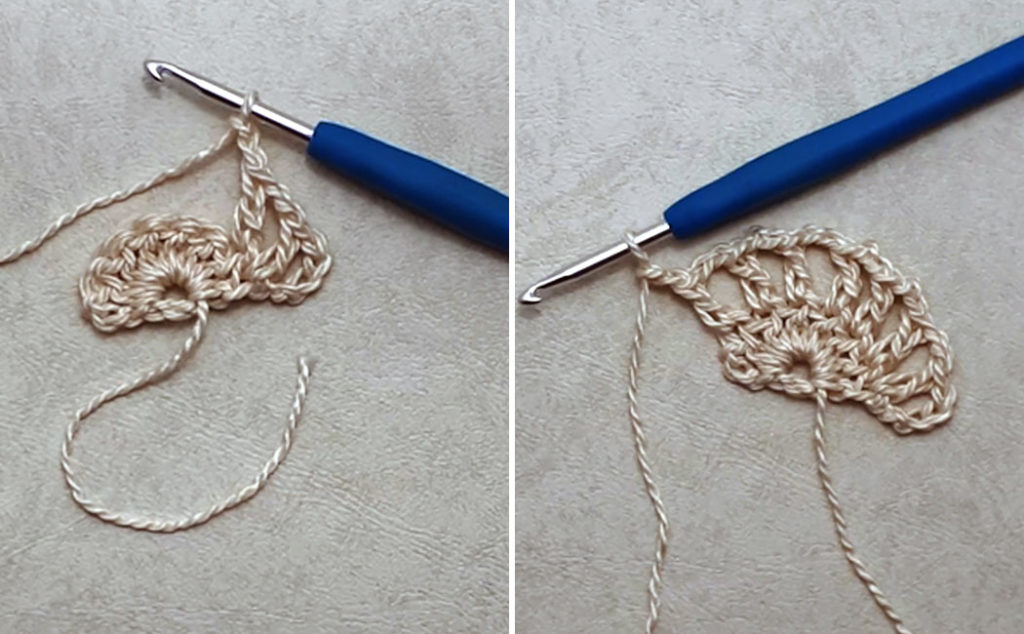
Row two: note-you are working into the backside of the motif, therefore the “back loop and back bump stitches” are now facing you. I will refer to those two stitches as the front bump and front loop, as that is how they will appear to you.
Ch 5 (counts as 1dc, ch2), *1 dc, ch 2 in the front bump and front loop of the same st, *1 dc, ch 2 in the front bump and front loop of the next st, repeat from * 5 times (8 dc, ch2), 1 dc in 3rd ch of beg ch3 from the previous row. Turn your work.
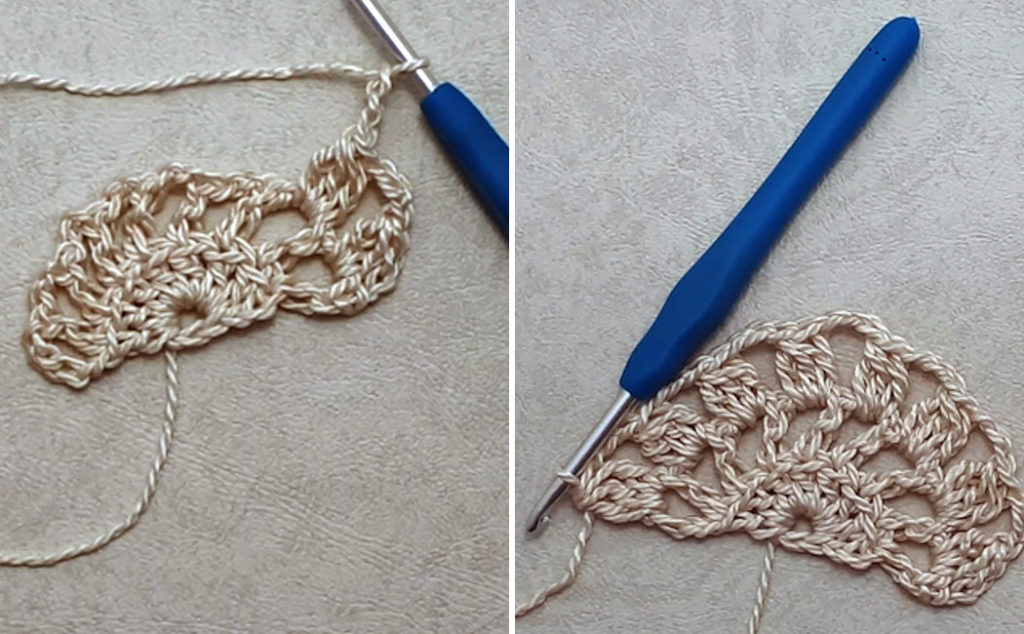
Row three: ch 3, working into the first ch2 sp, [yo, place hook through sp, yo, draw up a loop, yo draw through 2 loops], 2 times in the same sp, yo draw through all 3 loops on hook (beg 3dc cl made), ch 3, *1 3dc cl, ch 3 in next ch2 sp, repeat from * 6 times, but eliminate the last ch 3 (8 3dc cl’s made). Turn your work.
In the pattern for the square motif, I used a chain 8 for the corner spaces. When working on this scarf pattern, I found that some of those chain 8 spaces were a bit bulky. This is because my tension was too loose in some of the corners. In retrospect, I think a chain 7 for the corner spaces would work better, so I’m giving the option to use either number depending on your crochet tension.
Row four: ch 8 (or 7), 1 3dc cl in the top of the 3dc cluster from the previous row, ch 4. 1 sc, ch 4 in next ch3 sp, 3 times, [1 3dc cl, ch 8 (or 7), 1 3dc cl, ch 4] in next ch 3 sp, 1 sc, ch 4 in next ch3 sp, 3 times, 1 3dc cluster in the top of the 3dc cluster from the previous row, ch 8 (or 7), join with a sl st into the 2nd ch of the beg ch3 from the previous row, fasten off.
It is very important to block all of the squares before proceeding to the next step of joining the squares together. You can use a blocking board or a piece of styrofoam with pins. Lay the squares out, shaping them nicely, and then either spritz them with water and allow them to dry or use a hand steamer and allow them to dry (or use your own preferred blocking method).
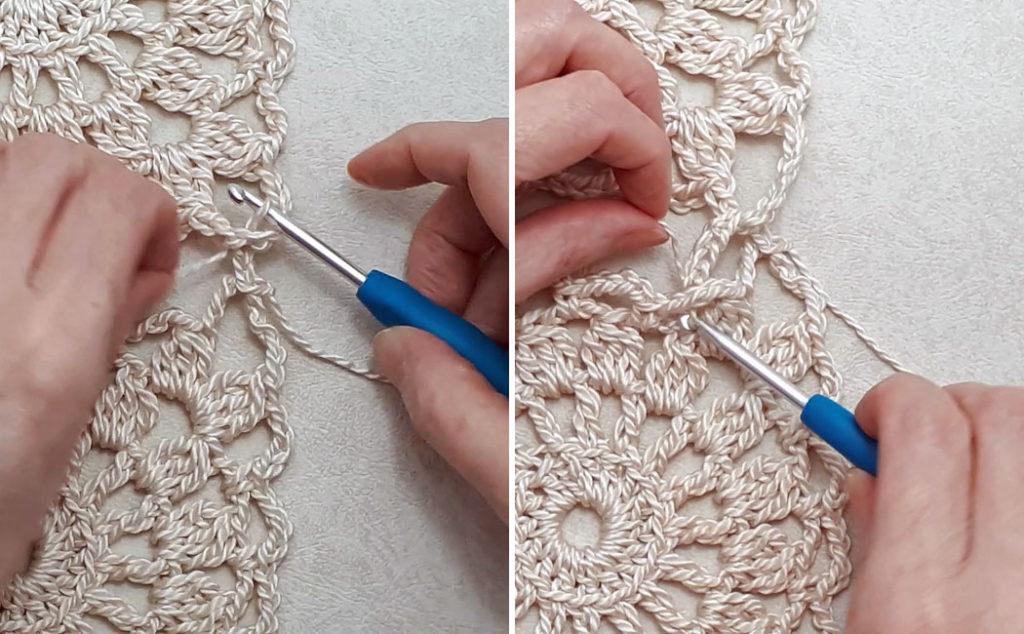
To join the squares together, place two squares, right sides up, one above the other. Join yarn with a slip stitch into the chain 8 (or 7) space of the bottom square. Chain 2, remove the loop from the hook and place the hook into the chain 8 (or 7) space of the top square. Grab the loop and pull it into the space from the bottom and make a slip stitch. Chain 4, remove the loop from the hook, and place the hook into the first chain 4 space of the lower square. Grab the loop and pull it into the space from the bottom and make a slip stitch.
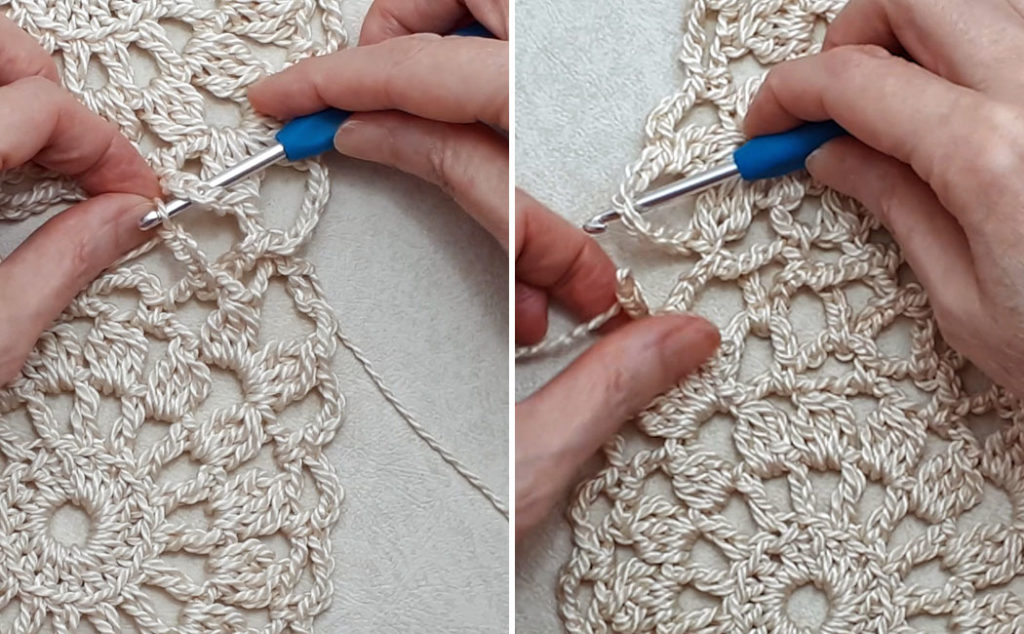
Continue to chain 4 and slip stitch into each consecutive chain 4 space working back and forth between the top and bottom squares until you are at the chain 8 (or 7) space of the lower square. Chain 2 and slip stitch into the last corner space. Fasten off and darn in your tail ends. Continue to join each square in this way including the half squares on each end of the scarf if that is what you’ve chosen to do.
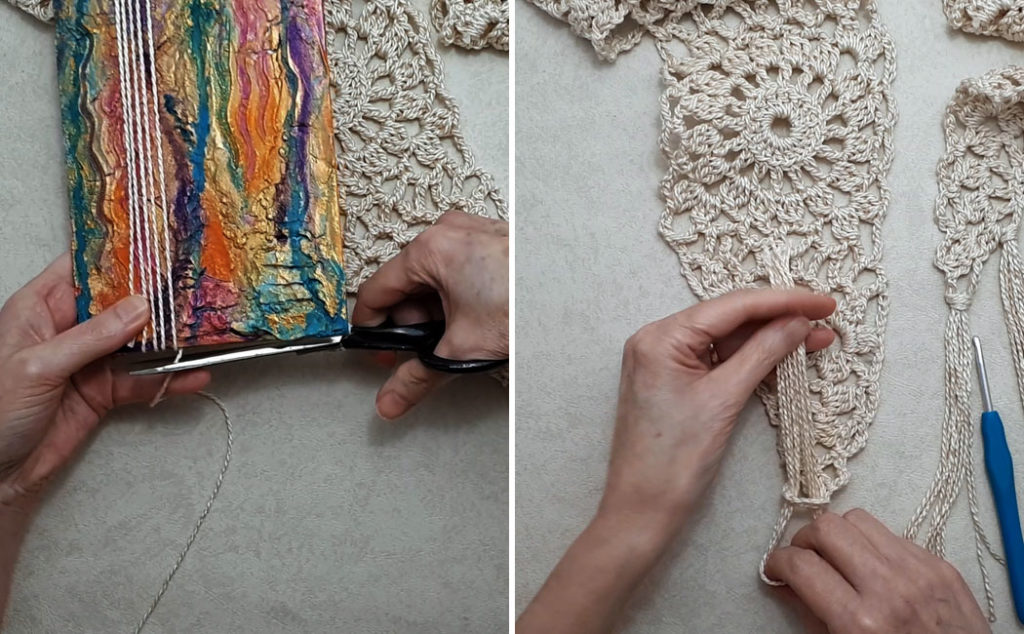
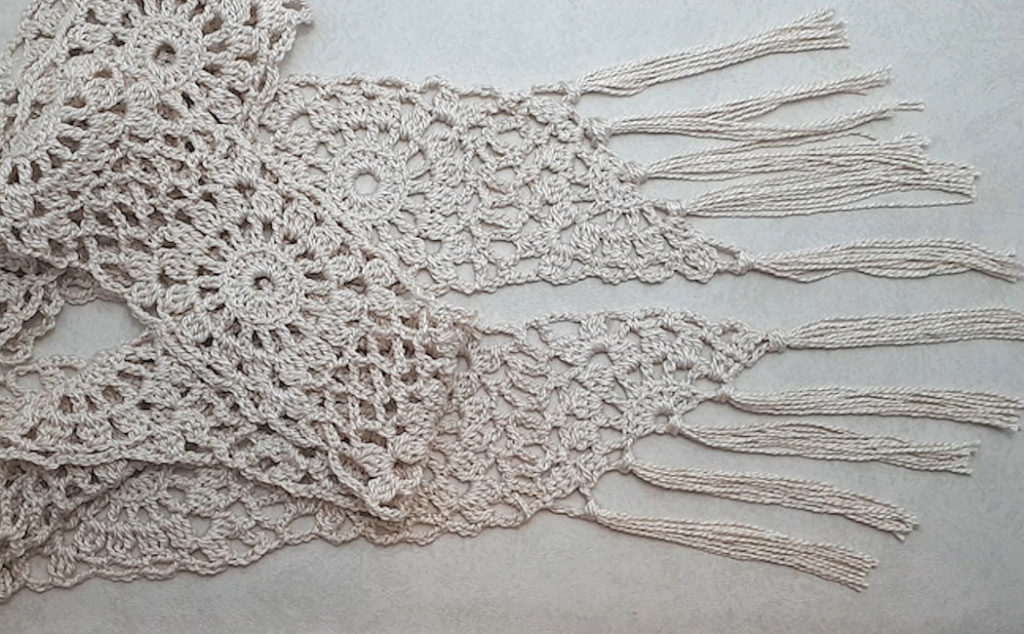
To create tassels, use a jig of some sort that is a bit longer than the length of tassel you want. My jig is 7″ (18 cm) in length. Wrap as many strands as you require. I am doing multiples of 5, which will give 10 strands per tassel and I’m making 5 strands per side. So that is 25 strands per side or 50 in total. Cut at the bottom of the jig to create the tassel strands. Using your crochet hook, pull the set of strands through the corner space as shown above.
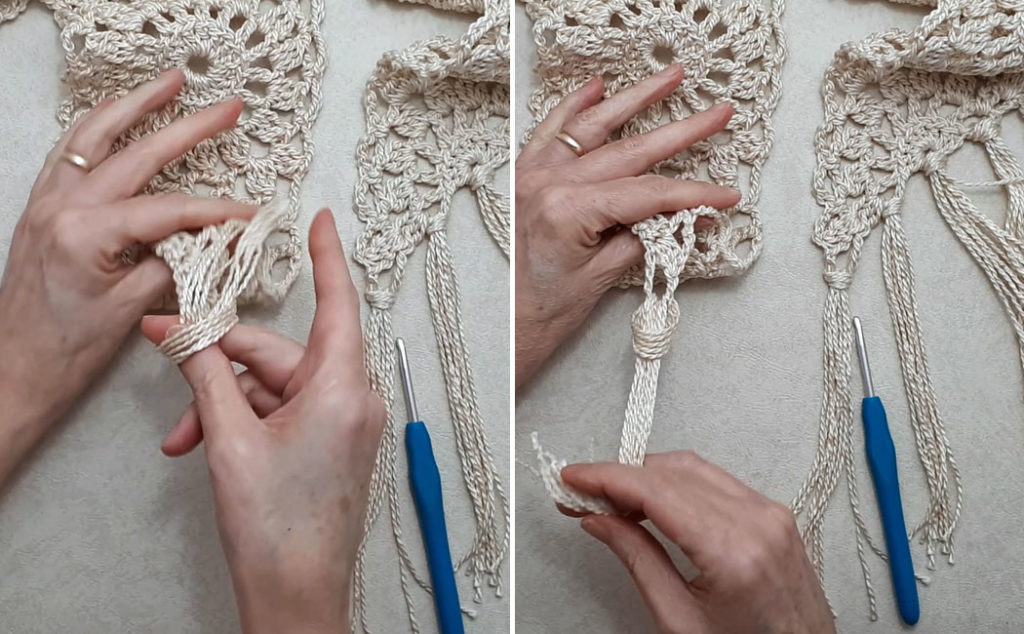
Make a loop (making sure all the ends are nice and straight) and snug the tassel up. Continue to place tassels in the double crochet spaces, the center space, and the other corner. You can use a bit of fabric glue on the knot of each tassel to help prevent them from coming undone.
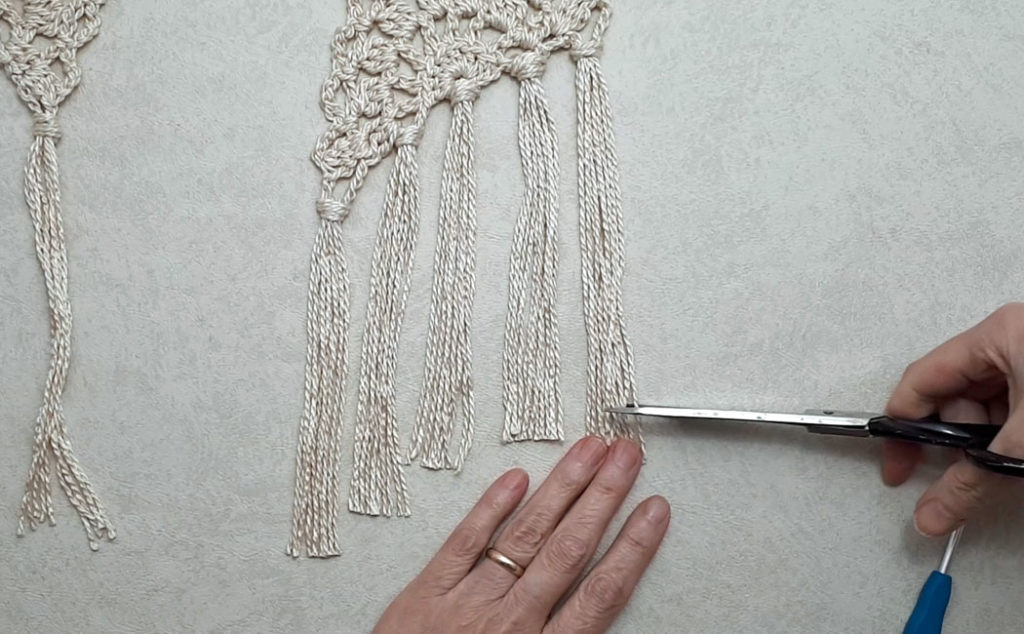
Trim each set of tassels straight across and you are done! Isn’t this the prettiest scarf ever! This pattern can be worn with a single wrap around the neck or with a double wrap. If you don’t want the scarf to be this long, you can eliminate one or two squares from the pattern…it’s totally up to you! I hope you enjoyed this pattern for the Crocheted OldTtime Lace Scarf
A video tutorial for your convenience!
If you like this pattern, you may also like:
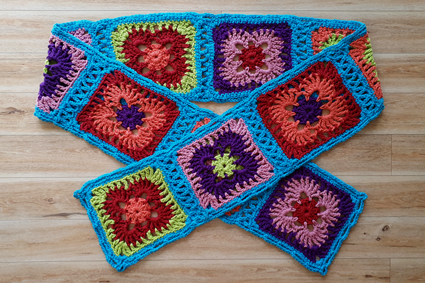
Sharing is caring! Click on the social share button at the top of the blog and choose an image from below to share on social media.