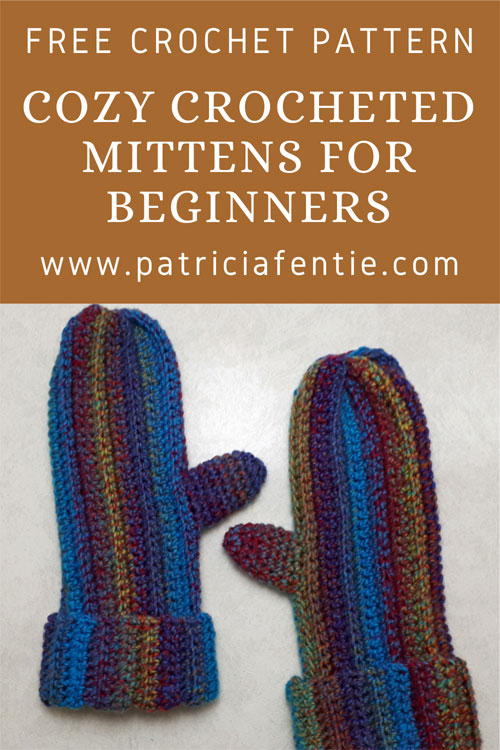
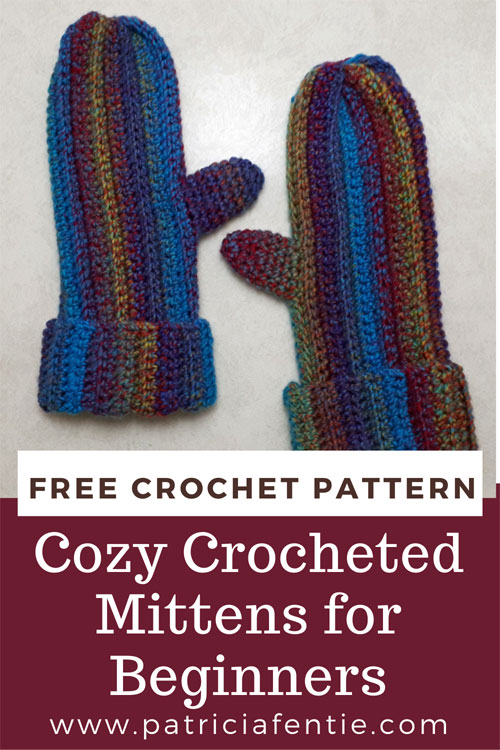
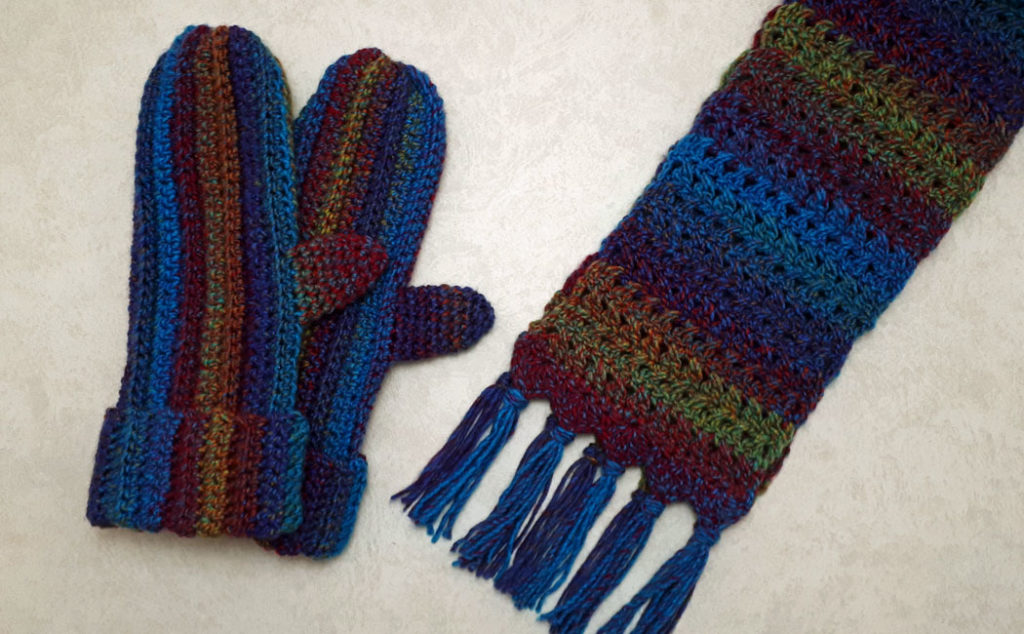
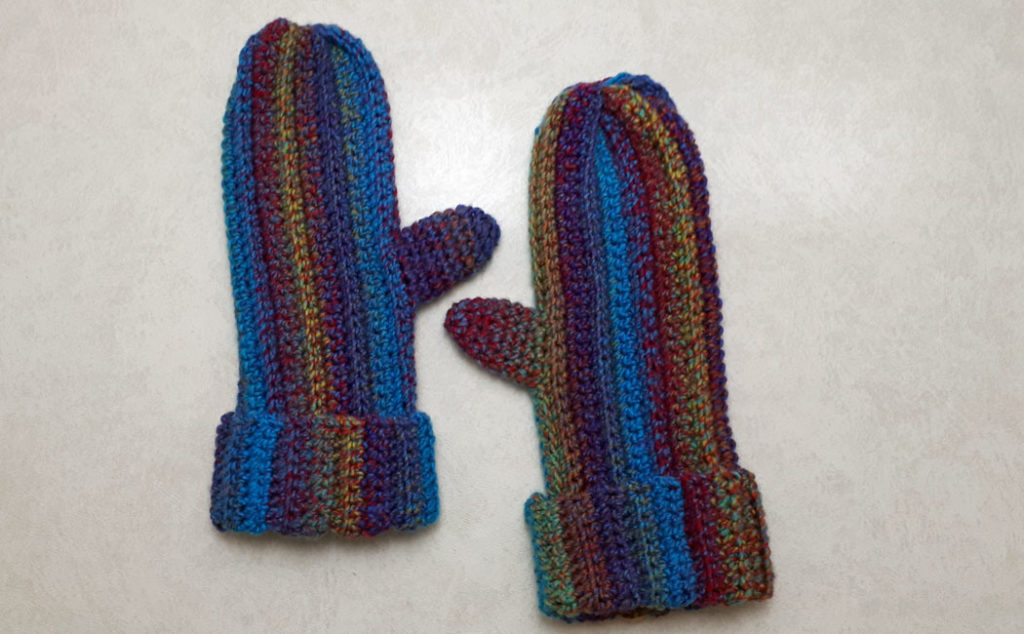
Learn how to make these Cozy Crocheted Mittens for Beginners! This crochet pattern is very easy and is absolutely suited for beginners. The body of the mittens is made using a simple single crochet stitch pattern and the thumbs are easily added later. I designed this pattern so the mitts can be made to fit any size hand, so there is no actual stitch count to follow, although I will be providing the exact pattern and stitch count I used to fit my hands.
I have created a step-by-step video tutorial and that can be found at the bottom of this post. Unfortunately, I completely forgot to take photographs of each step of the pattern. I do have the written pattern below, and if there are any steps that are not clear, you can always check out the video tutorial for clarification. If you are new to crocheting, I do recommend my Beginner Crochet Series that shows everything you need to know to create this project.
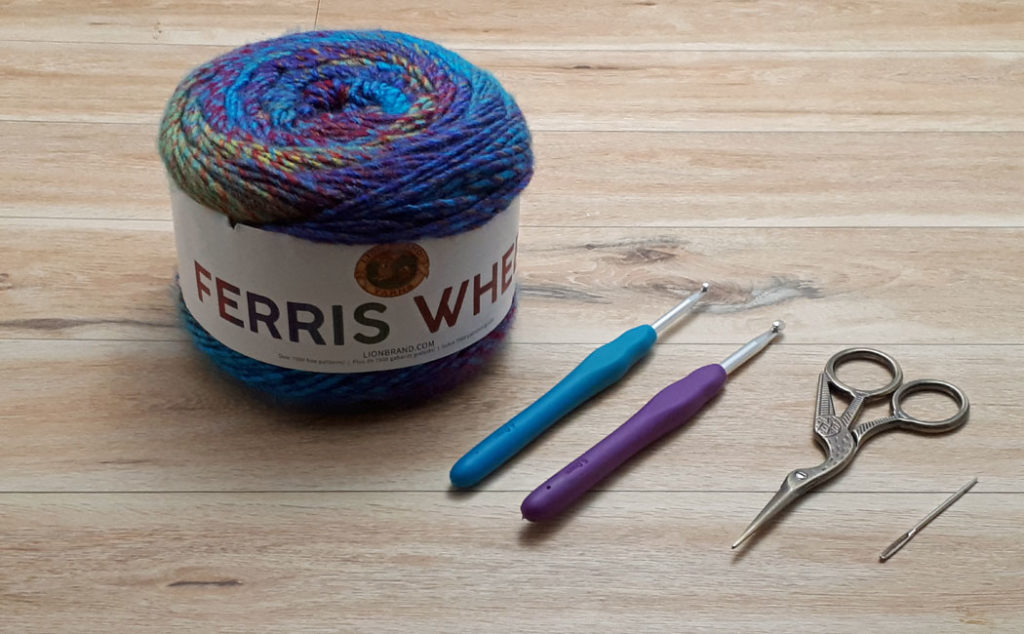
The supplies you will need are:
- Lion Brand Ferris Wheel Yarn in Vintage Carousel: 3oz (85g) 270yd (247m) 1.25 balls or 340yd (310m)
- or equivalant amount of any number 4 medium weight yarn
- G-6 (4mm) crochet hook
- H-8 (5mm) crochet hook (optional)
- Darning needle
- Scissors
- Stitch markers
- Handsteamer (optional)
Some (but perhaps not all) of the links in this blog are affiliate links to Amazon.com. As an Amazon Associate, I earn from qualifying purchases. This page contains some affiliate links. Please see my policy page for details. I look for the best possible option for your convenience, however, I encourage you to support your local shops!
When I created the Hugs and Kisses Scarf pattern, I had a partial ball of the Lion Brand Ferris Wheel yarn left. I didn’t measure how much there was, but I estimated there were about 230 yards (210 m) remaining. As is often the case, it was a bit of a gamble if there was enough yarn left for this project.
I did a sample, calculated how much I needed (which was about 110 yards per mitten), and thought I was safe. What I forgot to include in the calculations were the thumb sections! As a result, I had just enough yarn leftover from the scarf project to crochet these mittens. Therefore, I recommend that you start with a full ball of yarn as recommended above…unless you are making smaller mittens.
Helpful Information
- Gauge: 16 stitches = 4″ (10 cm) and 16 rows = 4″ (10 cm)
- ch = chain
- st = stitch
- sc = single crochet
- sctog = single crochet two together
- yo = yarn over
- tch = turning chain
Special stitch: sctog
Place hook through next st, yo, pull loop through the st, leaving 2 loops on the hook (do not complete the sc), place hook through next st, yo, pull loop through the st, with 3 loops now on the hook, yo and pull through all 3 loops.
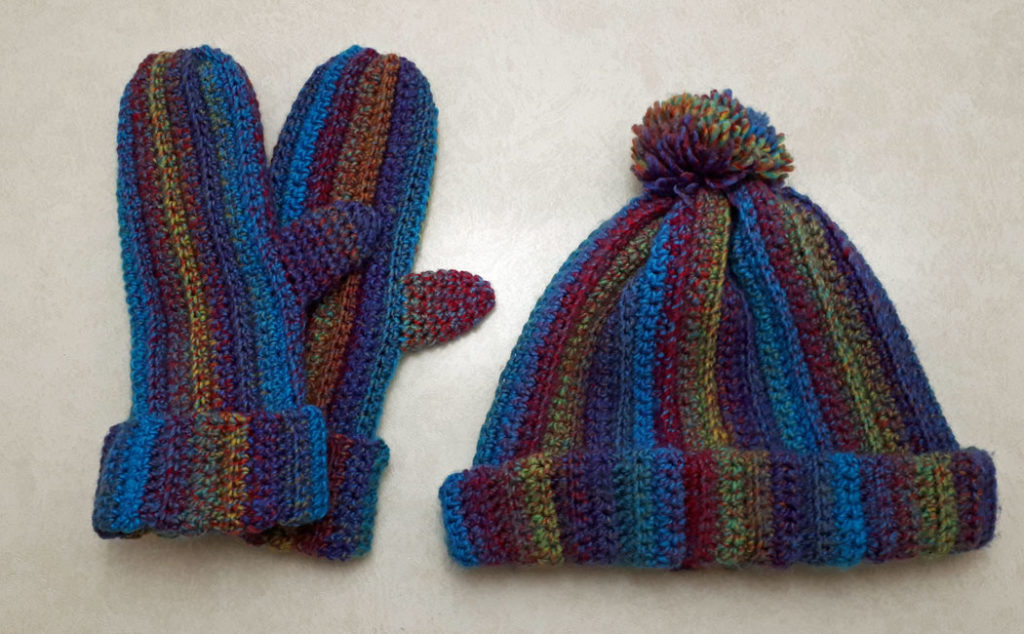
I designed these mittens to match the Easy Crocheted Hat for Beginners. This set would be perfect to make for craft fairs or to give as a gift to give at Christmas, or at any time of the winter season. You can find the pattern for the hat here.
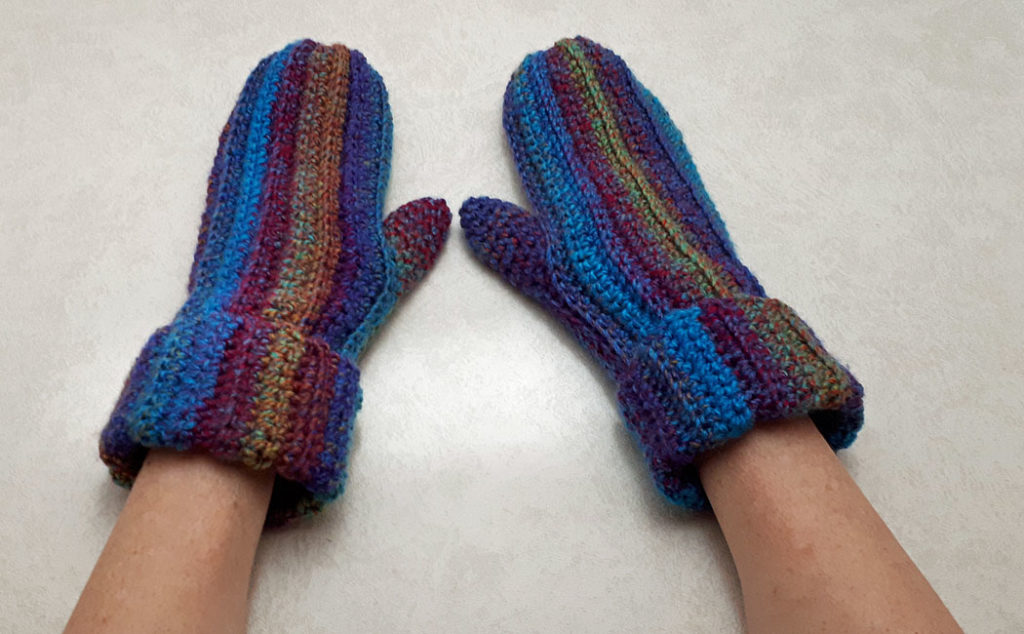
These Cozy Crocheted Mittens for Beginners are made by creating two panels that are a rectangle shape. They are then sewn together on the long edge, gathered at the top while leaving a gap for the thumbholes. The thumb section is then added at the end.
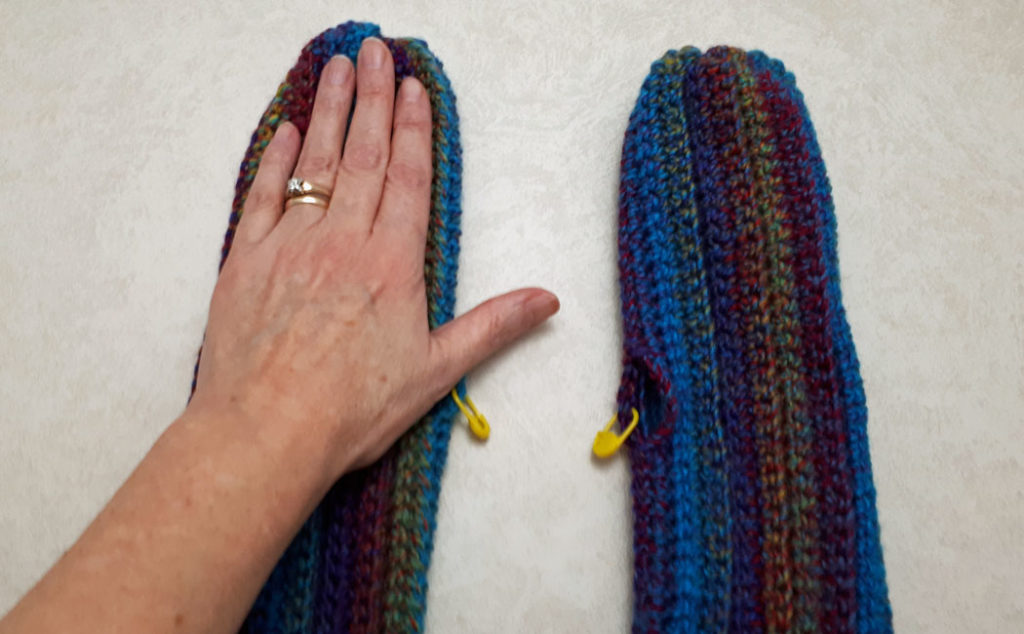
To begin, you want to measure the diameter of the widest part of your hand just below the knuckles and around the palm. Mine measured 7″ (18 cm). This will be the width of each panel. Then measure from the base of your wrist (where it bends) to the tip of your middle finger. Mine measured 7″ (18 cm) as well. To this measurement, add 5.5″ (14 cm) for the cuff and 0.5″ (1 cm) for the tip. This gives the total height or length of the mitt, which for me, is 13″ (33 cm).
You will then crochet two panels that measure 7″ (18 cm) wide by 13″ (33 cm) high, or the size that your calculations work out to. If you are making mittens for a child, then you can make the cuff section shorter, perhaps 4″ (10 cm) to 5″ 12.5 cm), depending on the age of the child. Alternatively, you can make the cuff section longer, if you are making mittens for large hands, or if you want a bigger cuff section.
Pattern
Create a foundation chain to the height of your calculation. This foundation chain should be very loose and if you are not proficient with your crochet tension, I recommend using an H-8 (5 mm) crochet hook for this step and row one, otherwise, use the G-6 (4 mm) crochet hook being mindful to use loose tension. I also measure the foundation chain by gently stretching it, rather than measuring the chain in a relaxed state. For me, the foundation chain (relaxed) was actually 12″ (30 cm) but gently stretched, it was 13″ (33 cm). My chain count was 50 chains.
Row one: ch 1 (counts as a tch), 1 sc in the top loop of the next st (not the tch), 1 sc in the top loop of each stitch to the end. (50 sc’s or as many as was the number of chains in your foundation chain) *Note: after this point, row one will begin with 1 sc in both loops of the first st, and then 1 sc in the top loop of each st thereafter.
Each row will have the number of stitches that you started with your foundation chain, not including the turning chain. So for me, each row has 50 single crochets. If you have been using the larger crochet hook, switch to the G-6 (4 mm) crochet hook for row 2 and the rest of the pattern.
Row two: ch 1 (counts as a tch), 1 sc in the top loop of each st, 1 sc in both loops of the last st.
Row three: ch 1 (counts as a tch), 1 sc in both loops of each st, 1 sc in the top loop of the last st.
Row four: ch 1 (counts as a tch), 1 sc in the top loop of the first st, 1 sc in both loops of each st to the end.
Repeat rows one through four until you have each panel to the desired width. For me, that worked out to 30 rows and 7″ (18 cm). Remember to begin row one with 1 sc in both loops of the first st and continue with 1 sc in the top loop of each stitch. End the panel on either a row 2 or row 4 repeat so that your tail end is on the cuff side of the panel. Ch 1 to fasten off cutting the tail end 2 .5 lengths of the long side.
The reason for beginning and ending each row with different stitches is because the pattern will always have a single crochet in both loops of the cuff end and a single crochet in one loop only of the tip end. You will notice that the tip end is where your beginning tail of yarn is. The cuff end will be more sturdy, and the tip end will be easier to gather. If this is confusing, then check out the video tutorial for a better explanation.
Lay each panel out with the beginning tail to the top right and the end tail to the bottom left. The bottom edge will be the cuff end and the top will be the tip of the mittens. This will also be the right side of the fabric. Place a stitch marker on each panel to mark the right sides. Place right sides together and using the long tail end, whip stitch (see below) the panels together to create a tube. Leave an opening for the thumbholes of 4 to 5 stitches.
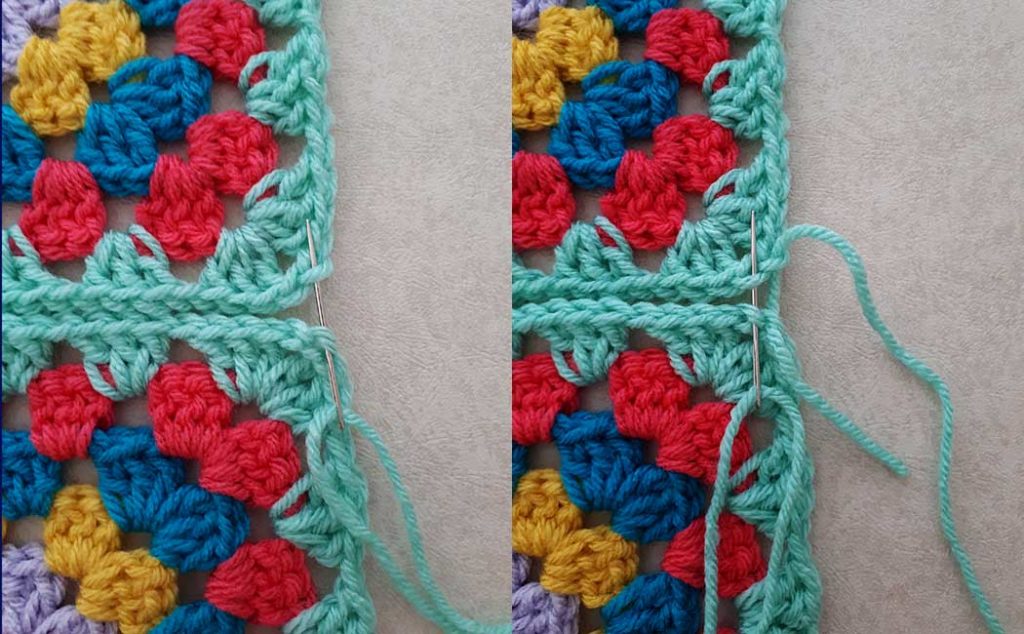
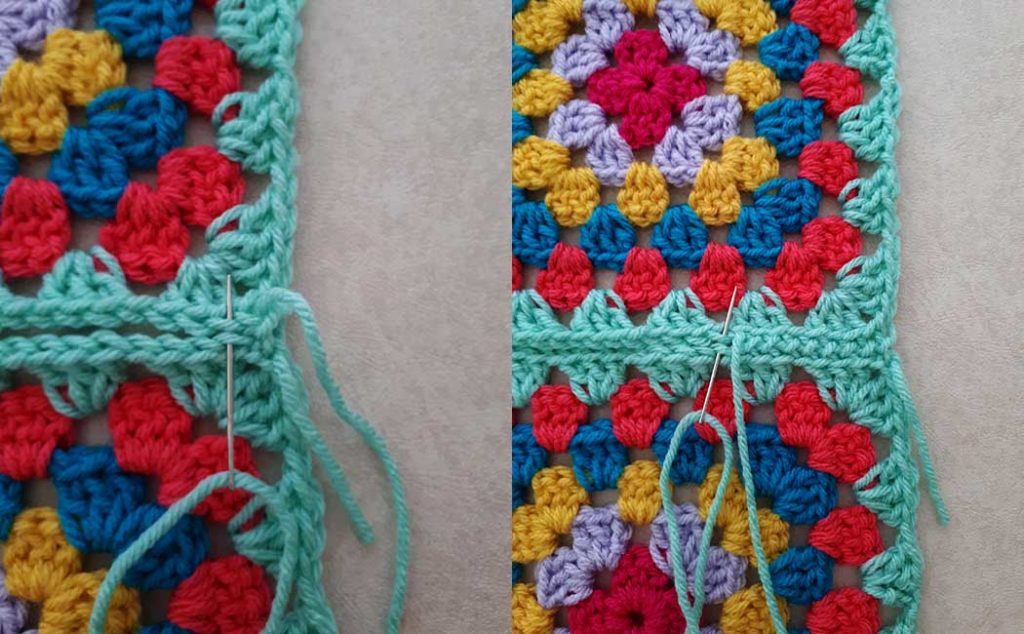
As mentioned above, I forgot to take photographs of all the steps in this pattern, so you can either check out the video tutorial or see these images from my Happyghan Blanket tutorial. For the mittens, do a double stitch at the cuff end, at the base and top of the thumbhole openings, and at the top of the panel.
Once you reach the top of the mitt, use the tail end to create a basting stitch at the top end of the mitt. Do a basting stitch in every other stitch all the way around the top. Gently pull the basting stitch until the top is gathered closed. Do a few stitches at the top of the gathering to secure everything, do a double knot, darn in both tail ends and the body of the mittens are done! Now for the thumb sections!
Thumb pattern
Turn the mittens’ right sides out.
Round one: Join into both loops of any stitch of the thumb opening with a sc, 1 sc in both loops of each stitch all the way around. Include the stitch on each side that was whip stitched into. If you had 4 stitches for the thumbhole, you will have 4 stitches on each side of the opening (8 stitches), plus 2 stitches on each end of the opening for a total of 12 sc’s all the way around. If you had 5 stitches for the thumbhole, then you’d have 14 sc’s all the way around.
Round two: join with a sc into both loops of the beginning sc. Place a stitch marker in this first sc, this counts as the first sc of round 2. 1 sc in both loops all the way around (total 12 sc’s).
Rounds three to six: repeat round two
If you are making the mittens larger, or if your thumb is longer, you may need to repeat round two once or twice again. If the mittens are smaller, then four or five rounds in total will suffice.
Round seven: join with a sc into both loops of the beginning sc. Place a stitch marker in this first sc, 1 sc in the next st, 1 sctog in the next 2 sts, 1 sc in the next 4 sts, 1 sctog in the next 2 sts, 1 sc in the next 2 sts.
Round eight: join with a sc into both loops of the beginning sc. Place a stitch marker in this first sc, 1 sc in the next st, 1 sctog in the next 2 sts, 1 sc in the next 2 sts, 1 sctog in the next 2 sts, 1 sc in the next 2 sts.
Round nine: join with a sc into both loops of the beginning sc. Place a stitch marker in this first sc, 1 sctog in the next 2 sts, 1 sc in the next st, 1 sctog in the next 2 sts, 1 sc in the last st. Cut a 6″ (15 cm) tail.
Turn the mitten wrong side out. Sew the tip of the thumbhole closed, tie a knot, and darn in the tail end. Repeat with the other mitten and you are done with your Cozy Crocheted Mittens for Beginners! Woo-hoo!!!
If you like this tutorial, you may also like:
Sharing is caring! Click on the social share button at the top of the blog and choose an image from below to share on social media.