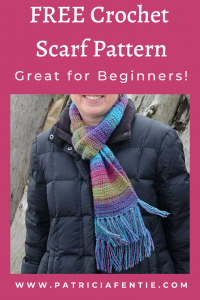
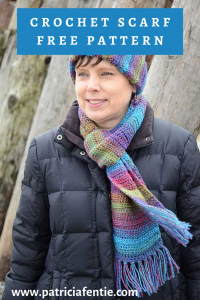
I created this easy crochet scarf pattern to match the crochet hat pattern from my last post. They look so great together! I am totally in love with this Ferris Wheel yarn as it crochets up so nicely and the colors are beautiful. If you didn’t see the yarn review from my last post, you can check it out here.

As I mentioned in the post for the crocheted hat, I bought my yarn at Michael’s, but it is also available directly through Lion Brand or Amazon. The scarf can be made with just one ball of yarn, but if you want to do tassels, you will need some extra yarn. The hat pattern doesn’t use a whole ball of yarn, so the extra from that project could be used for the tassels.
Some (but perhaps not all) of the links in this blog are affiliate links to Amazon.com. As an Amazon Associate, I earn from qualifying purchases. This page contains some affiliate links. Please see my policy page for details. I look for the best possible option for your convenience, however, I encourage you to support your local shops!
This is a very easy pattern and all you need to know is how to do a chain stitch (ch) and a half-double crochet stitch (hdc). If you are new to crochet, you can check out my Beginner Crochet Series for the basics. I have also created a video tutorial for this project and you can find that at the bottom of the post.
The supplies you will need for this project are:
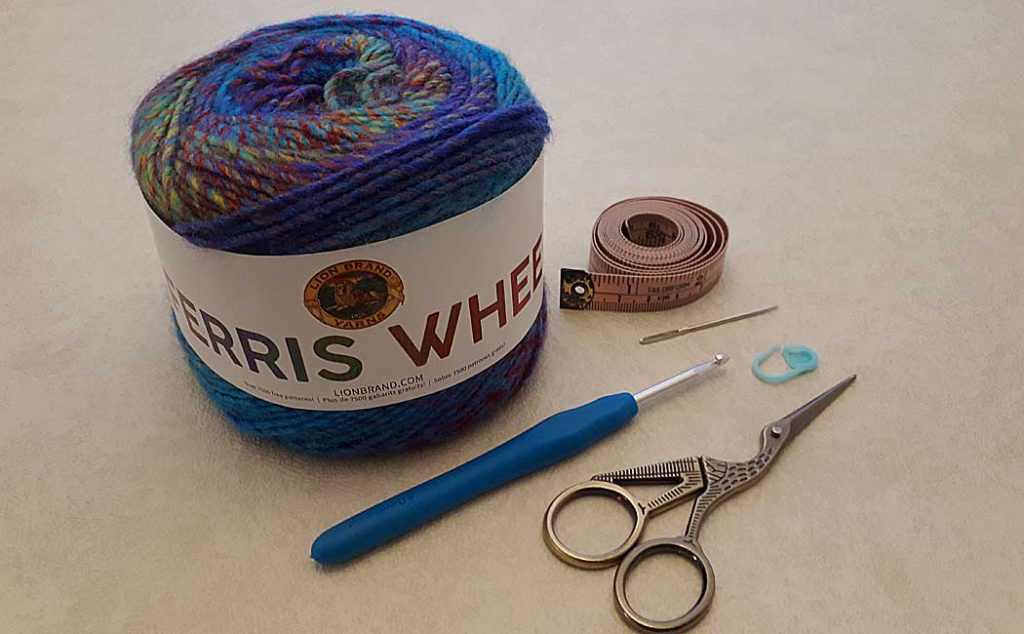
- 1 ball of Lion Brand Ferris Wheel yarn in Vintage Carousel {or equivalent choice…this ball of yarn is 3oz (85gm) with 270 yards (247 meters), with an option of an extra 14 yards or 13 meters for tassels}
- 4mm (G-6) crochet hook
- Scissors
- Darning Needle
- 1 stitch marker (optional)
This yarn is a number 4 medium weight acrylic yarn. You can use any type of yarn you like, just make your beginning row of chain stitches 5.5 inches or 14 cm in length.
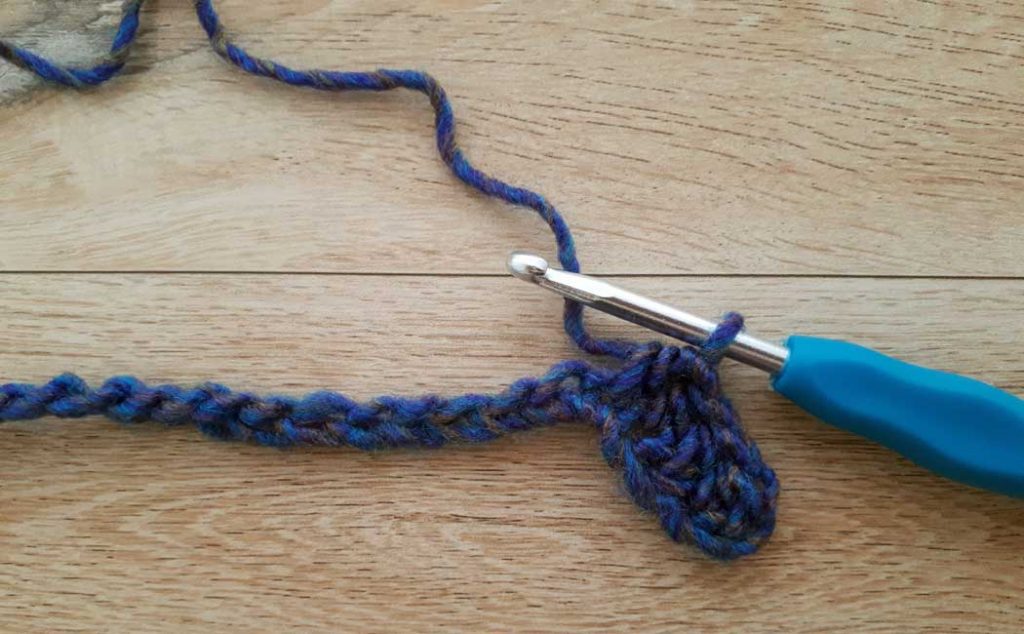
Foundation Chain: Ch 21 or the length recommended above. If you want to do tassels, then make sure you have an odd number of chain stitches.
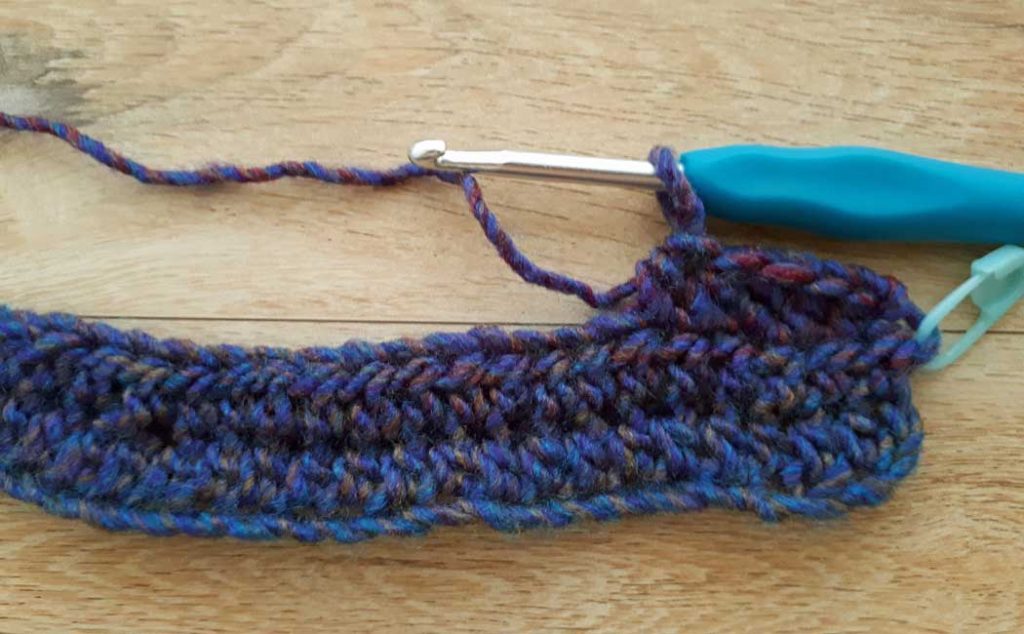
Row one: Ch 2, sk 2 sts, 1 hdc in top loop of next st (3rd st from hook). *1 hdc in top loop of next st. Repeat from * to the end of the row (21 sts), ch 1, turn your work.
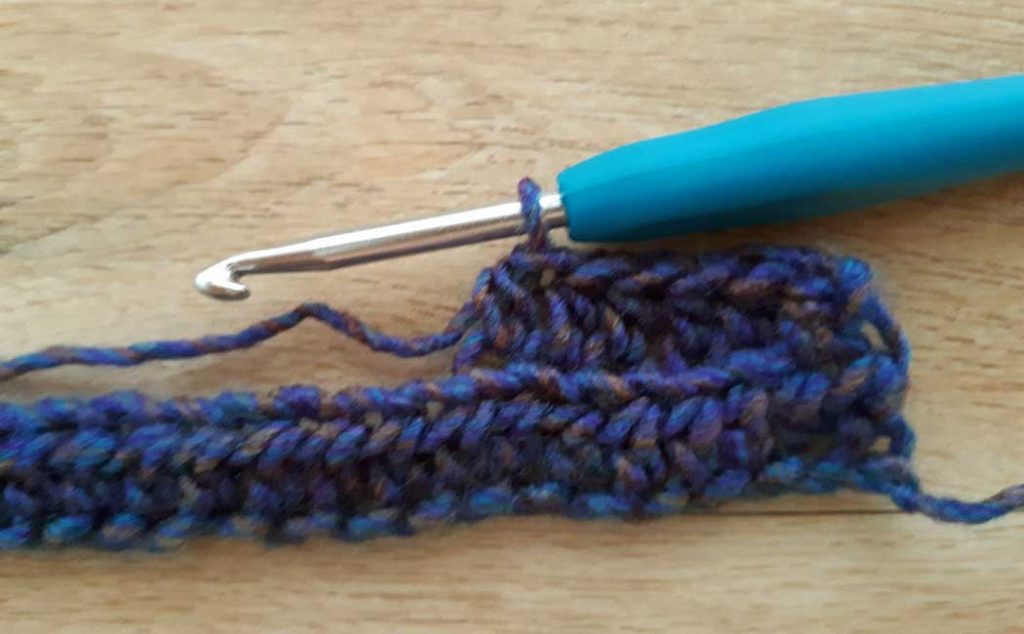
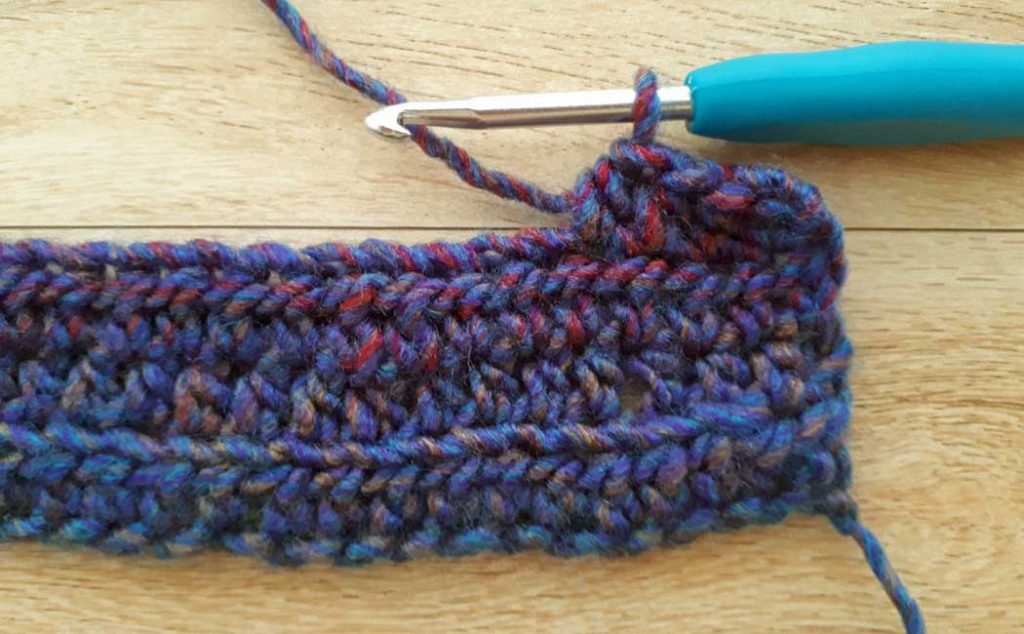
Row two: Sk turning chain, 1 hdc under both loops of next st. *1 hdc under the top loop of next st. Repeat from * to 2nd from the last st in the row (18 sts). 1 hdc under both loops of the last st (total 21 sts), ch 1, turn your work.
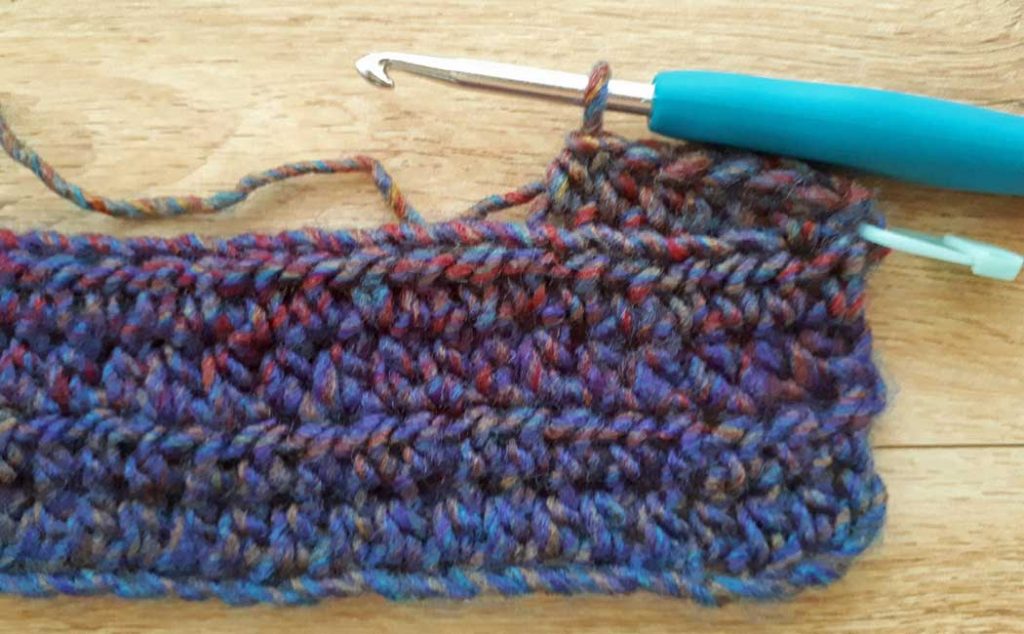
Row three: Sk turning ch, *1 hdc under both loops of next st. Repeat from * to end of row (20 more sts to equal 21 sts), ch 1, turn your work.
Make sure to count your stitches every now and then to keep on track. It can be easy to miss the very last stitch of the row. You can use a stitch marker to keep track of this new stitch pattern.
Row four: Repeat row three.
Row five and six: Repeat row two.
So that is your pattern, repeat row two, twice (with 1 hdc under the top loop only with the first and last stitch going under both loops), and repeat row three, twice (with 1 hdc going under both loops of all the stitches). The stitch marker is handy to keep track of which pattern repeat you are on. Carry on until you’ve used the whole ball of yarn. The final length of the scarf should be 60 inches or 152 cm.
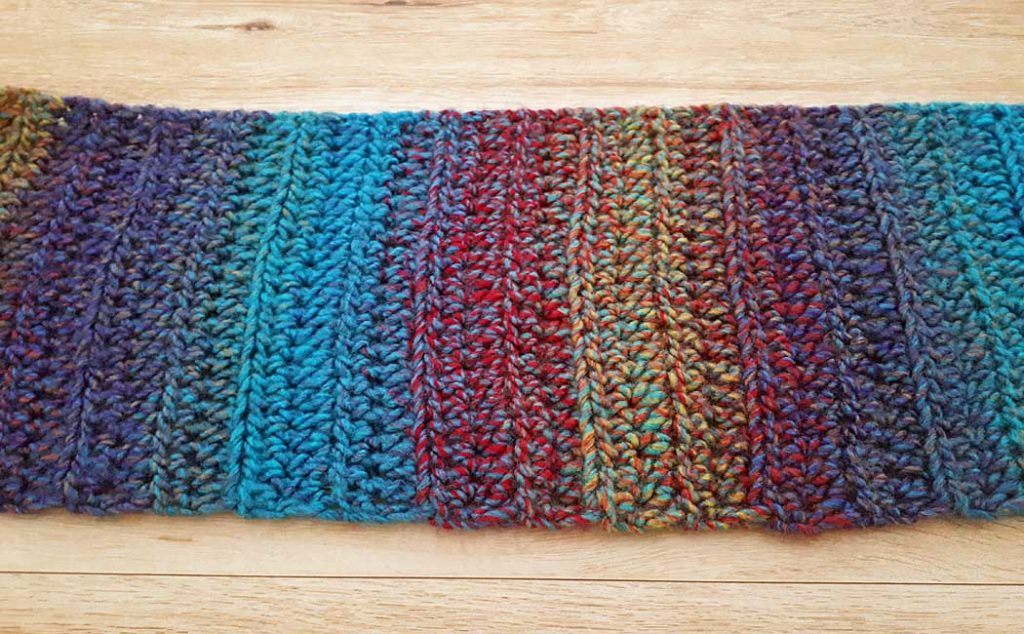
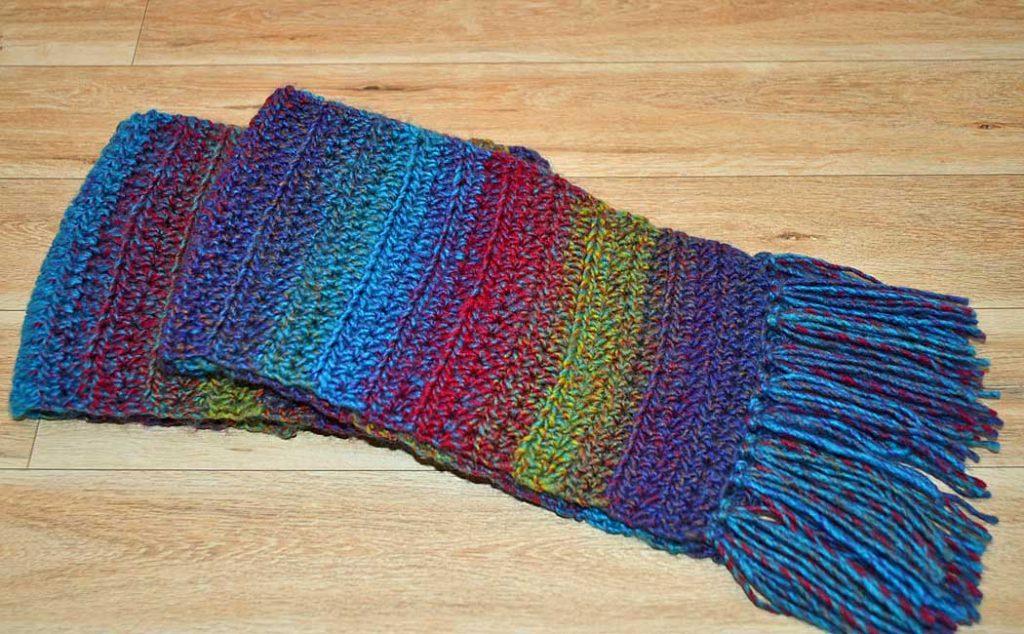
I forgot to take a photo of the scarf as I was crocheting it, so the image above is after it is done. I often do that with the photos for the blog posts. I always film the segment, but then realize after I’m done, I’ve forgotten to take the photos for the written post!
If you want to do tassels, you will need about 14 yards or 13 meters of yarn. You can save this amount from your ball of yarn, or…if you do the crochet hat as well, you will have enough yarn left from that project to make the tassels (and a pom-pom for the hat too!)
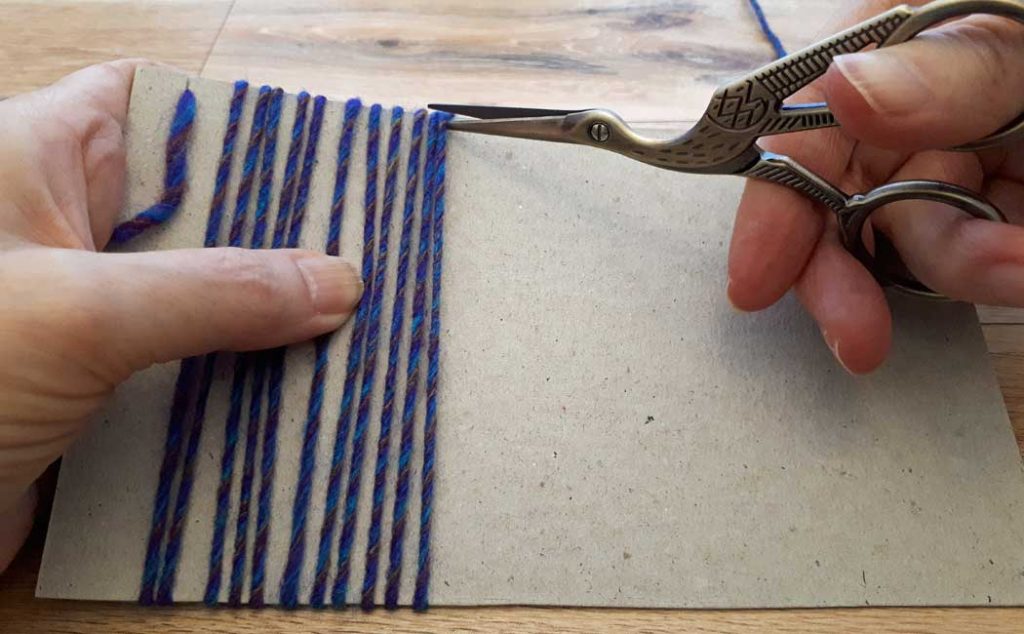
14 yards will give you 22 sets of 3 tassels altogether (11 tassels for each end). I cut mine 8 inches or 21 cm long. You can make a simple jig by cutting a piece of cardboard 4 inches or 10 cm wide and wrap the yarn around that. Cut the yarn at one end and you’ll have 8 inch long strands.
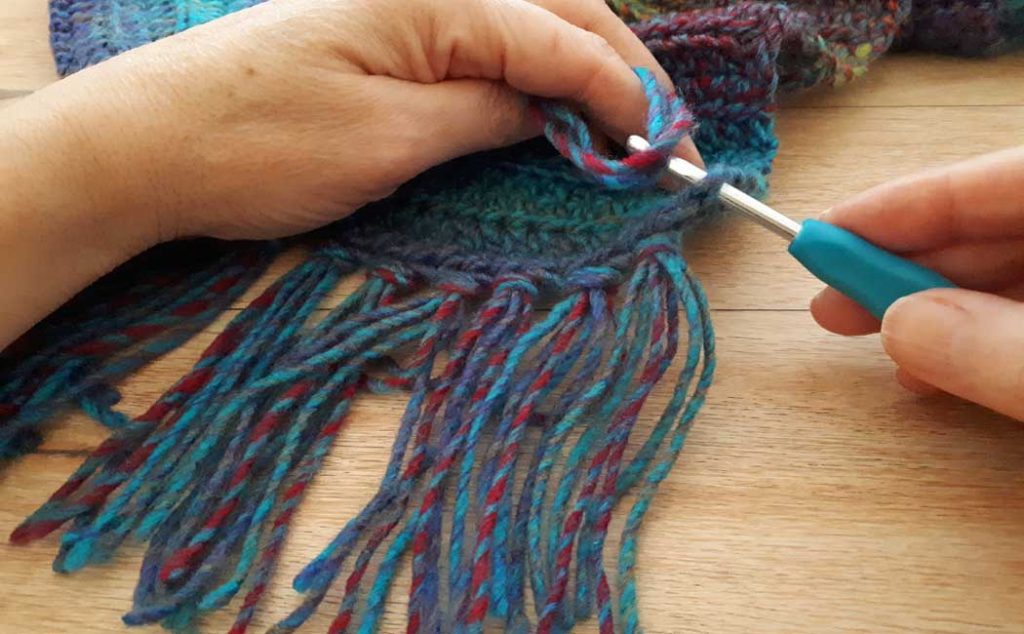
Take 3 strands at a time, fold them in half, and use the crochet hook to pull the strands under 2 loops of the stitches on each end of the scarf. Make a simple loop to fasten the tassels on. Put one set of tassels in every second stitch. Trim the ends and you are done!!
Well, almost done :0) You may want to block your scarf, and to do so, you can either steam it and hand press it, or wash it in cold water and lay it flat to dry, hand pressing it as well. After blocking my scarf, the actual scarf finished at 61 inches (154.5 cm), and with the tassels, the total length was 68 inches (173 cm). Isn’t it pretty!!!
I have created a video tutorial as well!
If you like this tutorial, you may also like: