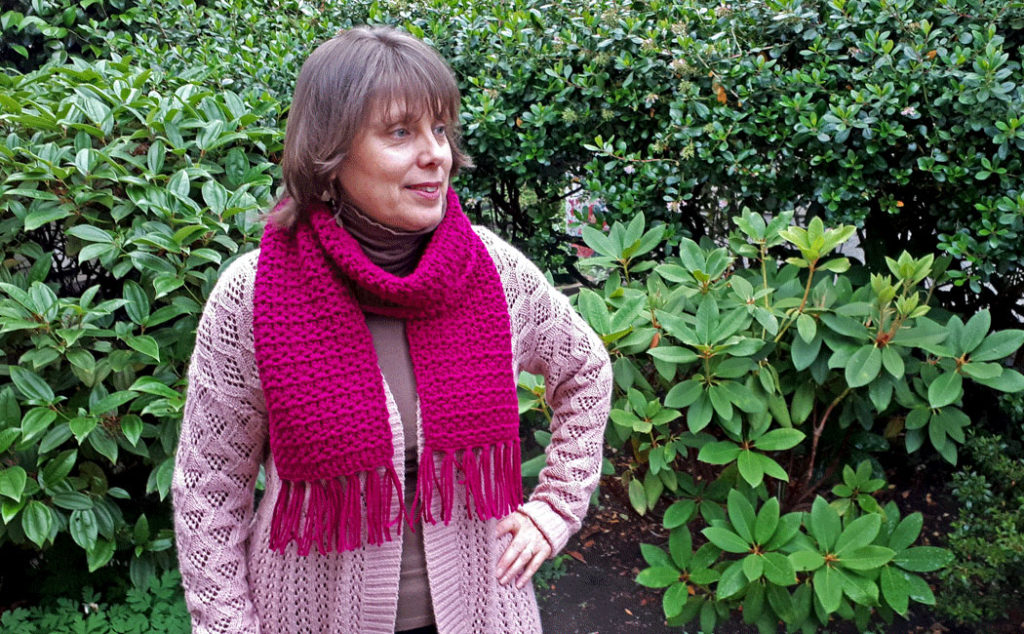
This super easy crocheted scarf for beginners is truly that…super easy! I love creating crochet patterns that are suited for beginners but are beautiful and professional-looking. This crocheted pattern is very basic and is a simple one-row repeat. The first two rows of the pattern set up the scarf for this easy repeating row. If you are new to crochet, then you can check out my Beginner Crochet Series which will teach you everything you need to know to make this super easy crocheted scarf for beginners.
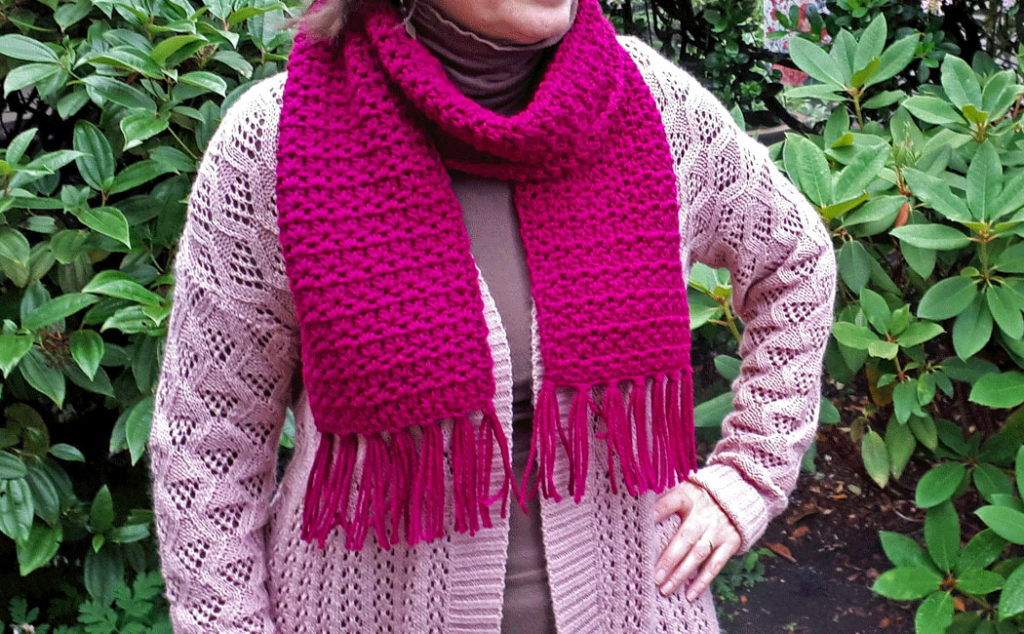
The finished length of the scarf body is 58″ (147 cm), and with the tassels, it finishes at 66″ (168 cm). The width is 6.5″ (16 cm), however, both the width and length of this scarf can be adjusted to any size you like. You can make it with or without tassels…it is totally up to you! The pattern is created by crocheting a simple half-double crochet (hdc) v-stitch and you can crochet as many rows as you like.
Buy this Pattern on Ravelry (Ad Free)
The design this creates looks complicated, but it isn’t! Make this scarf as a gift (it is quick and easy to make), or make it for yourself. You can use any yarn you like, but solid colors or self-striping yarn show the pattern design the best. Some variegated yarns can distract from the design, but it depends on how variegated it is…just try a sample and see! And, as always, I have created a video tutorial on YouTube and you can find that at the bottom of this post.
Helpful Information
- Gauge: 4″ width (10 cm) = 13 stitches
- 4″ height (10 cm) = 9 rows
- sk st = skip a stitch
- ch = chain stitch
- sc = single crochet
- hdc = half double crochet
Supply List
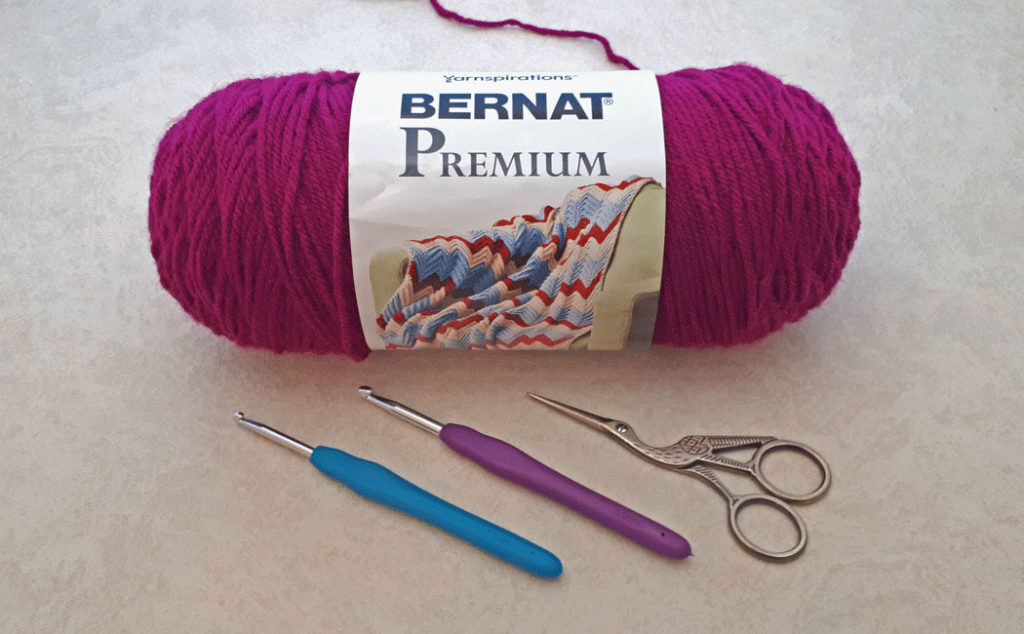
- Bernat Premium Yarn, color is Dalia, 7 oz (198 gm), 360 yards (329 m) or equivilant #4 medium weight yarn
- In Canada
- The Bernat Premium doesn’t seem to be available in the US, but I think this would look amazing!
- G-6 (4 mm) crochet hook
- H-8 (5 mm) crochet hook (optional)
- Darning needle
- Scissors
- Hand Steamer (optional)
Some (but perhaps not all) of the links in this blog are affiliate links to Amazon.com. As an Amazon Associate, I earn from qualifying purchases. This page contains some affiliate links. Please see my policy page for details. I look for the best possible option for your convenience, however, I encourage you to support your local shops!
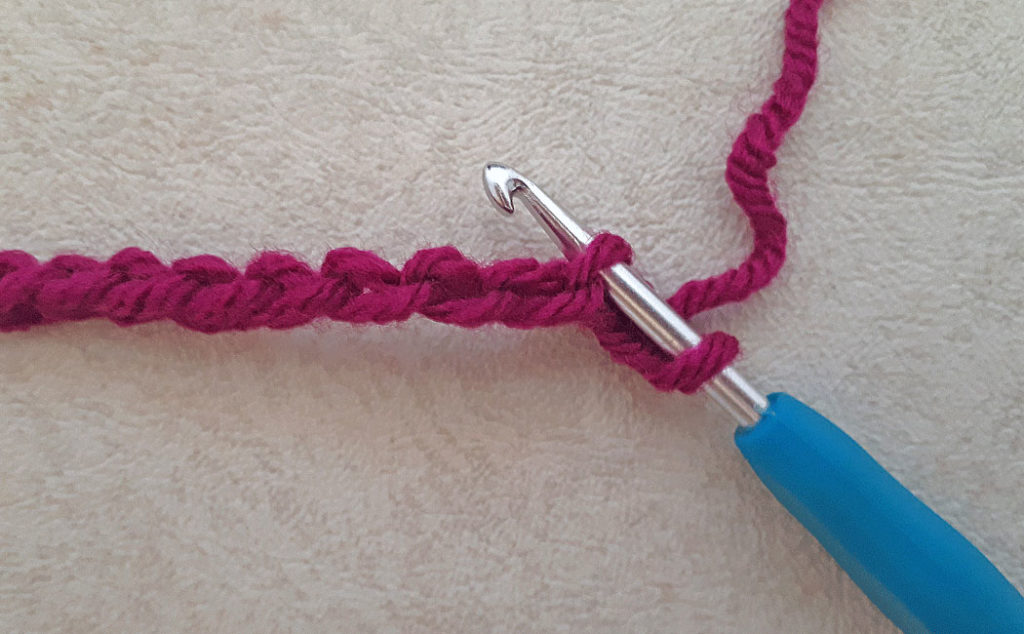
Begin with a very loose foundation chain. If you are not proficient with controlling your tension, you can use an H-8 (5 mm) crochet hook, otherwise use a G-6 (4 mm) crochet hook. For this exact pattern, ch 20. If you want to make the scarf a different width, then create a foundation chain with an even number of chains. If you are using a different yarn, then you want to use a crochet hook that is one size smaller than the recommended hook size for that yarn. The reason for this is so that you can create a nice tight stitch for the scarf, which will make this a warmer fabric.

Row one: ch 1 (counts as a turning ch), 1 sc in the back loop of the first ch (not the turning ch), 1 sc in the back loop of each ch to the end of the row (total 20 sc, or whatever number your beginning ch started with), turn your work.
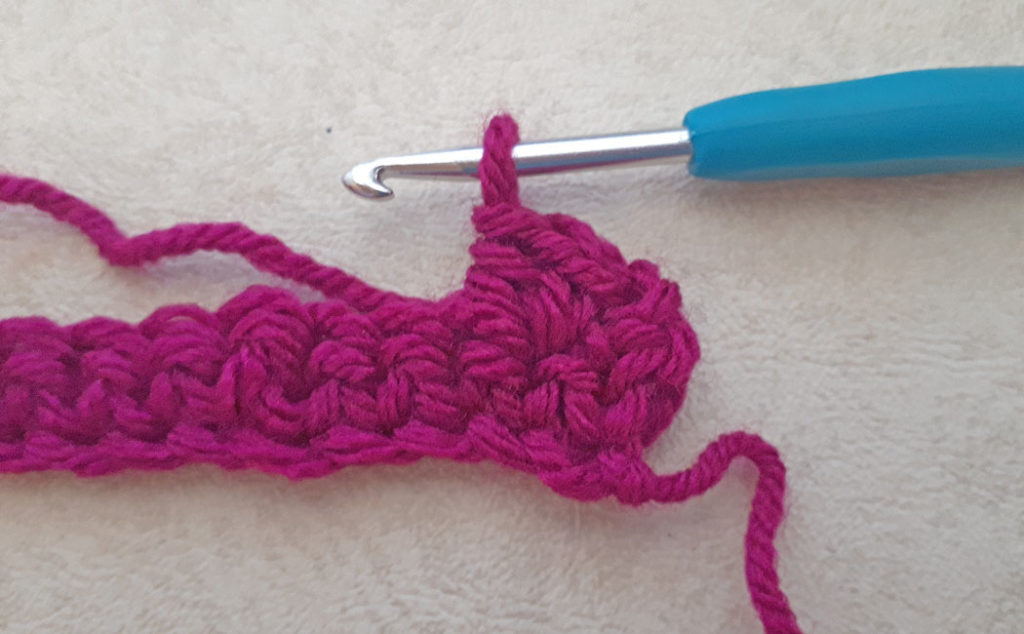
Row two: ch 2 (counts as a turning ch and the first hdc), *sk st, (hdc, ch 1, hdc) in next st. Repeat from * to the end of the row (9 hdc v-stitches). There should be 2 sts left, sk st, hdc in last st, turn your work.
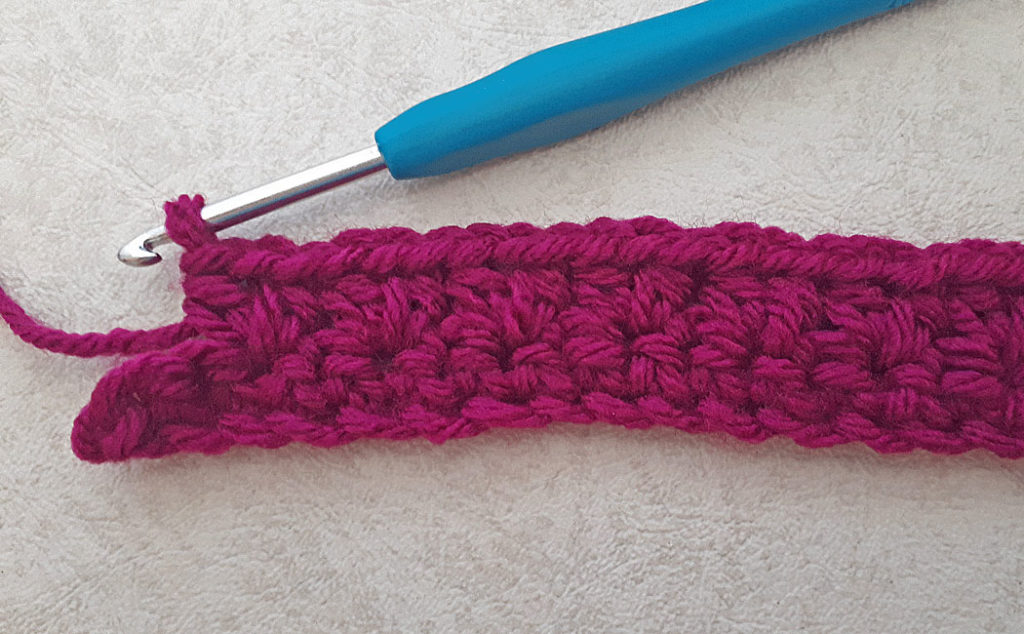
If you have been using the larger crochet hook for a loose tension, you can now change to the G-6 (4 mm) crochet hook for the rest of the pattern.
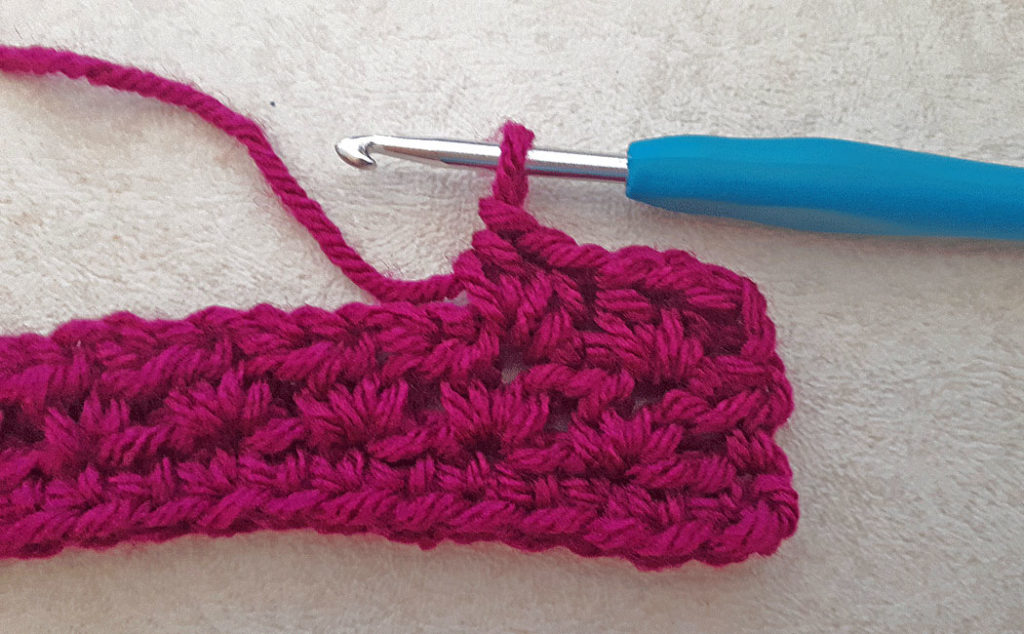
Row three: ch 2 (counts as a turning ch and the first hdc), *sk st (hdc, ch 1, hdc) in ch1 sp (hdc v-stitch from the previous row). Repeat from * 8 times (9 hdc v-stitches), sk st, hdc in the second ch of the ch2 from the previous row, turn your work.
Rows 4 to 120: Repeat row 3. This is the length I made the body of my scarf (58″ or 147 cm), but you can make the scarf any length you like! Just continue to repeat row 3 until you reach your desired length. I wanted to add tassels, which made the finished scarf 66″ (147 cm) in length. I am rather short, so this length was good for me. I was left with about 30 yards (27 m) of Bernat Premium yarn, so there was plenty left to make a longer scarf. Once you have the scarf as long as you like, you can finish off with the final row.
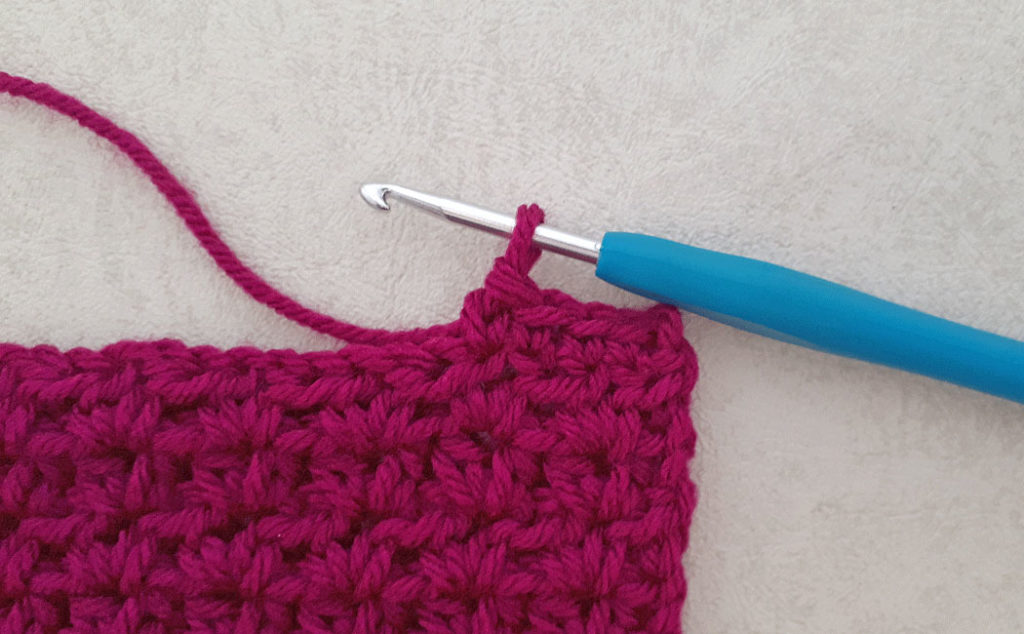
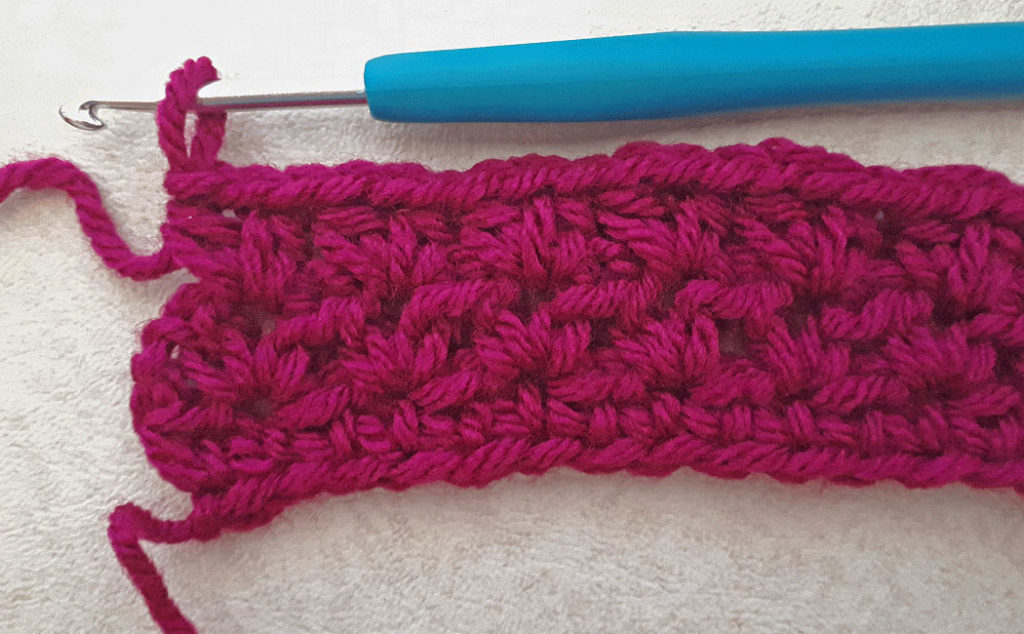
Final row: ch 1 (counts as turning ch), 1 sc in the first stitch from hook, 1 sc in next st, *sk st, 1 sc in next 2 sts. Repeat from * to the end of the row. The very last sc will be done in the second chain of the ch2 from the previous row. You will have 20 sc’s or whatever number your beginning chain was. Fasten off and darn in your tail ends.
At this point, you can be done! The pattern is so lovely as it is, but if you like you can add tassels on each end. You can put one or two strands in every stitch, or two or three strands in every other stitch, or three or four strands in every third stitch. That is what I did. Depending on how many stitches wide you’ve made your scarf, you will have to calculate the spacing, and in the case of this scarf (whether you do every other stitch or every third stitch), there will be an extra stitch leftover. In that case, just skip that extra stitch and put your tassel in the last stitch…you won’t even be able to tell.
Calculate how many strands of yarn you require based on the number of strands per tassel and the number of tassels required. I needed 42 strands altogether. Figure out how long you want your finished tassel (say 4 inches), double that, and add 1 inch for the wrap and for trimming. Each strand would need to be 9″ (or whatever length you want). Cut a cardboard jig 4.5″ high, and use that to wrap your yarn around to create multiple strands. Cut the wraps at the bottom of the jig…and there you go!
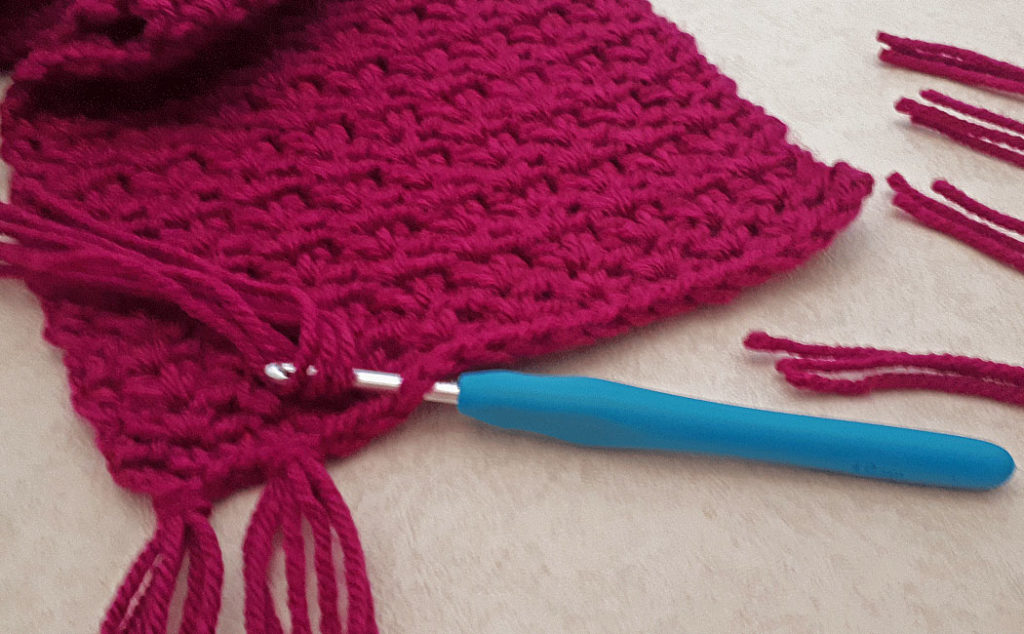
Bring together the number of strands you’ve decided on, fold them in half, and then place the crochet hook into the back of the first chain. Put the strands on the hook and pull them through the chain stitch. Even the ends out and bring them in through the loop and snug them up.
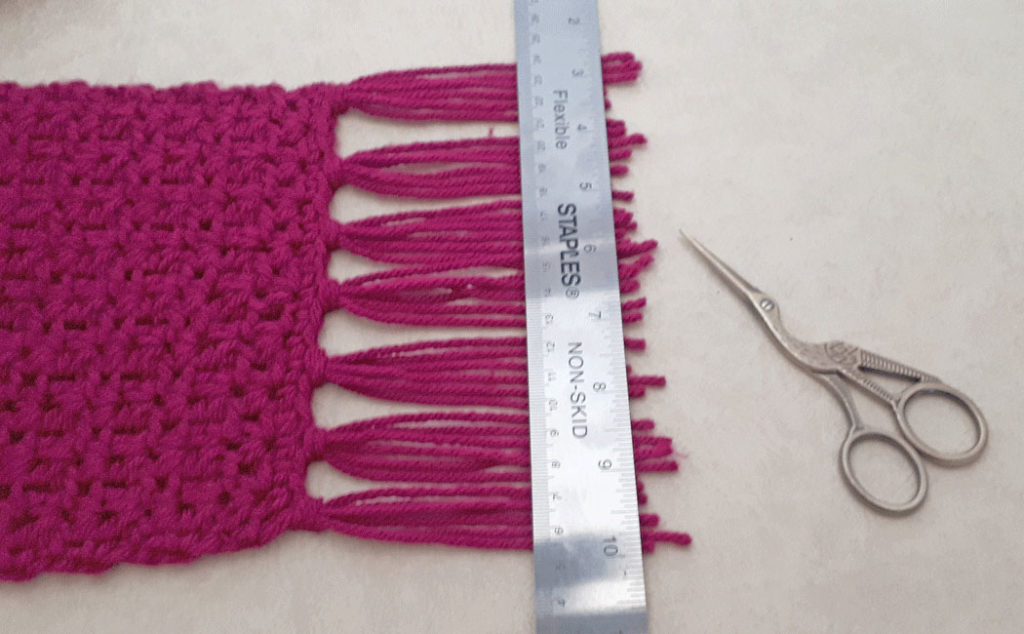
Repeat this process for every set of tassels and then use a straight edge to trim the ends. You can hand steam the scarf or wash it according to the yarn directions and lay it flat to dry. Then you are done! Isn’t that such an easy and beautiful pattern?
I hope you enjoyed this super easy crocheted scarf for beginners. I recently created a donate option for individuals who would like to contribute to this free content. You can find that here. Any donations are greatly appreciated! The video tutorial below will show you step by step how to crochet this pattern. Have fun and make several in all sorts of colors!
Some people have said that it is difficult to see the stitches in the YouTube tutorial because of the yarn color. I created another video showing how to do the stitch pattern itself as a remedy to this issue. I do apologize for the visual problems in the first video.
As some of you may know, my husband had a couple of strokes recently. Then he had a third (very small stroke) last weekend. While his recovery has been quite remarkable, the physical and emotional stress of all of this has taken its toll on me. I’ve also hit my head and have a mild concussion. As a result, my Central Sensitivity Disorder has flared up and I’m having a hard time creating content for my blog and YouTube channel. So, please bear with me as I share simple and infrequent content for now.