Bath bombs are very lovely, however, the ingredient that creates all that fizzing can be irritating to the skin. Citric acid is the culprit, so I worked on creating a recipe without this ingredient. The result is a beautiful bath ‘dissolve’…a bath bomb without the boom (and without the irritation)!
Some (but perhaps not all) of the links in this blog are affiliate links to Amazon.com. As an Amazon Associate, I earn from qualifying purchases. This page contains some affiliate links. Please see my policy page for details. I look for the best possible option for your convenience, however, I encourage you to support your local shops!
The ingredients for these bath dissolves are very soothing and nurturing. Baking soda, in particular, is very good to use after you’ve had a bad day, been tangled up in some negative energy or if you’ve had some healing work done. It is great for cleansing negative energy. Both Epsom salts and Himalayan pink salt help to detox and relax the body and are good for sore muscles.
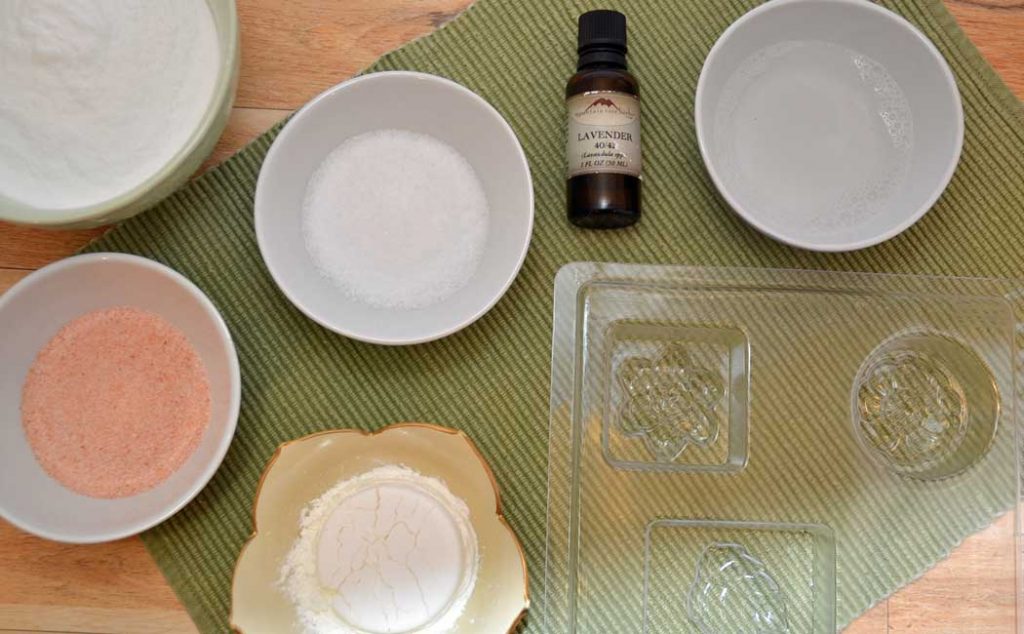
Below is the recipe as well as a list of additional items you’ll need to make these lovely bath dissolves. If you want the mixture to have more of a pink hue, you can use the Himalayan pink salt only.
- 1 cup (250mls) baking soda
- 1/4 cup (62.5mls) fine salt
- I used 1/8 cup (31.25mls) each of fine Epsom salt and pink Himalayan salt
- 1/4 cup (62.5mls) corn starch
- 5 tsp (25mls) distilled water
- 5 tsp (25mls) pure witch hazel
- 30 to 40 drops essential oil (see below for different blends)
- Mixing bowl
- Measuring spoons
- spray bottle with distilled water and witch hazel (optional)
- Soap or cookie mold (I recommend a rigid mold, I tried a silicone mold and it didn’t hold the shape of the mixture very well) or bath bomb mold
For this recipe, I used lavender essential oil, but you could use any blend you like. Here are a few ideas. As with all natural ingredients, make sure to test for sensitivities or allergies. Even natural products can cause an unwanted reaction.
- 20 drops lavender, 5 drops rose geranium, 5 drops rose absolute
- 22 drops lavender, 5 drops vetiver, 3 drops patchouli
- 15 drops lavender, 5 drops clary sage, 5 drops cedarwood, 5 drops ylang-ylang
- 10 drops frankincense, 8 drops peppermint, 8 drops sweet orange, 4 drops lime
- 10 drops frankincense, 7 drops lavender, 7 drops rose geranium, 6 drops ylang-ylang
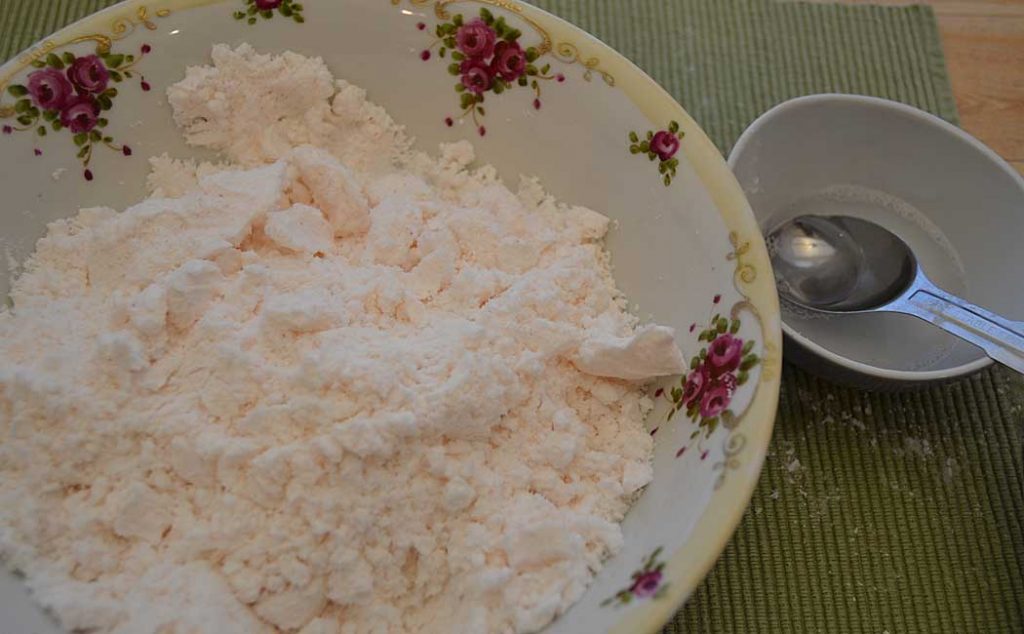
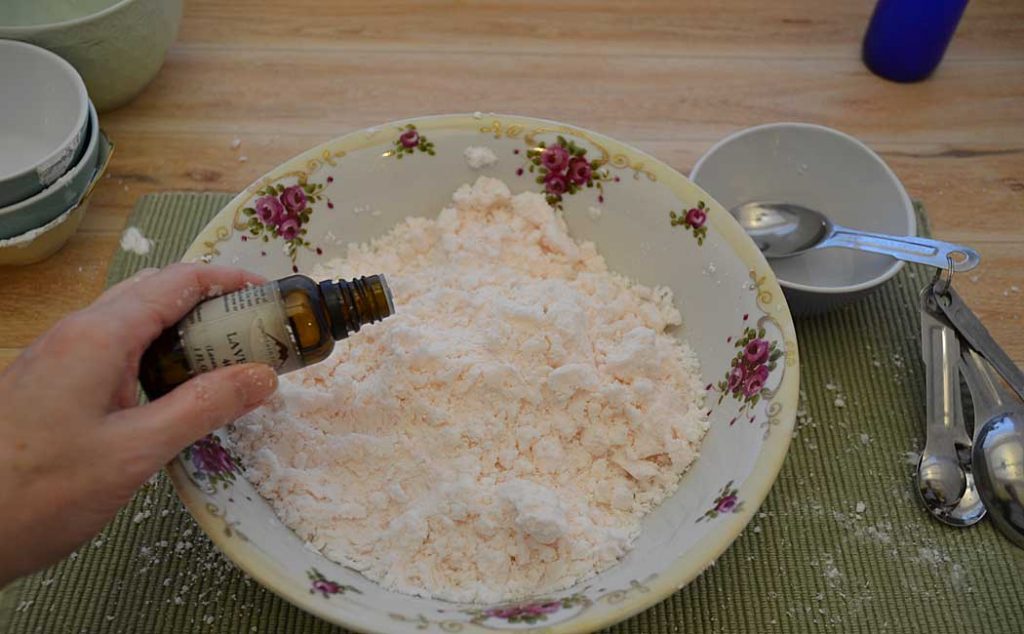
Start by mixing all the dry ingredients together, then mix the water and witch hazel together (don’t add the essential oils yet). Using a spoon, gradually add the liquid, mixing well between each addition.
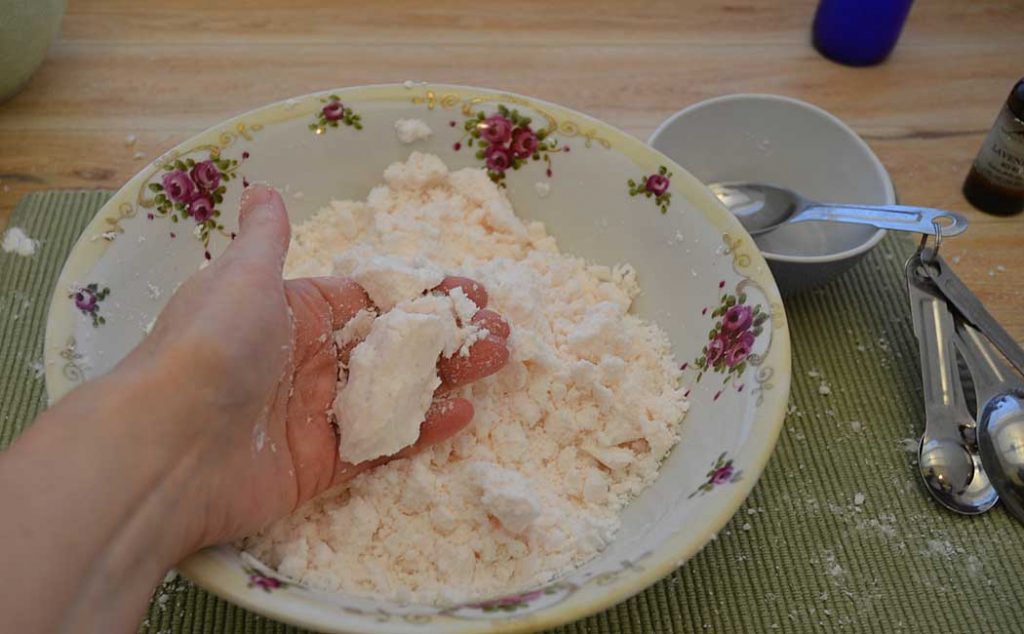
Continue to add the liquid until the mixture begins to hold together. At this point, you can add the essential oils and mix them in.
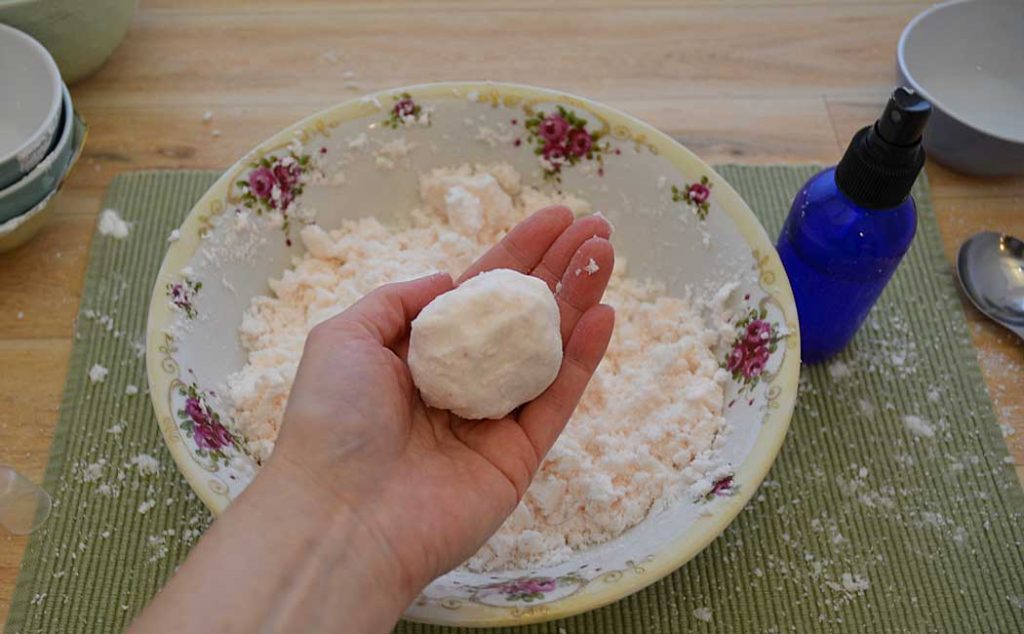
Using the spray bottle, mist the mixture to evenly distribute moisture until you can form a ball as shown below. If you don’t have a spray bottle, add the liquid just a little bit at a time until you get the desired consistency.
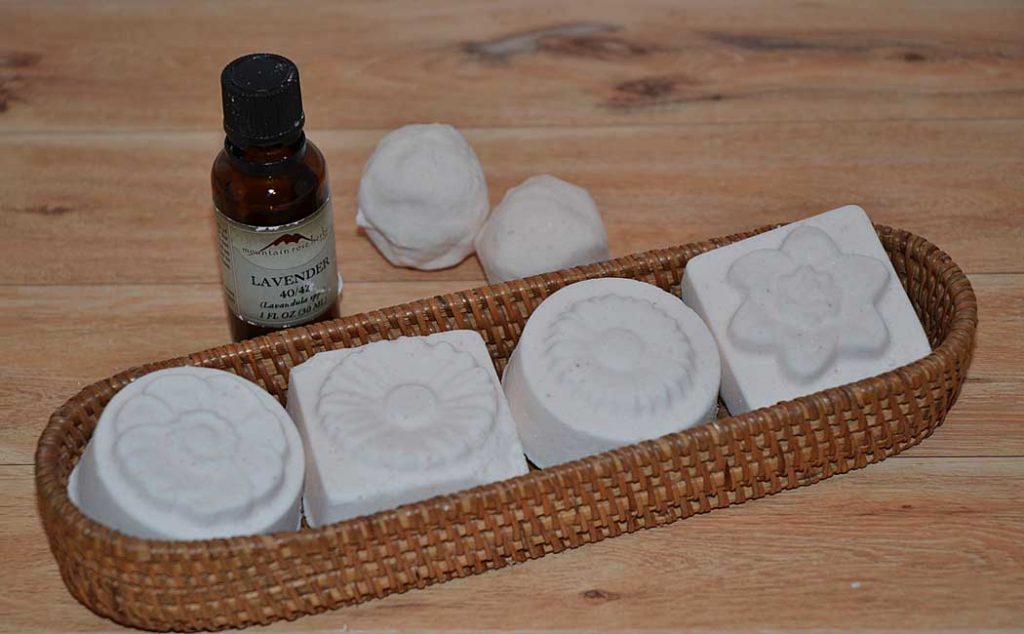
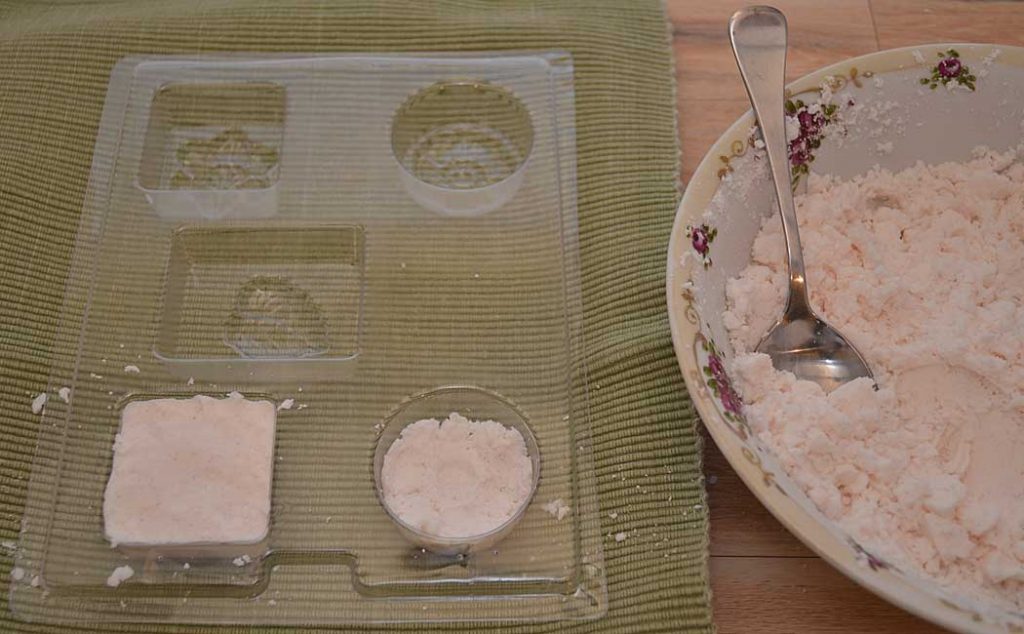
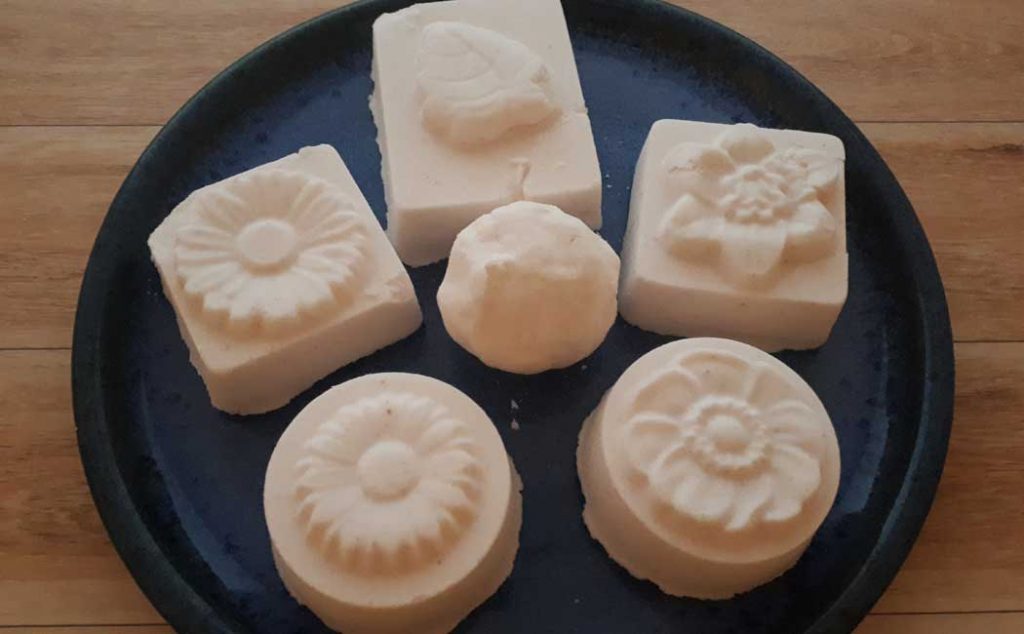
Roll the mixture into balls or press firmly into a soap mold. Let dry completely, for at least 24 hours.
Once the bath dissolves have dried, you can remove them from the mold. This can be a bit tricky and you have to be very gentle.
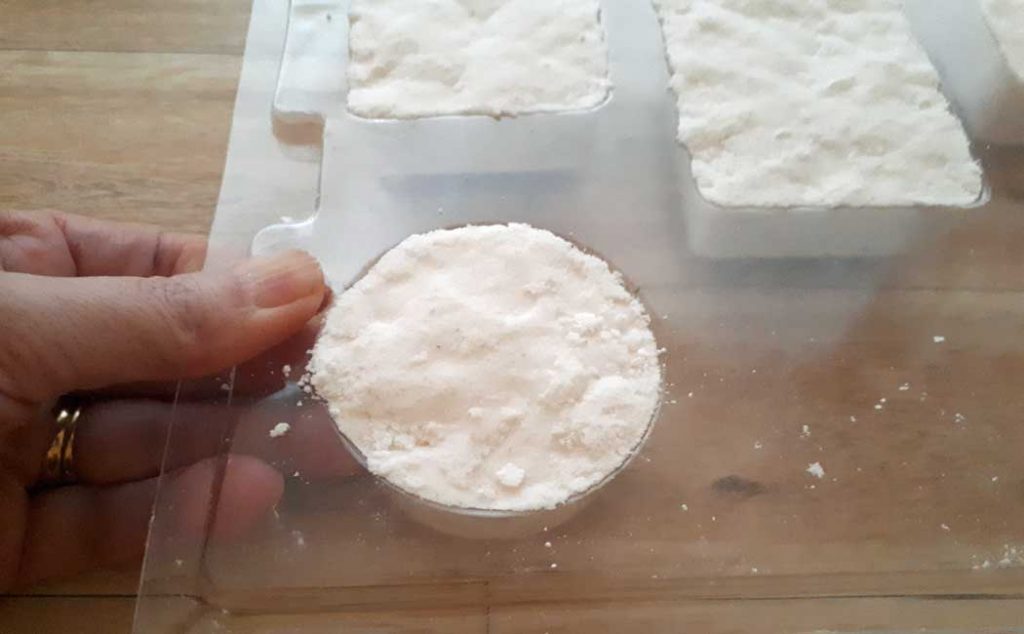
I found the square shapes in the mold didn’t do as well as the round shapes. The corners crumbled on a couple of them.
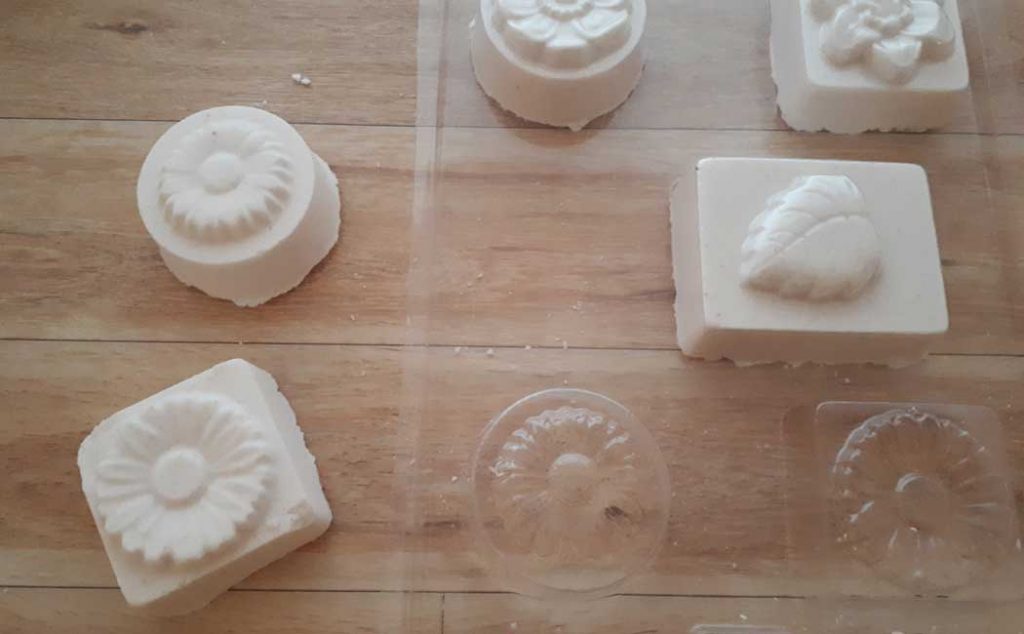
You can see that in the image below, especially the bigger mold shape with the leaf in the middle. In retrospect, I would just use the round shapes or form the mixture into balls.
There you go! I hope you enjoyed this tutorial. I have created a video to go along with this, and you can check that out below. Happy creating!