Welcome back, creative friends! As promised, this blog post is for my Easy Crocheted Sweater Vest ~ Part Two. In part one of this pattern, we learned how to custom size the garment and crochet the stitch pattern, thus creating the three crocheted panels required to make this garment. We prepared the panels for assembly by darning in the tail ends on the shoulder seams, tying off the tail ends on the hem, and then blocking the fabric to give it a nice shape.
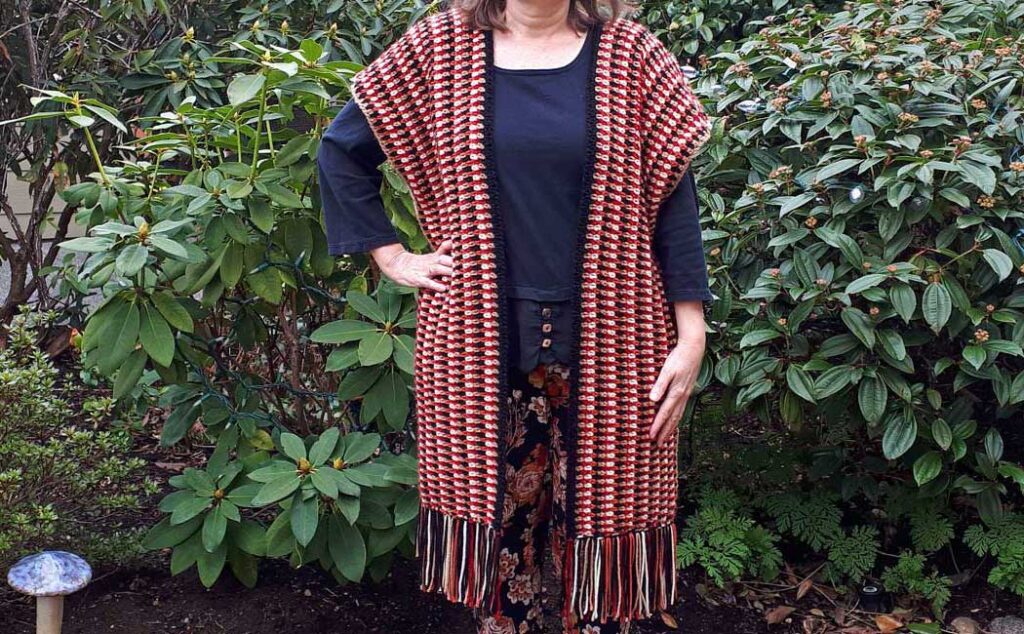
In this tutorial for my Easy Crocheted Sweater Vest ~ Part Two, we are going to assemble the garment. I do have a video tutorial at the bottom of this post as well, and it will include more comprehensive instructions than I can write here. Make sure to check that out for more details! And of course, Part One includes a list of all the supplies required for this project including the crochet hook, stitch markers, and a darning needle.
Some (but perhaps not all) of the links in this blog are affiliate links to Amazon.com. As an Amazon Associate, I earn from qualifying purchases. This page contains some affiliate links. Please see my policy page for details. I look for the best possible option for your convenience, however, I encourage you to support your local shops!
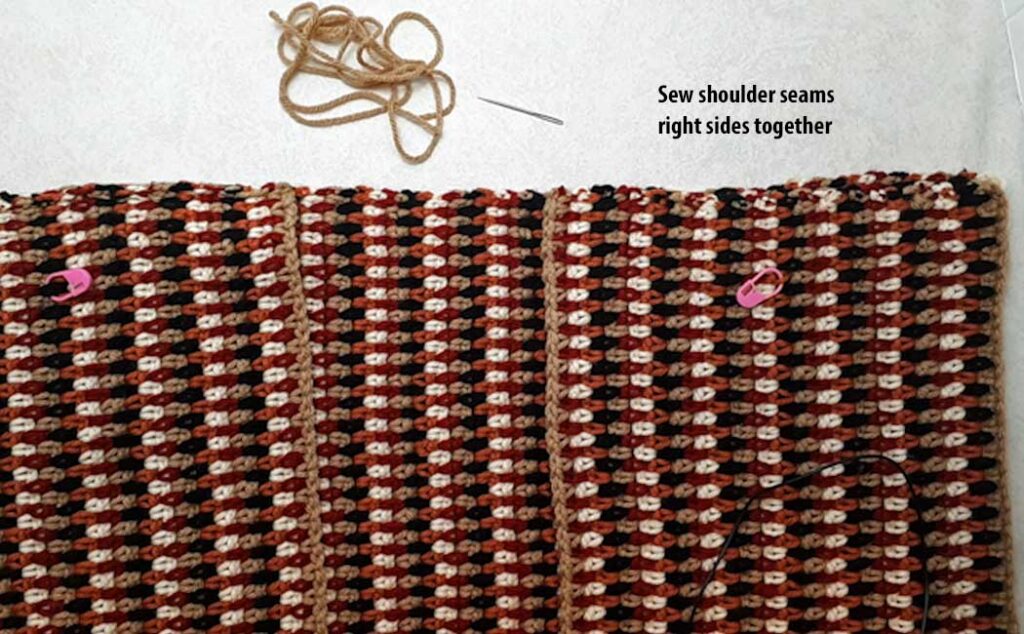
Bring the right sides of the fabric together, lining up the shoulder seams at the top, with the front panels facing each other as shown above. The first rows of the front panels will be at the side seam and the last rows will be facing each other.
Choose a neutral color yarn (I am using the tan color) and measure five times the length of the shoulder seam for your sewing thread. Use a ‘back stitch’ to sew the shoulder seam together (see 2:20 in the video tutorial). Tie a knot and darn in the tail ends.
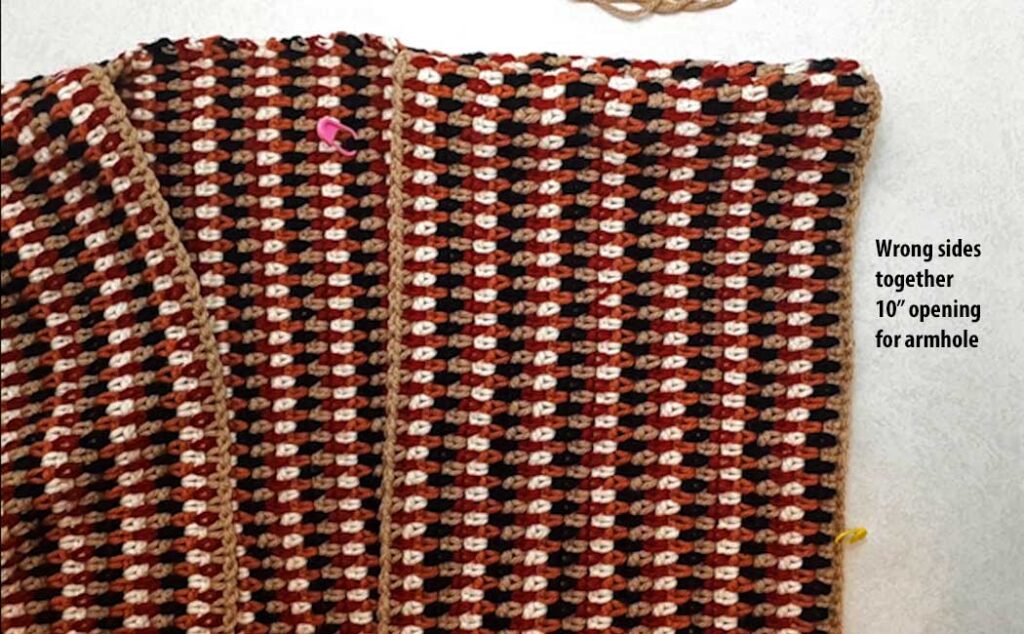
To sew the side seams together, flip the panels so the wrong sides are now facing each other and the right sides are facing out. Leave a 10″ opening for the armhole and place a stitch marker there. You can make the armhole smaller or larger if you desire.
If you want to create a slit at the bottom of the sweater vest, you can measure up a desired length. I measured 6″ which was 20 stitches. Place a stitch marker there. Then measure a length of yarn that is 2.5 times the length of the seam to be sewn. You can join the sides any way you like, I am using a whip stitch. (See 10:40 in the video tutorial) You could also join the seams together with a slip stitch or single crochet. Fasten off with a knot and darn in the tail ends.
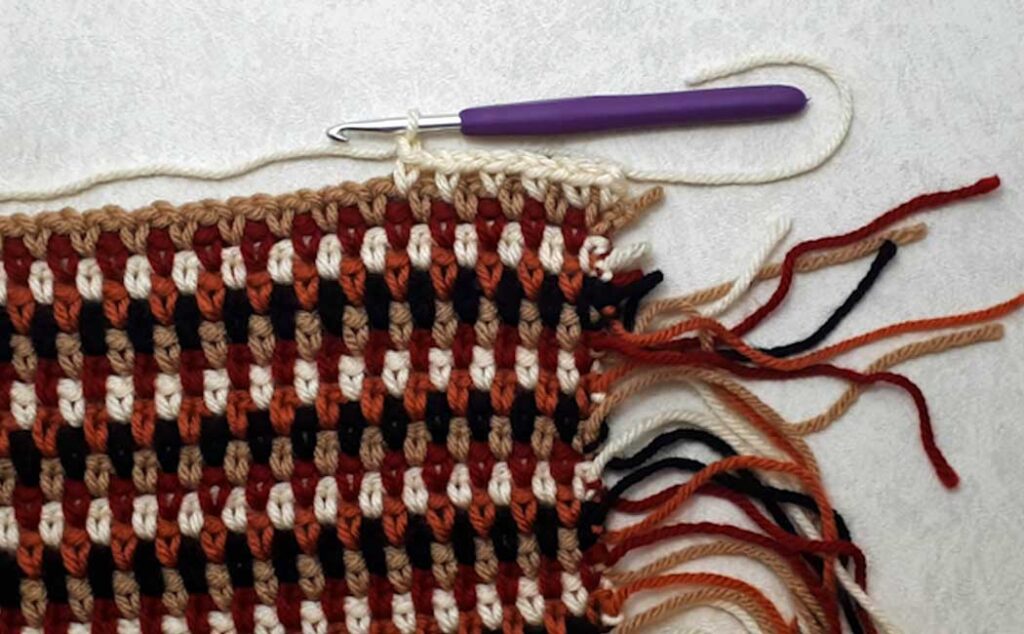
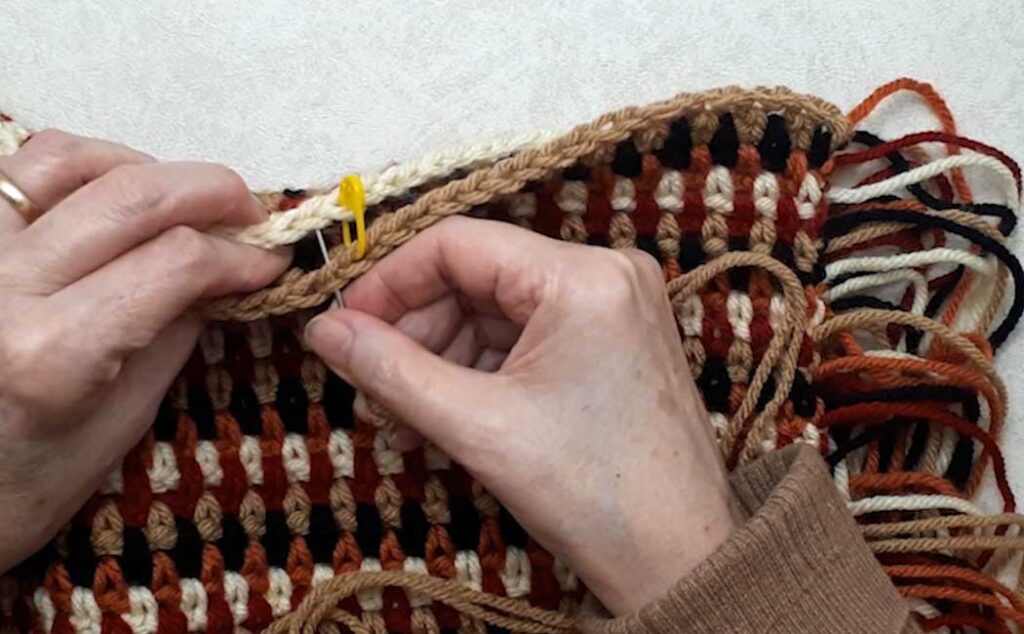
Once the side seams are joined together, the next step is to crochet a simple trim around the front panels and back neck seam. Working into the right side of the bottom front panel, join on your color of choice with a single crochet in the first single crochet and chain 1. Make 1 sc, ch 1 in the next ch1 sp. Continue up the first panel with the same stitch pattern until you get to the neck edge. (see 15:00 in the video tutorial) I am using the cream color yarn to demonstrate for easy viewing, but my color choice is black.
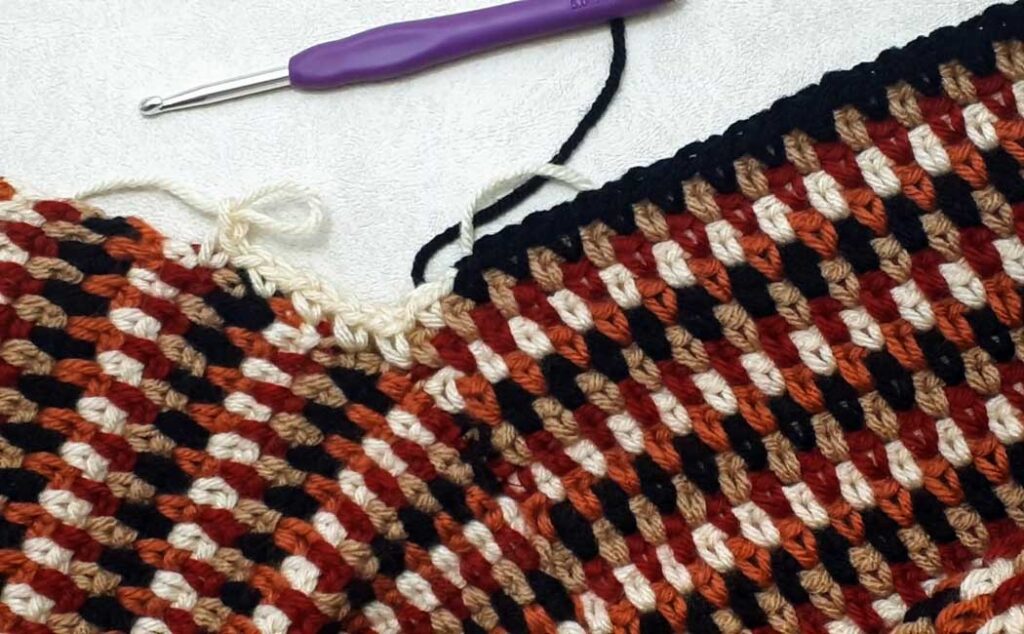
When you get to the top of the panel (I’ve switched to the cream color to demonstrate), work 1 sc, ch 1 into every other row along the collar. You don’t have an actual stitch to work into here, so you need to make the ch1 space as even as possible to replicate the stitch pattern. (see 17:08 in the video tutorial)
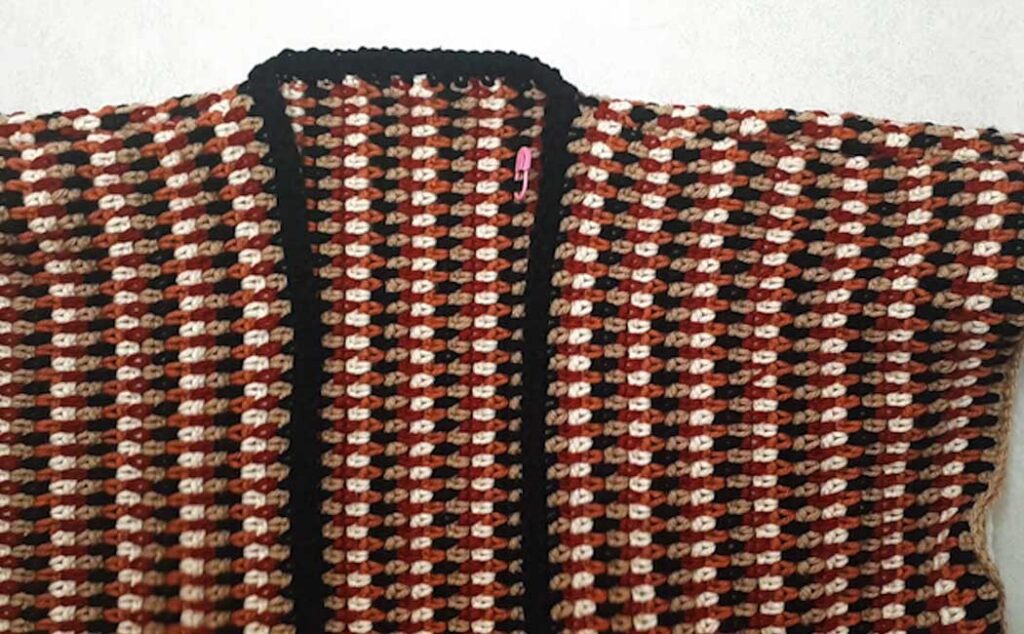
Once you’ve worked across the neck edge, continue down the other side of the panel with the same stitch pattern. At the bottom of the panel, ch 2, turn your work and crochet back for a second row. Fasten off and darn in your tail ends, or leave them long enough to include in the tassels. You could crochet more rows of this stitch pattern if you like and make it your own design!
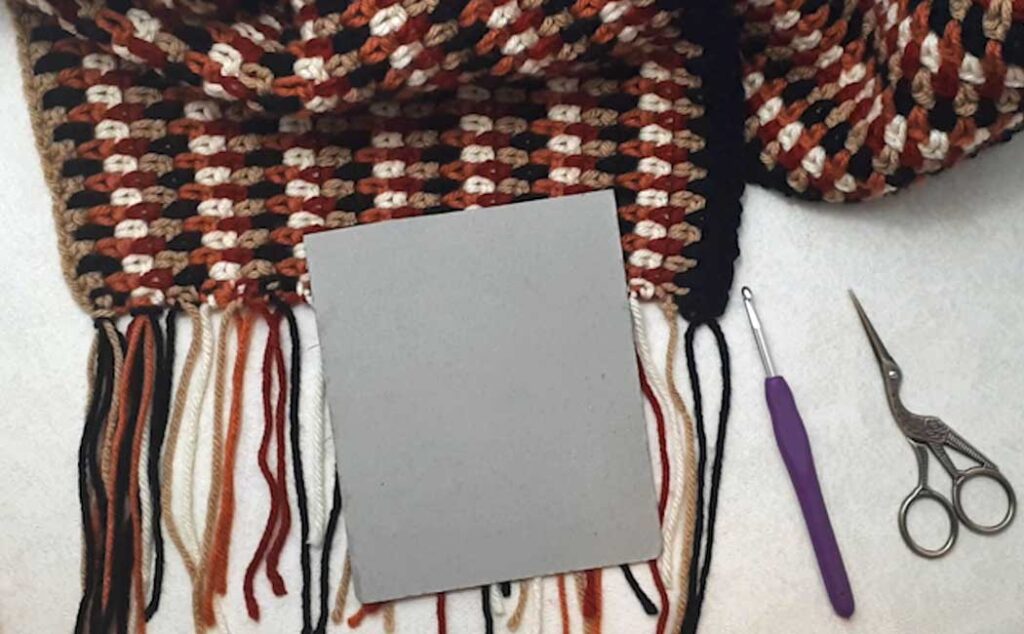
The last step in the Easy Crocheted Sweater Vest ~ Part Two is to do the tassels. With the tail ends tied with a square knot, you already have 2 tassels ready to go. Decide how long you want your tassels to be (I decided on 6″) and make a cardboard jig that is 6″ plus 1″ for the knot. Wrap the yarn around the jig to make your tassels and cut them along the bottom. This will give you a length of yarn 13″ in total. Wrapped in half, this gives you 2 threads per tassel. You also need to decide how full you want the fringe. I decided on a total of 6 finished threads, which meant adding two 13″ threads per tassel. I choose to make one black and one assorted color.
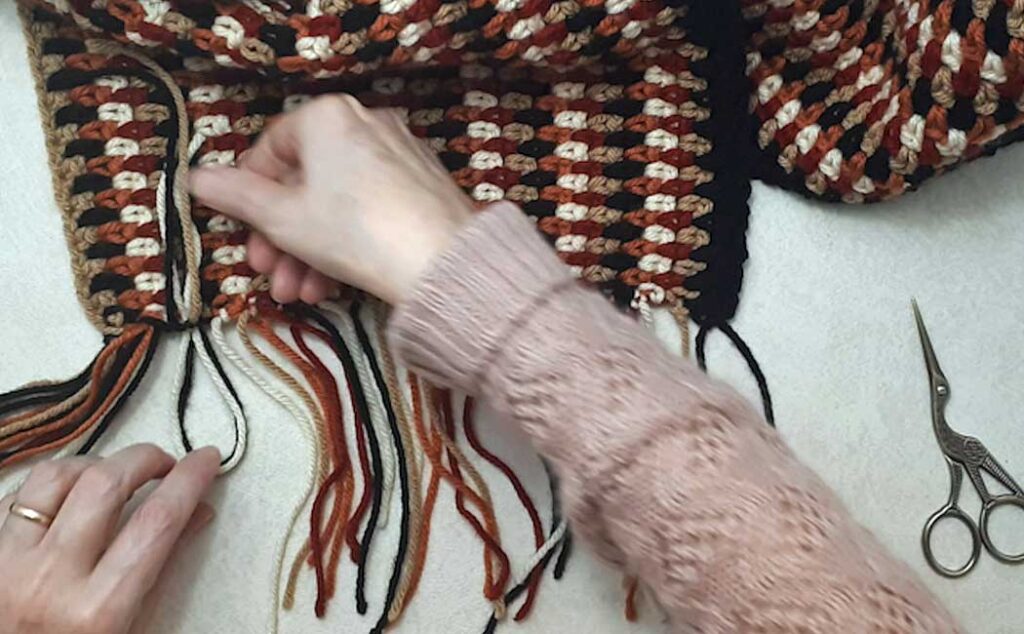
With the front of the sweater vest facing out, place the crochet hook through the back of the square knot. Pull 2 tassels through and lay those tassels, plus the 2 tail ends of the knot away from the loop. Bring all 6 threads through the loop, tighten up the 2 tassels, and wrap the tail ends into the knot. (see 25:15 in the video tutorial)
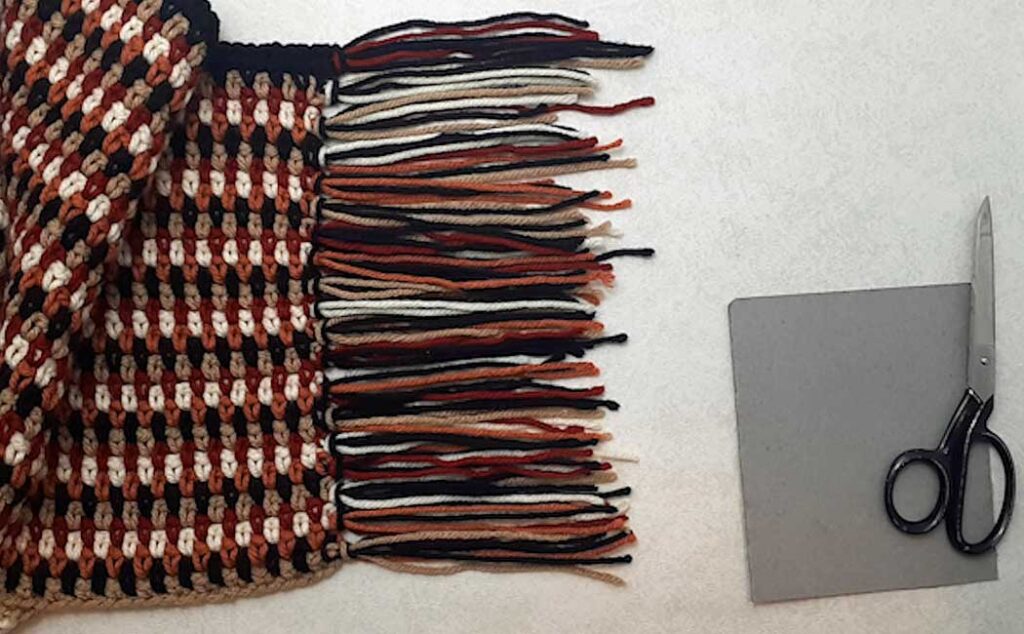
Use a straight edge to trim the tassel ends, give the garment a gentle steam with a hand-steamer and you are done! If you like, you can place a drop of fabric glue on each knot of the tassels to prevent them from coming undone. I know this was a fairly involved project, but all the steps were very easy! So I hope you enjoyed this pattern for my Easy Crocheted Sweater Vest. Please pick an image from below and share it on your social media platforms!
See the video tutorial below (it might take a moment to load) or pop directly over to my YouTube channel here.