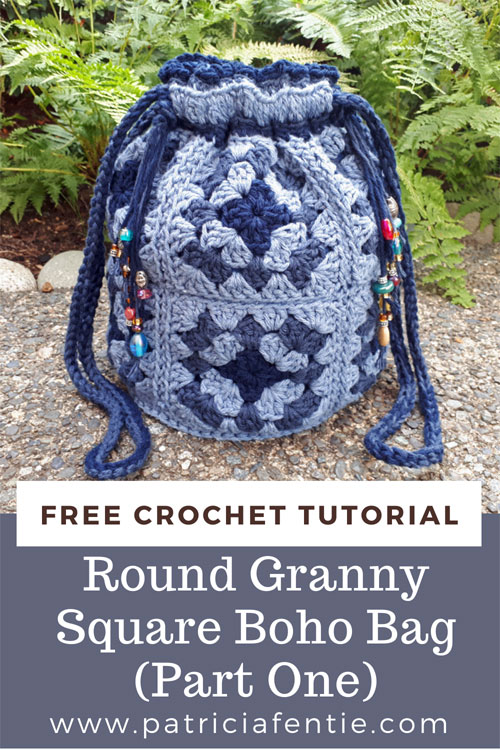
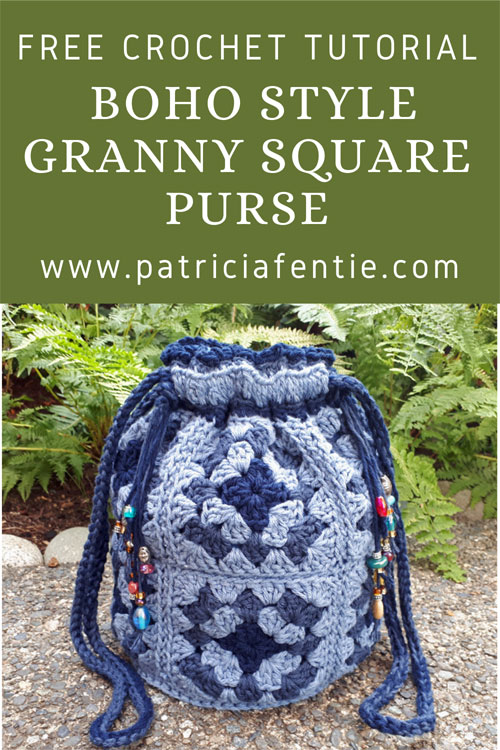
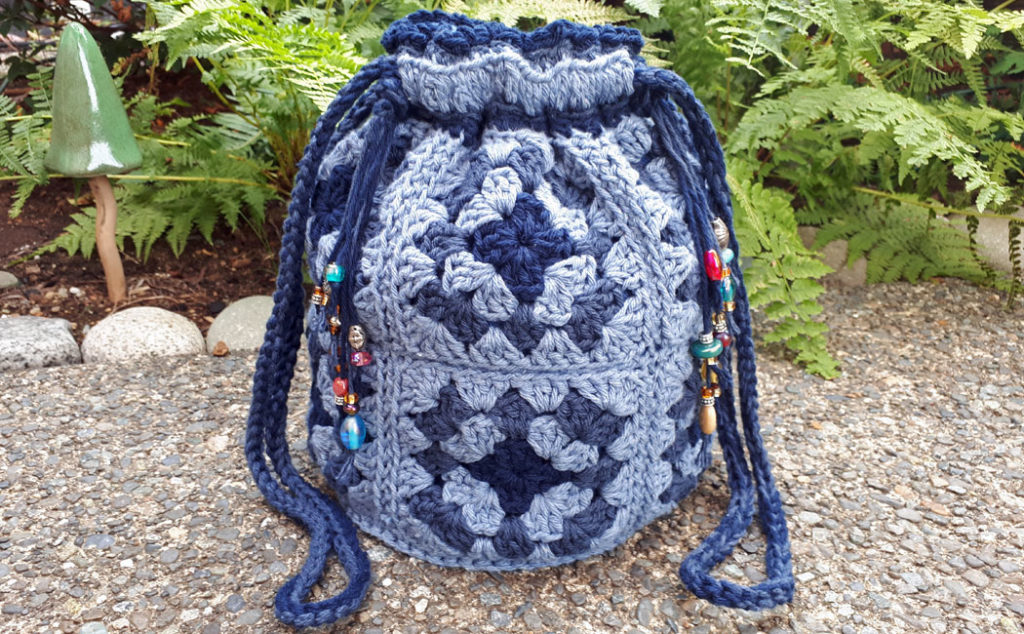
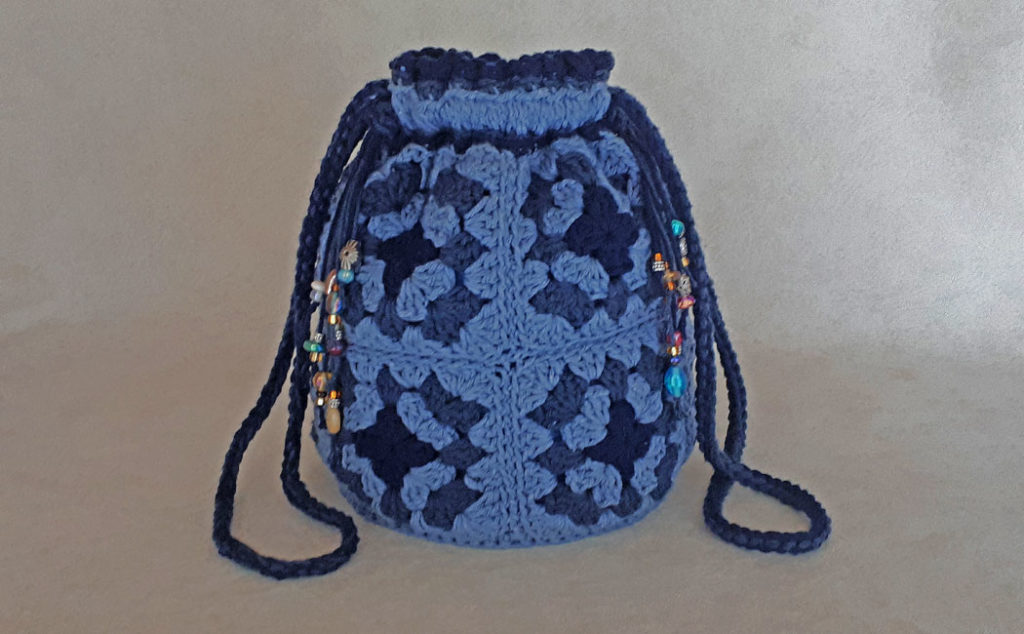
In this tutorial, How to Crochet a Granny Square Bag ~ Bohemian Style (Part One), I will show you everything you need to know to create the crocheted part of the bag. This granny square bag is a round shape and has a love round granny square motif on the bottom of the bag. It is lined as well, and that tutorial will follow in Part Two.
I am always over-optimistic when it comes to creating a project, and think that it will be much easier to teach than it turns out. This is not a difficult project and is suited for beginners, but there are several steps involved. I have created a video tutorial for Part One and you can find that at the bottom of this blog post.
If you are new to crochet, then I do recommend that you check out my Beginner Crochet Series, which teaches you all the stitches, tips, and techniques you will need to make this Granny Square Bag ~ Bohemian Style. I will not be teaching how to crochet the actual granny square motifs in this tutorial because I already have tutorials on those projects. You can find the YouTube tutorials below! I recommend using a number 4 medium-weight cotton yarn for this project or yarn that does not have any stretch to it. Bamboo, wool, linen, cotton blends are a few suggestions. Synthetic yarns may have too much ‘give’ in them.
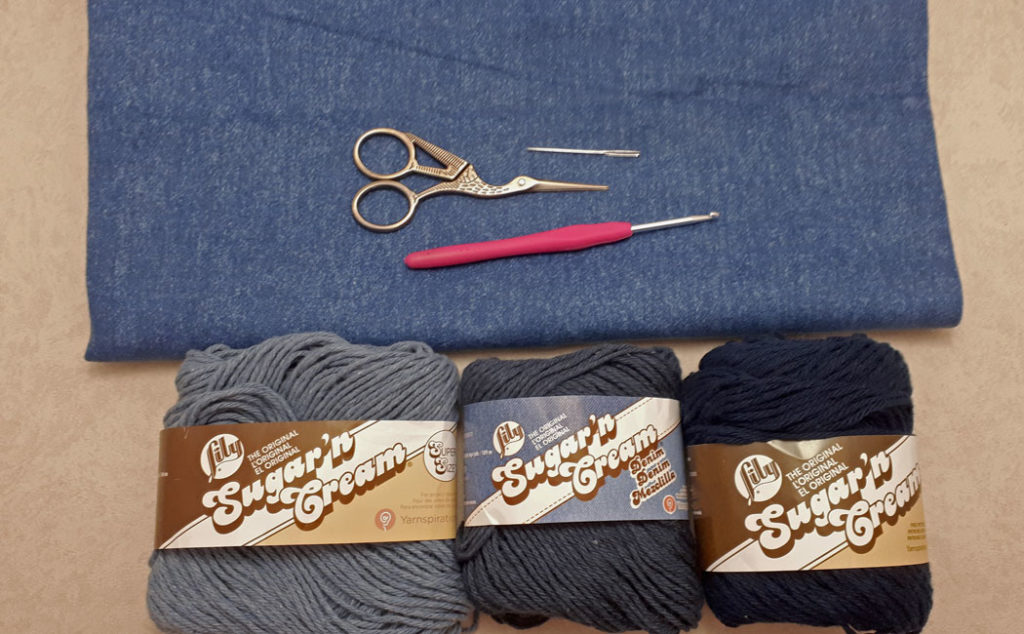
The supplies you will need for this project are:
- Lilly Sugar’n Cream~Blue Jean: 4 oz (113 g), 200 yds (184 m)
- Lilly Sugar’n Cream~Bright Navy: 2.5 oz (71 g), 120 yds (109 m)
- Lilly Sugar’n Cream~Indigo: 2.5 oz (71 g), 120 yds (109 m)
- Lining fabric (denim or canvis): 1/2 yard or meter
- Crochet hook: size E-4 (3.5 mm)
- Darning needle
- Stitch markers (not shown)
- Scissors
- Assorted beads (not shown)
- Hand steamer (not shown and optional)
- Round plastic support for the bottom of the bag. A lid from a frozen yogurt container works great.
Some (but perhaps not all) of the links in this blog are affiliate links to Amazon.com. As an Amazon Associate, I earn from qualifying purchases. This page contains some affiliate links. Please see my policy page for details. I look for the best possible option for your convenience, however, I encourage you to support your local shops!
This project will not use all the yarn listed above, but it will use about 150 yds (140 m) of the Blue Jean, about 40 yds (36 m) of the Bright Navy, and about 90 yds (82 m) of the Indigo. So in total, the whole project requires about 280 to 300 yds (260 to 270 m) of yarn. You can use the color combination I have used here or you can create your own color scheme.

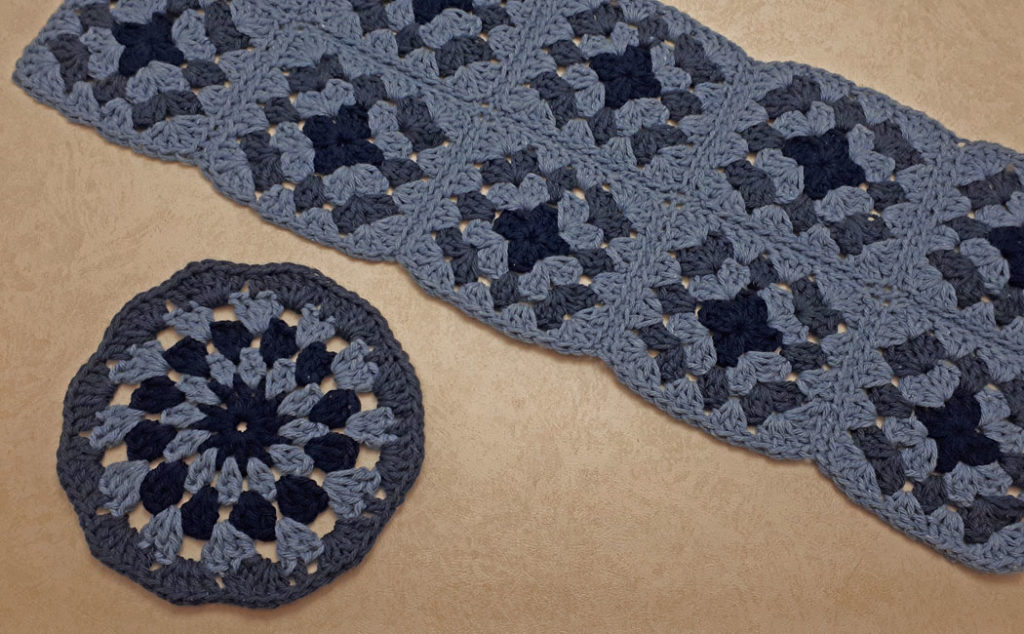
You will need ten ‘Compact Granny Squares’ (see tutorial below) with a total of four rounds and are 4.25″ (11 cm) in diameter. I used Bright Navy for round one, Blue Jeans for rounds two and four, and Indigo for round three. I will be adding written directions for this pattern soon, so check back again if you’d prefer the written directions.
You will also need one ‘Round Granny Square’ motif (see tutorial below) that is 7″ (18 cm) in diameter, but you will only complete rounds one through four of that tutorial. Round five is done a bit differently, and there is actually a sixth round of single crochet that I added at the last minute because the round motif was just a little bit too small for the bag section. For rounds one and three, I used Bright Navy, for rounds two and four (and six, which is shown in an image below), I used Blue Jeans, and for round five, I used Indigo.
Round five: In a ch2 sp between a cluster of 4dc and 3dc, join new color with a sl st, ch 3 (counts as a dc), 4 dc in same sp. *Sk 1 st, 1 dc in center of 3dc cluster, sk 1 st, 5 dc in ch2 sp, sk 2 sts, 1 dc in center of 4dc cluster, sk 2 sts, 5 dc in ch2 sp. Repeat from * 4 times. 1 dc in center of 3dc cluster, 5 dc in ch2 sp, 1 dc in center of 4dc cluster. Fasten off with the invisible finish (see link below for this tutorial). See the options below if you want round six in the same color.
Round six: Same color option… If you want to do round six in the same color (Indigo), then rather than fastening off, join with a sl st in the 3rd ch of the beg ch3, ch 1, 1 sc in the top loop of each stitch all the way around. Fasten off with the invisible finish. New color option…join new color (Blue Jeans) into the top loop of any st with a sc, 1 sc in the top loop of each stitch all the way around. Fasten off with the invisible stitch.
Other helpful YouTube videos
- How to do an invisible finish (on any crocheted motif)
- How to sew a lining with pockets on a sewing machine
- How to sew a lining with pockets by hand

Once you have all your motifs ready to go, you can begin by joining the granny squares together in two strips of five squares. You can use any joining technique you like, but I love to use the whip stitch in the top loops only because it creates such a nice finish.
Cut a piece of yarn three times the length of a square. Place the squares right side down and bring your needle in through the top loop of the ch1 in the bottom square and then through the ch1 of the top square. Leave a tail to darn in later. Then bring the needle back down into the top loop of the next stitch of the bottom square and through the next top loop of the top square. Continue to whip stitch the two squares together in this way until the end and you will finish in the ch1 spaces of each square. Darn in your tail ends.

Once you have two panels of five squares sewn together, sew them together along the long edge using the whip stitch as before. When you get to a seam section, make sure to pick up the seam stitch from each section as well. This creates a nice secure intersection. Darn in your tail ends.
At this point, you need to use your crocheted sections for a template for the lining pieces. Lay the round motif on your fabric and measure a 1/2″ (1.25 cm) seam allowance around the motif. (Even though I added an extra round of single crochet to the above motif, the pattern piece still worked fine, you can see that in the video tutorial). This fabric piece is 7.5″ 19 cm) in diameter and 24″ (60 cm) in circumference.
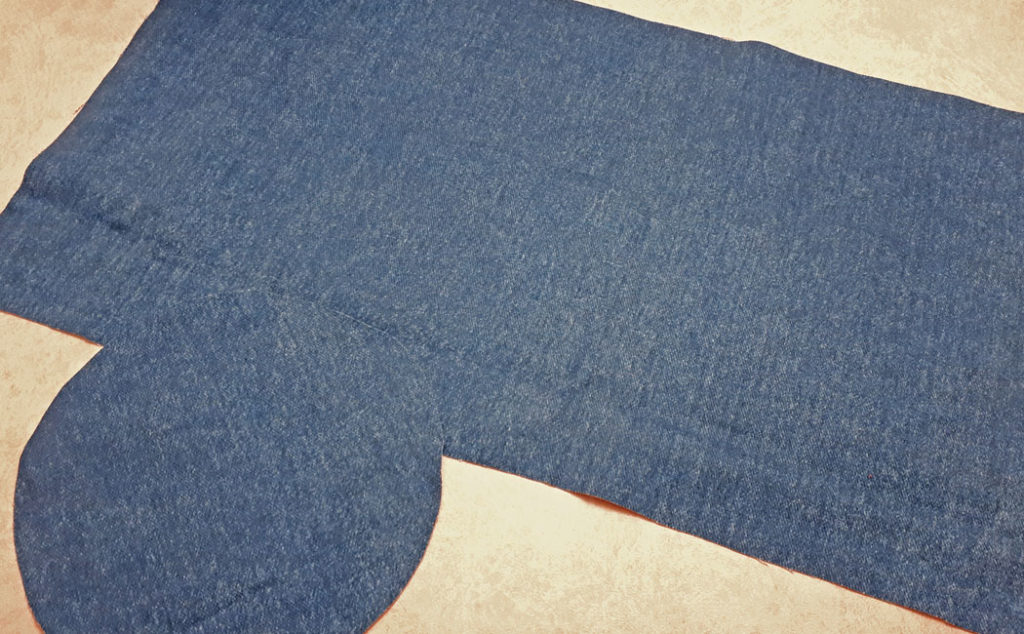
For the rectangle piece, measure the width of your crocheted panel and add 1/2″ (1.25 cm) seam allowance to each side. My crocheted panel was 23″ (58.5 cm), so I measured 24″ (60 cm) for the lining width. For the height measurement, we will be adding a two-inch band around the top once the panel that has been sewn into a tube shape, so this has to be added to the calculation. Here are my calculations:
- Panel height now equals 8.5″ (21.5 cm)
- Plus 2″ (5 cm) for the band at the top
- Plus 1″ (2.5 cm) seam allowance for top hem
- Plus 1/2″ (1.25 cm) seam allowance for bottom seam
- Total height equals 12″ (30 cm)
The final pattern pieces for my bag will be 12″ x 24″ for the rectangle piece and 7.5″ in diameter by 24″ in circumference for the round piece. Your dimensions may be different based on your yarn of choice and tension. If you want to add a pocket to the lining you can check out the tutorials in the links above under “other helpful tutorials.” I will show how to construct the lining in Part Two (soon to follow).

Next, sew the final seams of the rectangle panel together to create a tube shape using the whip stitch. With the extra row of single crochet on the round motif (as shown above now), you are ready to join the two sections together.
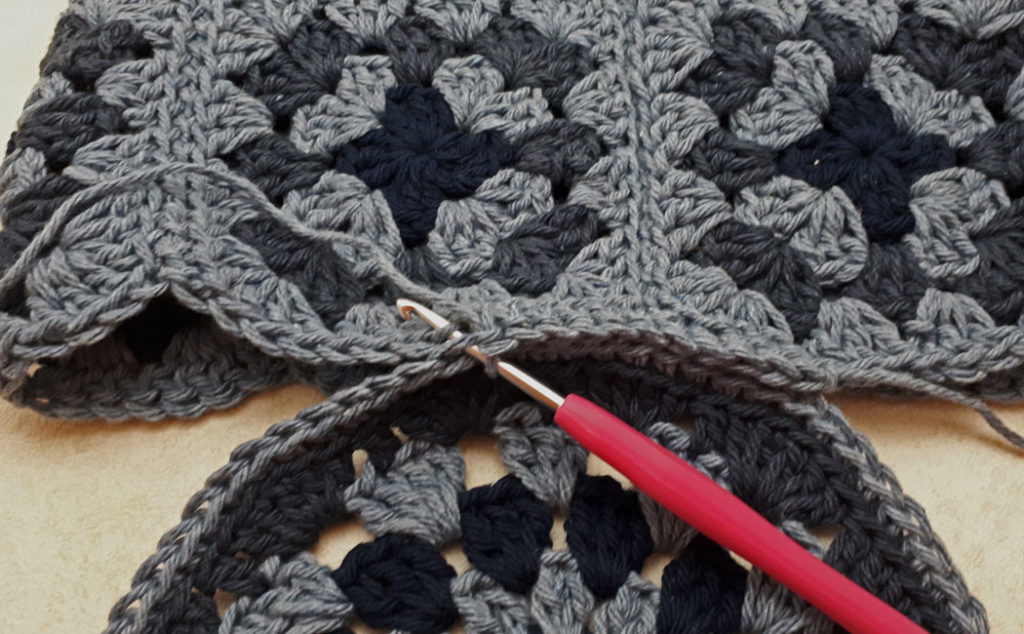
For this step, I suggest joining the sections with a single crochet stitch. Place wrong sides tother. With a slip knot on your hook in the Blue Jean color, put your hook through any top loop of the round motif (have it facing you). Then put the hook through the top loop of any stitch on the bag section. Pull the yarn through and do a single crochet to join on. Do one single crochet in the top loop of every stitch of each section (don’t include the stitches from where the granny squares were seamed together).
The round motif has 71 stitches and the bag panel has 70 stitches. As you crochet the two pieces together, you can pick up just one of the stitches from where the granny squares were seamed together to get that extra stitch needed.
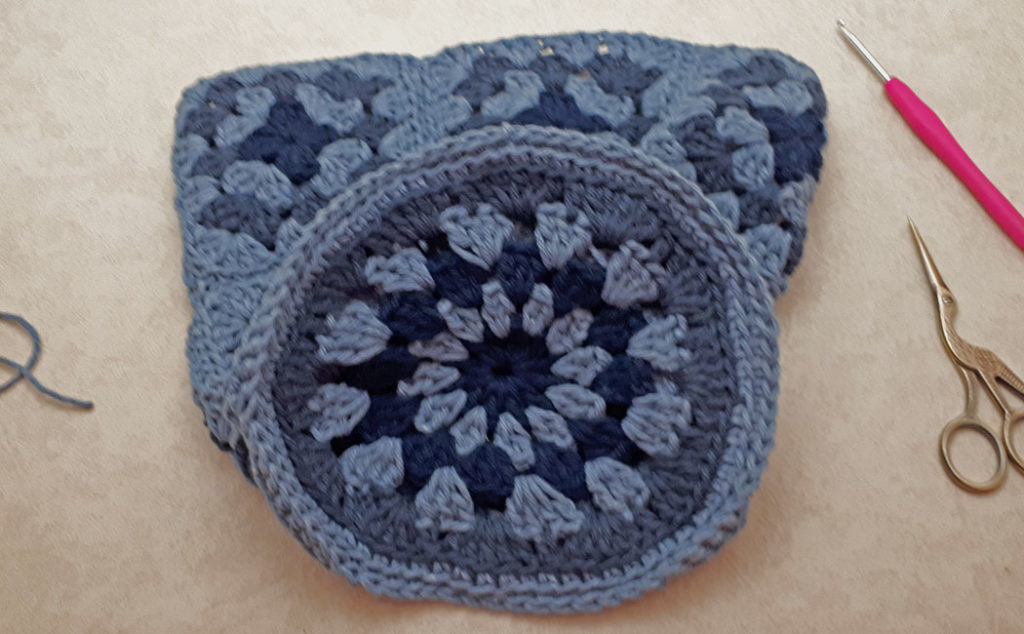
I apologize for the fuzzy picture, but here is how the bottom of the bag will look once it has been joined to the top section with a round of single crochets.
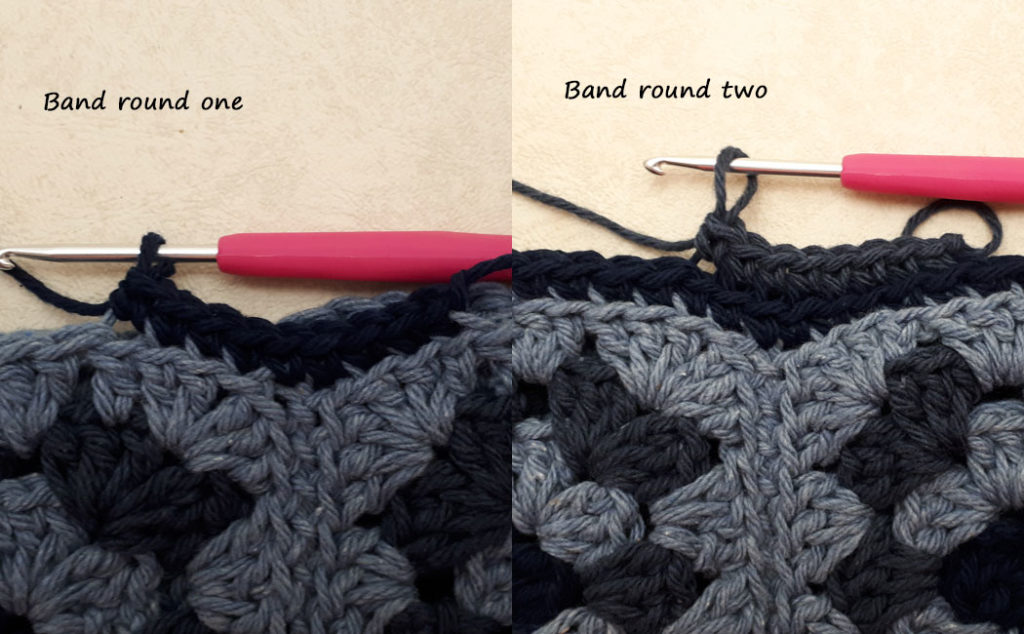
For the band around the top of the bag, do one round of single crochet into the top loop of each stitch (this time including the stitch where the seams were joined) with the Bright Navy color. Fasten off as usual. Then do a second round of single crochet in the top loop of each stitch in the Indigo color and fasten off as usual.

For round three, find the center sides of the bag and place a stitch marker on each side. Place another stitch marker two stitches before the center-side stitch.
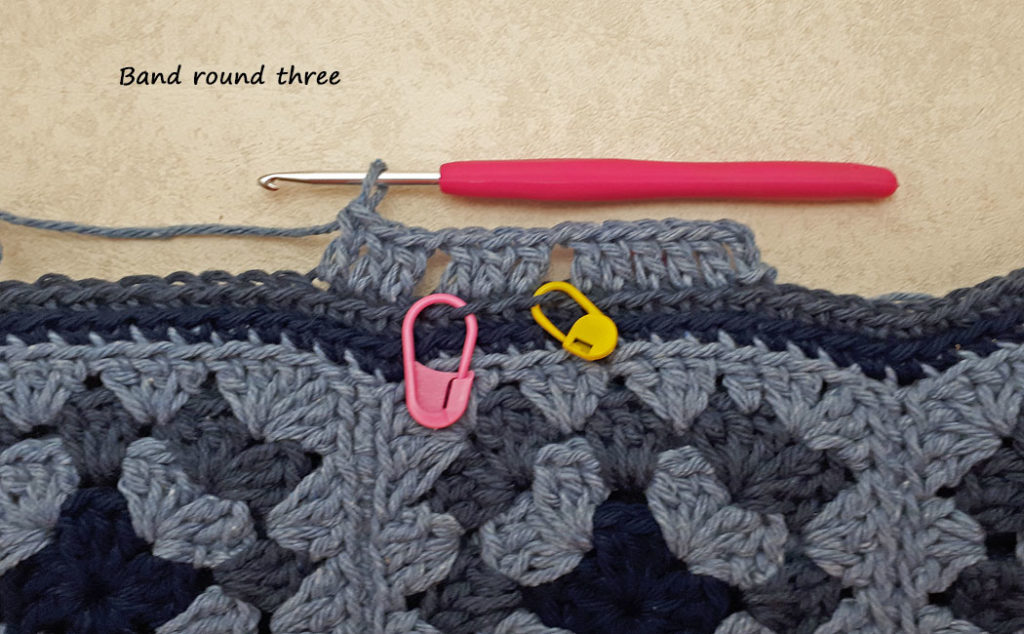
Join on with a slip stitch (into the top loop) in the Blue Jean color a few stitches before the stitch markers. Ch 3 (counts as your first dc), 1 dc into the top loop of each stitch until you reach the first marker. Sk 1 st, ch 1, 1 dc in next 3 sts, ch 1, sk 1 st, 1 dc in each st to the next side. Repeat the same pattern again on the next side to create the holes for the straps to go through, 1 dc in each stitch to the end of the round. Fasten off as usual.
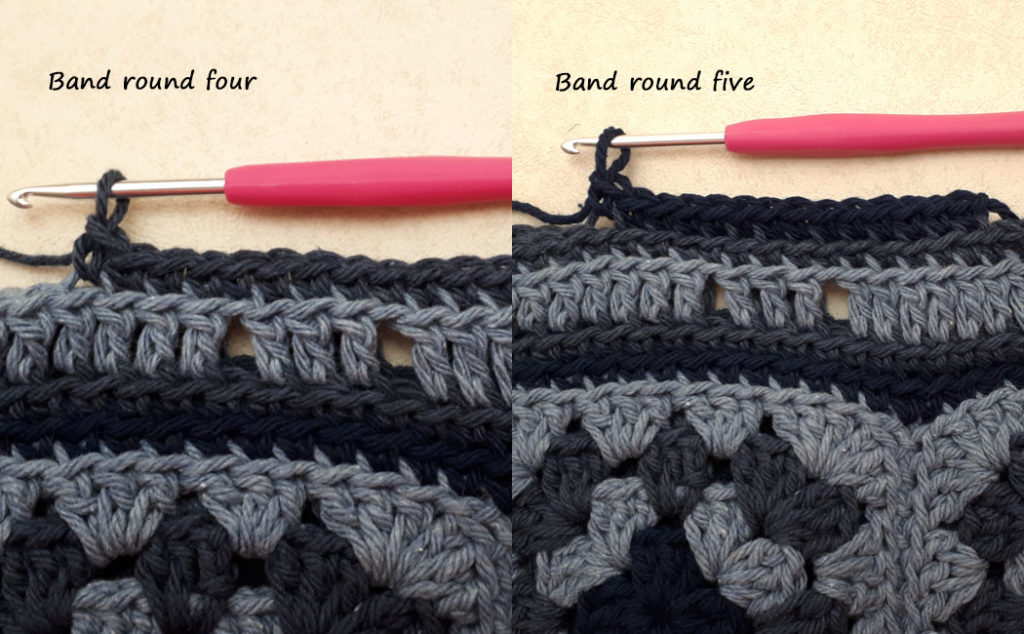
For round four, do one row of single crochet in the top loops only using the Indigo color. For round five, repeat another row of single crochet in the Bright Navy color. Fasten both rows off as usual and then the crocheted bag is all done! I’m sorry I forgot to take a picture at this point of the final piece, but you will see that in Part Two!
For your convenience, I have also created a video tutorial below. I hope this tutorial is clear enough, I am struggling quite a bit with my brain function, so this has been quite a challenge to produce. Please forgive any boo-boos, poor grammar, or typos.
Sharing is caring! Click on the social share button at the top of the blog and choose an image from below to share on social media.