This cute little pouch is a super easy crochet project! It is totally suited for beginners and would be a fun project for children too. I needed a little bag for my new ergonomic crochet hooks, so I thought I’d make myself a fun and colorful one. I’ve included a video tutorial as well, so it couldn’t be easier!
Some (but perhaps not all) of the links in this blog are affiliate links to Amazon.com. As an Amazon Associate, I earn from qualifying purchases. This page contains some affiliate links. Please see my policy page for details. I look for the best possible option for your convenience, however, I encourage you to support your local shops!
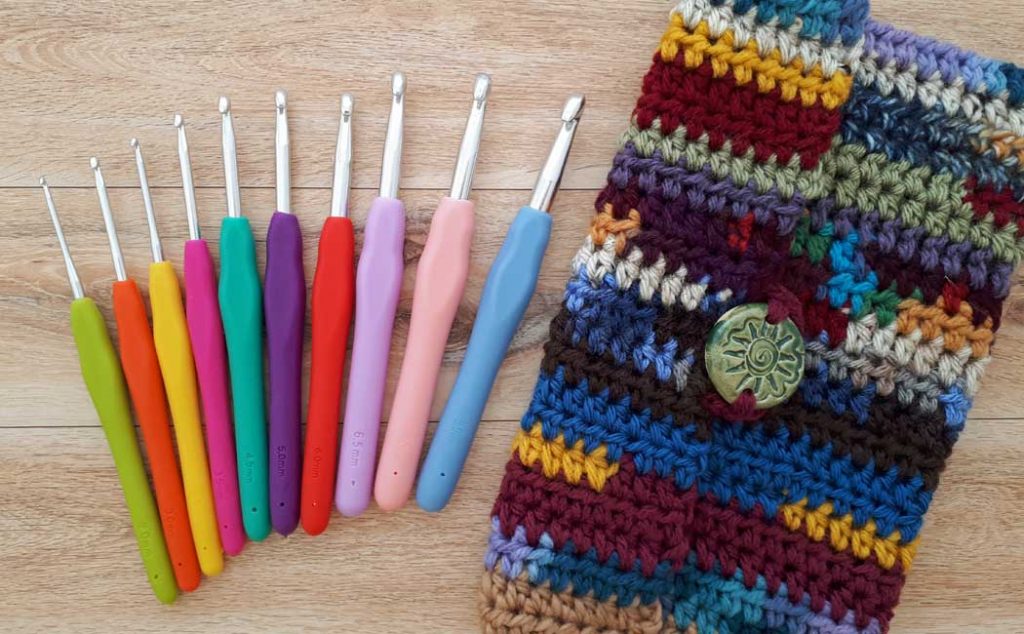
All you need for this project is a crochet hook, a button, and some assorted yarn. I had a whole bunch of leftover yarn from an on-line course I created called “How to Crochet a Bohemian Poncho for Beginners“. I thought all these colorful yarns would work really well to make a cute pouch for my crochet hooks.
This isn’t really a pattern, it’s just a simple panel made with half-double crochets. You could make this any size you want. I made this one 11″ by 8.5″ (27.5 cm by 21.25 cm). The width is 8.5″ and the length allows for the pouch space and the flap at the top. The pattern is crocheted horizontally, but the panel will be folded vertically when done.

The yarn I am using is a number 4 worsted acrylic yarn and I’m using my new ergonomic G-6 (4mm) crochet hook. If you are new to crocheting, I have a Beginner Crochet Series that you can check out to learn everything you need to know to make this project.
Start with a slip knot, and do a series of chain stitches until you reach a length of 11″ (27.5 cm), or whatever length you want yours to be (which will be the width of your pouch). Then chain 2 (counts as a half-double crochet) and do one half-double crochet (hdc) into the third stitch from your hook. Crochet into the top post of that stitch. Continue to do 1 hdc in the top of each stitch until you reach the end. Chain 2.

Turn your work as shown below. This chain 2 counts as your first hdc. Work a hdc into the third stitch from your hook as shown below (going under both posts of the stitch). Continue to work a hdc in the top of each stitch to the end of your row.
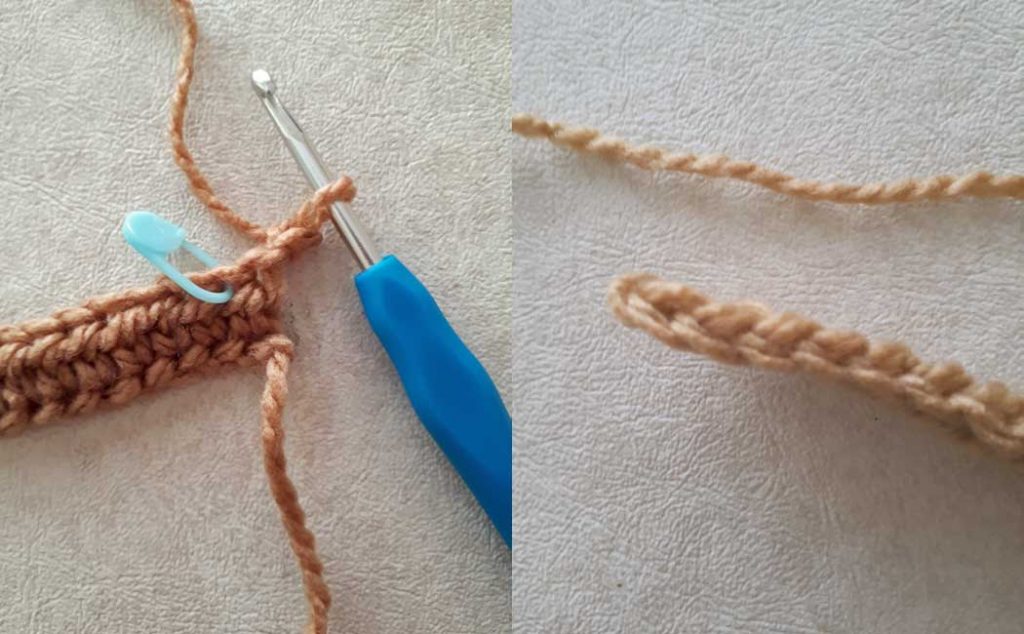
To know where the end of the row is, look for the very last ‘V’ shape stitch at the top of the row you are crocheting in to, as shown above. It should be very obvious. Many people either miss this stitch or go too far into the chain 2 stitches from the previous row. Make sure to do your last hdc into this ‘V’ stitch. This will ensure that the sides of your panel will remain nice and straight. Chain 2 and turn. Continue to work each row with the hdc stitch.
To add a new color partway through a row, you can use a magic knot. I show how to do this in the video tutorial. This is a nice secure knot that crochets beautifully into your work. You can’t even notice that it is there.

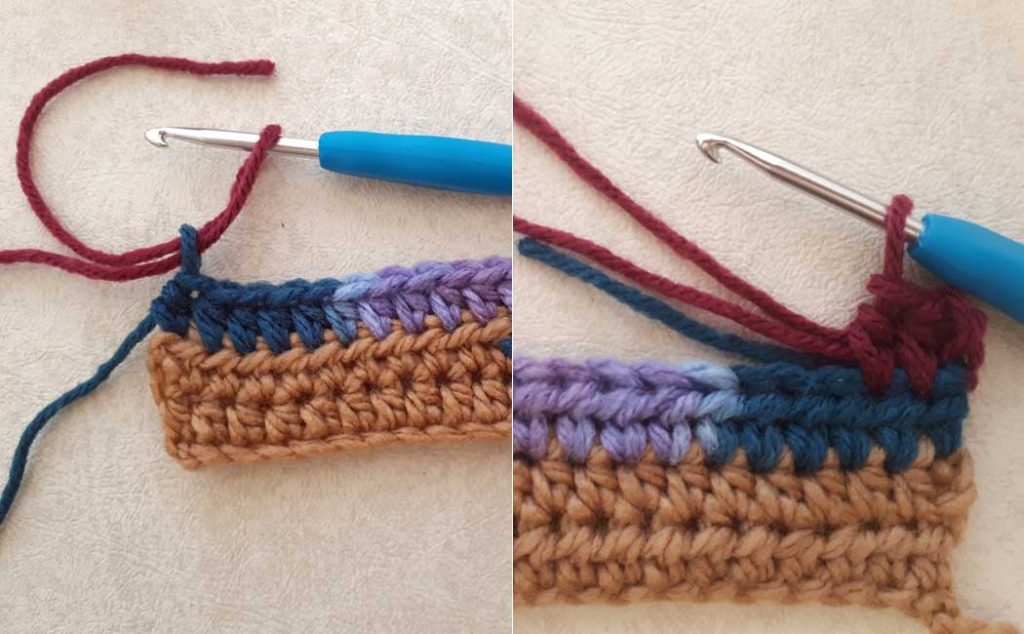
To add a new color at the beginning of a row, just bring the new color through the top of your last hdc. Snug it up, chain 2 as usual and turn. You can crochet your ends in by crocheting over them with your hdc’s. If you find this awkward to do, you can just darn your ends in later.
Carry on with each row, changing up your colors as you like. Be playful and creative, there are no rules to this. Once you reach 8.5″ (21.25cm), or as long as you like, cast off with a chain stitch. Darn in your ends.
The size I made is perfect for my crochet hooks, but you can truly make this any size you like. Just allow space for the size of the pocket you desire, plus the flap.

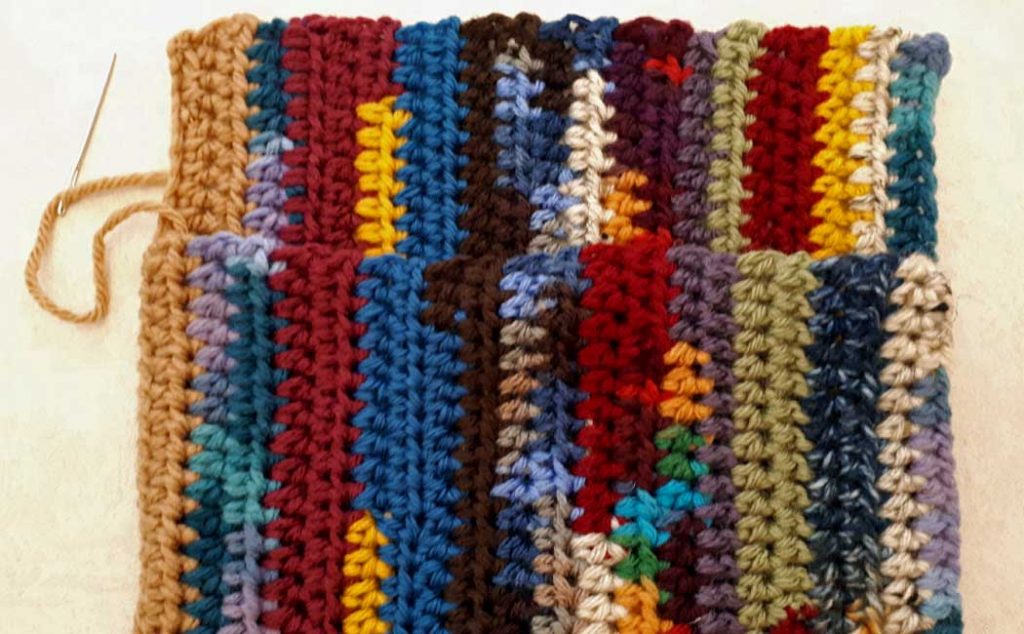
Fold the long side in half, leaving a few inches at the top for your flap. Sew each side together with a whip stitch. I show this in more detail in the video tutorial. Darn in these ends as well, and you can even add a knot if you like to make it more secure.
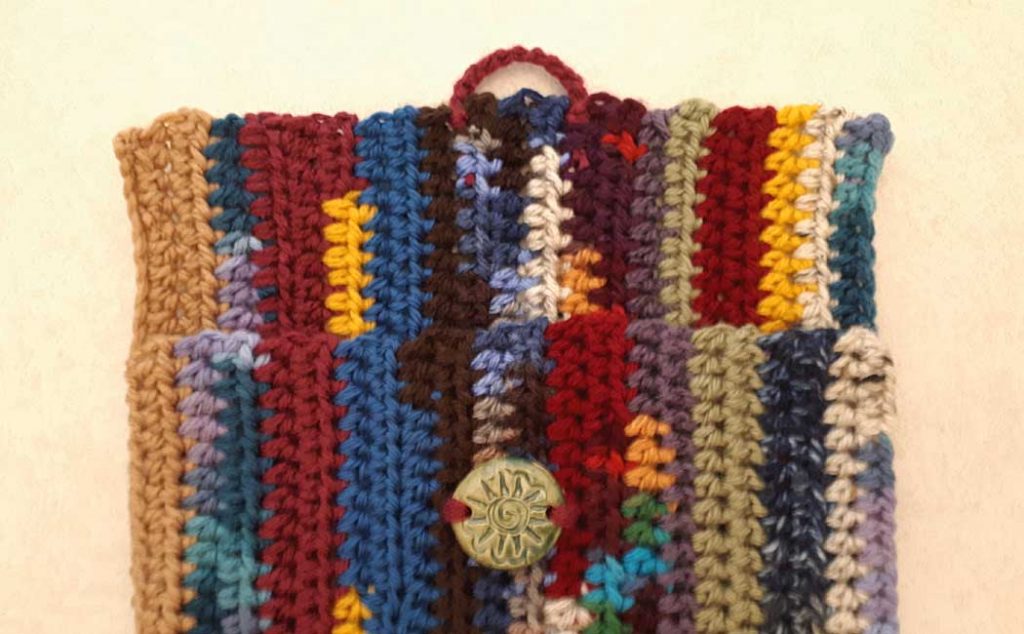
Sew your button in place and simply crochet a loop with a chain stitch on the top edge of your flap. You may want to create a knot on each end of your loop as well to make it more secure.
That’s it! You are all done! This would make a great pencil case or makeup case. You could make a cover for your tablet or a book. Make this funky pouch for any sort of treasure! Here is the video tutorial which offers more detail.
I hope you enjoyed this tutorial. If you watch the video, please like and subscribe on Youtube. Also, make sure you subscribe to my newsletter so you don’t miss any inspiring posts!