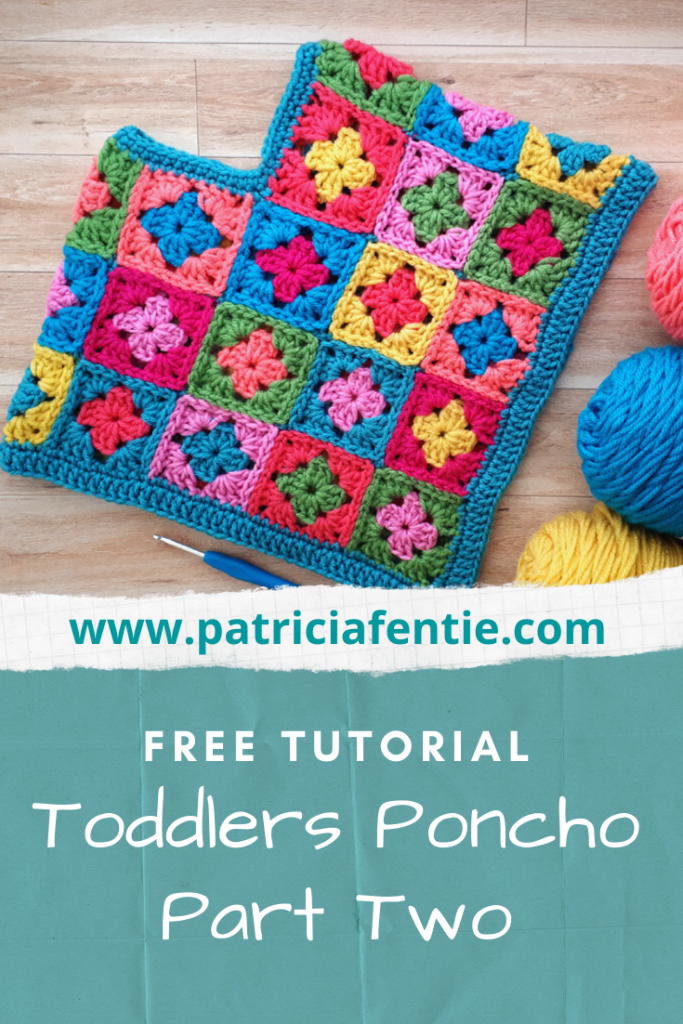
Welcome to Part Two of this tutorial on how to crochet a Granny Square Poncho for Toddlers! In Part One, you learned how to crochet the granny square, how to adjust the pattern for sizes six months to twenty-four months, a bit about color planning, and how to join all the squares together to make two panels.
In this tutorial, we will join the two panels together to create the poncho shape and then crochet a nice and simple finish around the neck edge and bottom of the poncho. If you followed the design in Part One, you will have two panels the same, of 18 squares each.
For this tutorial, I’m going to write the instructions using plain English, without any abbreviations. I have also created a video tutorial for this project and you can find that at the bottom of the post. Everything you need for this project is listed in Part One, but for your convenience, here is what I used. The Bernat Premium line is currently not available online, but I did find some at Walmart.
- Assorted colors of a number 4 medium weight yarn. These are the colors I used and you can substitute similar or different colors!
- Bernat Super Value Peony Pink
- Bernat Super Value Aqua
- Bernat Premium Coral Peach
- Bernat Premium Hot Pink
- Bernat Premium Teal
- Bernat Premium Spring Green
- Bernat Premium Gold
- Cascade Yarns Anthem 09
- Crochet hooks in sizes E-4 (3.5mm), G-6 (4mm) or 7 (4.5mm) depending on garment size.
- Scissors
- Darning Needle
Some (but perhaps not all) of the links in this blog are affiliate links to Amazon.com. As an Amazon Associate, I earn from qualifying purchases. This page contains some affiliate links. Please see my policy page for details. I look for the best possible option for your convenience, however, I encourage you to support your local shops!
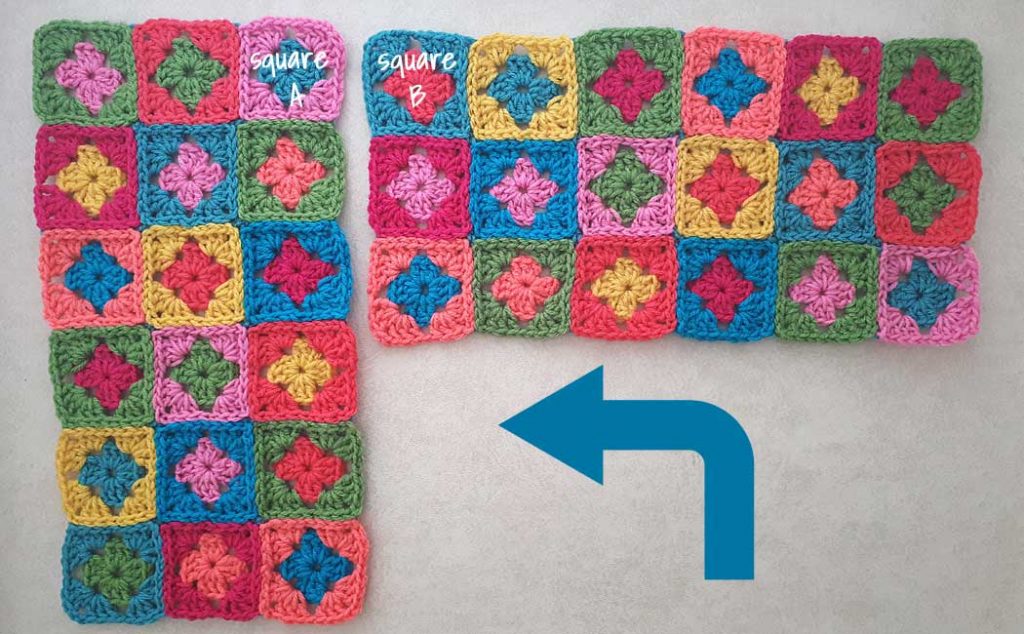
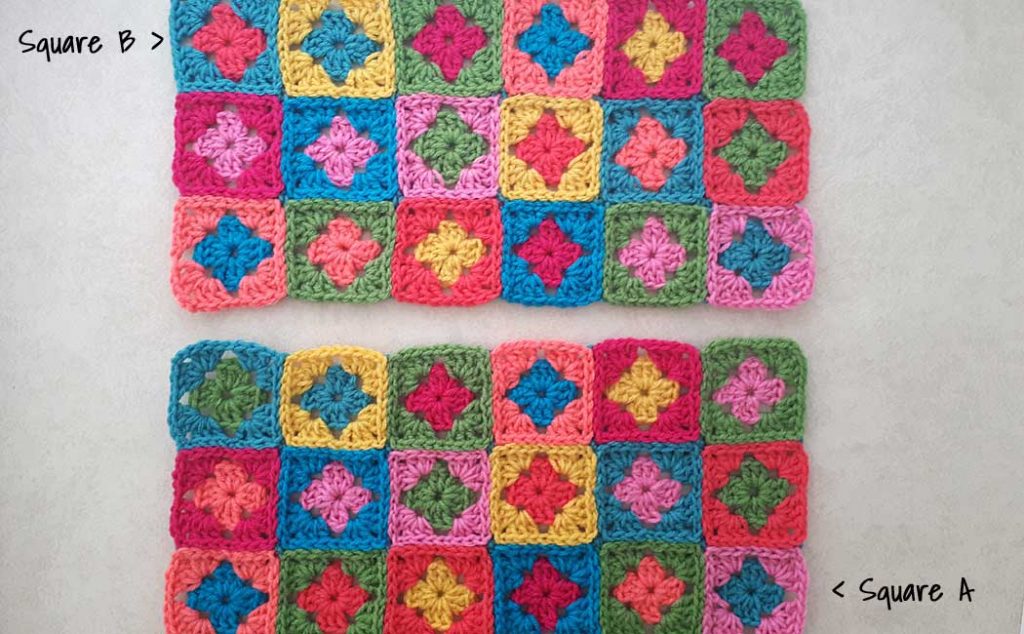
To create the poncho shape, bring the bottom panel up to the left side of the top panel, lining up square A to square B. Join these two panels together with the invisible whip stitch on the wrong side (taught in Part One).
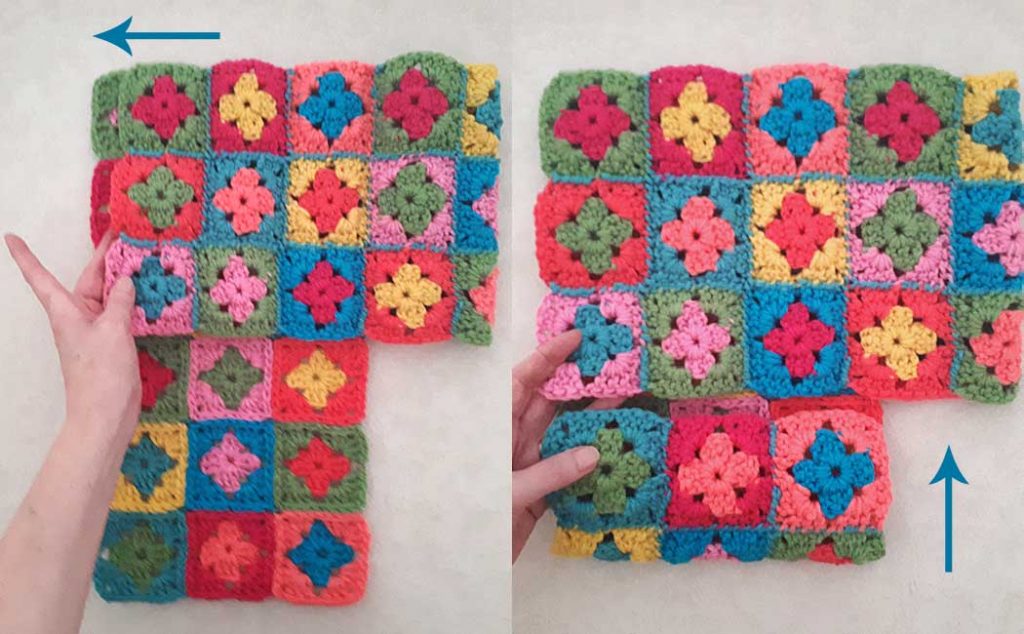
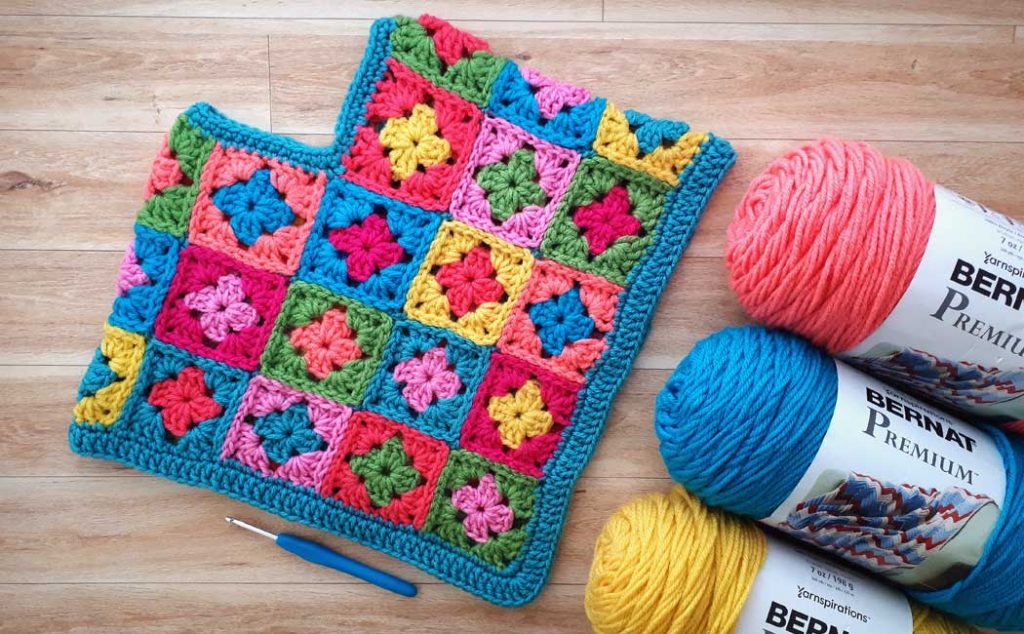
Lay the L-shaped panel back down as shown in the third image. Fold the long edge in half to the left side so the wrong side is facing out. Then fold the short edge in half to meet the top piece. Sew this seam together using the invisible whip stitch. Darn in all your ends and turn the poncho right side out.
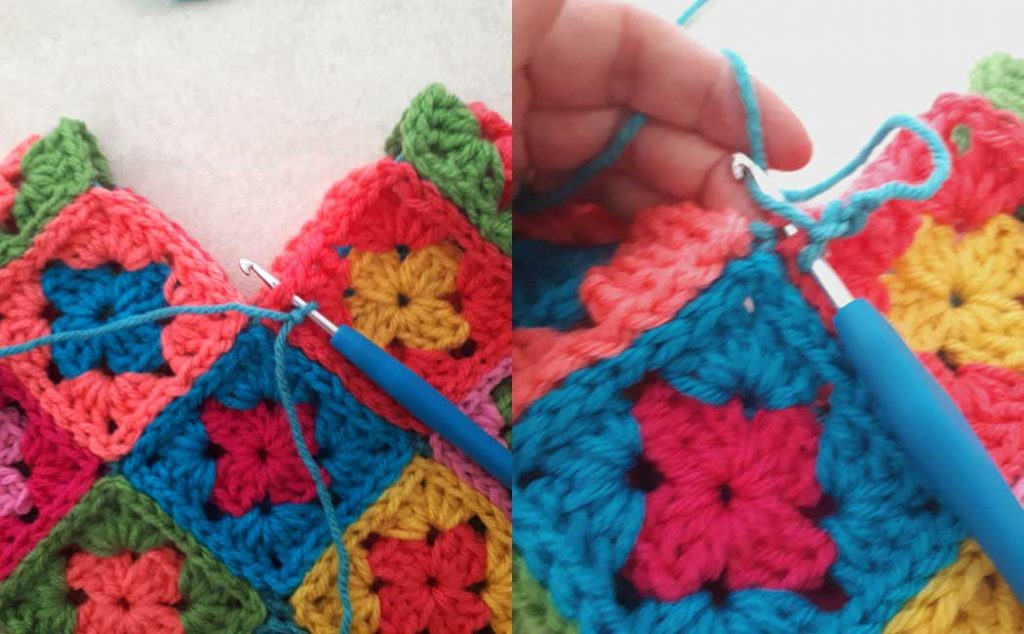
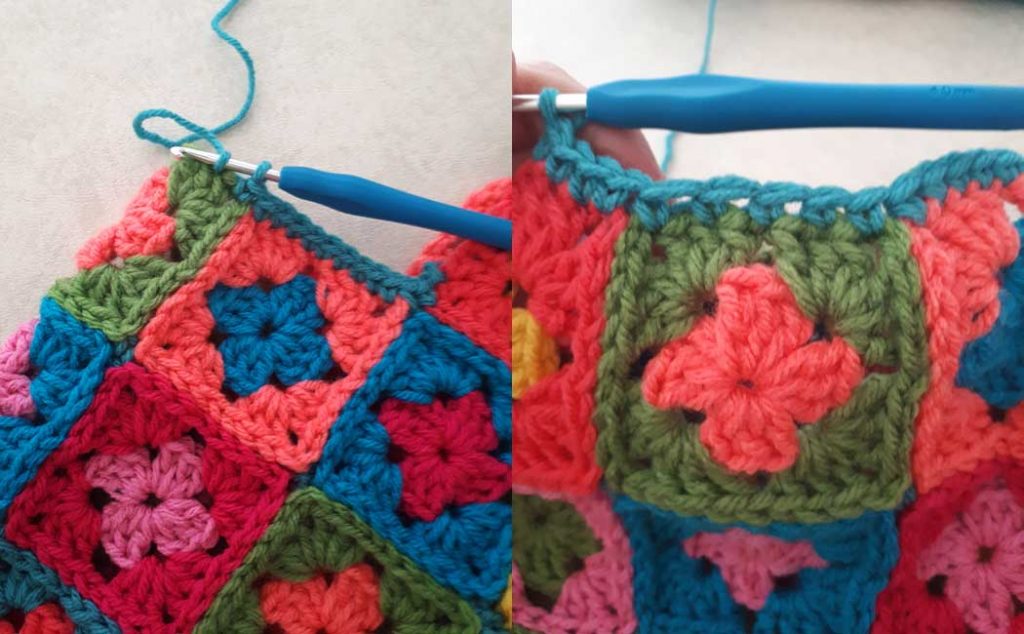
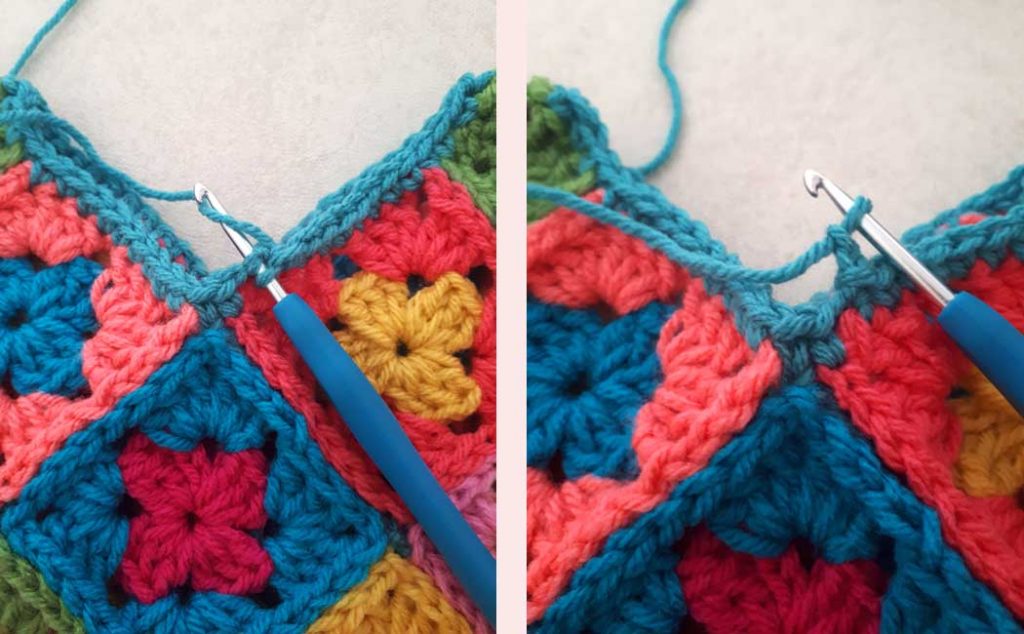
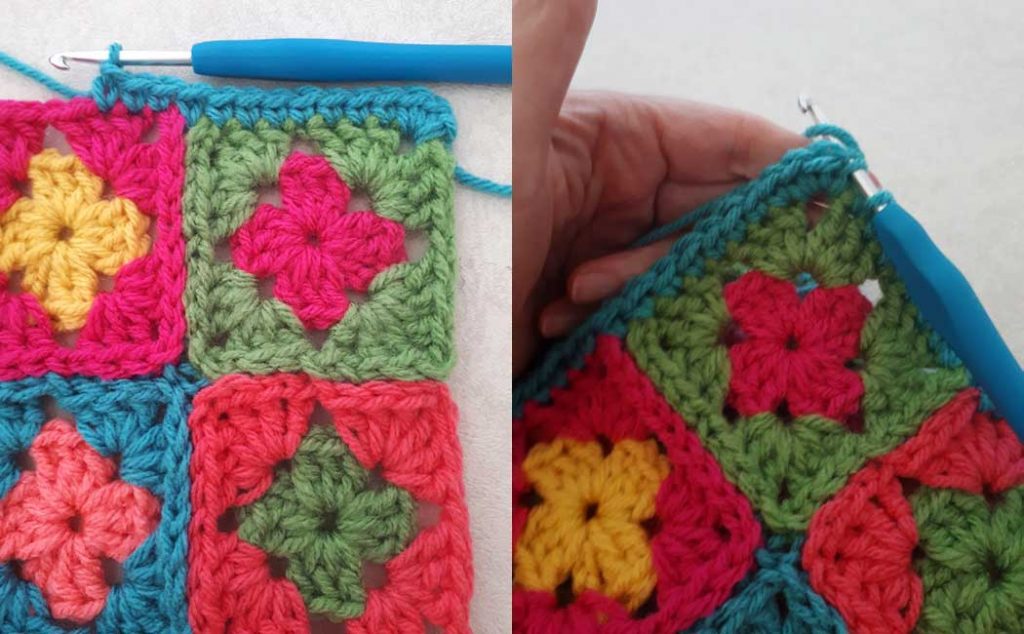
Join the trim color (I’m using Aqua) in the first stitch before the inside V of the neck edge with a slip stitch, chain one (this counts as your first single crochet). Make one single crochet in the corner stitch (the same one you whip stitched into).
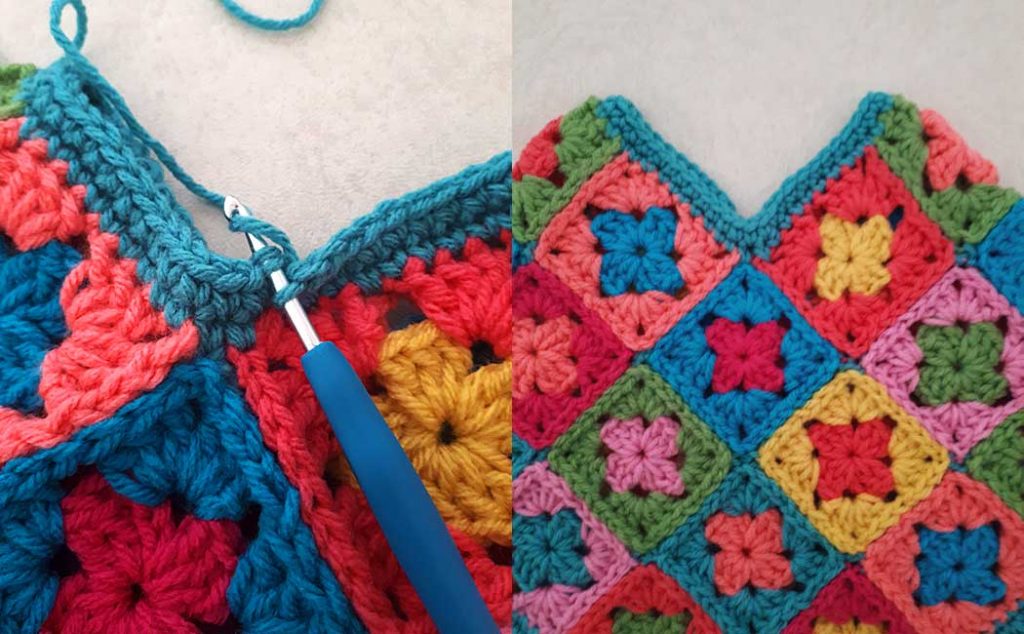
Single crochet into the whip stitches in the ‘V’, and single crochet into the next stitch (the same one you whip stitched into on this side).
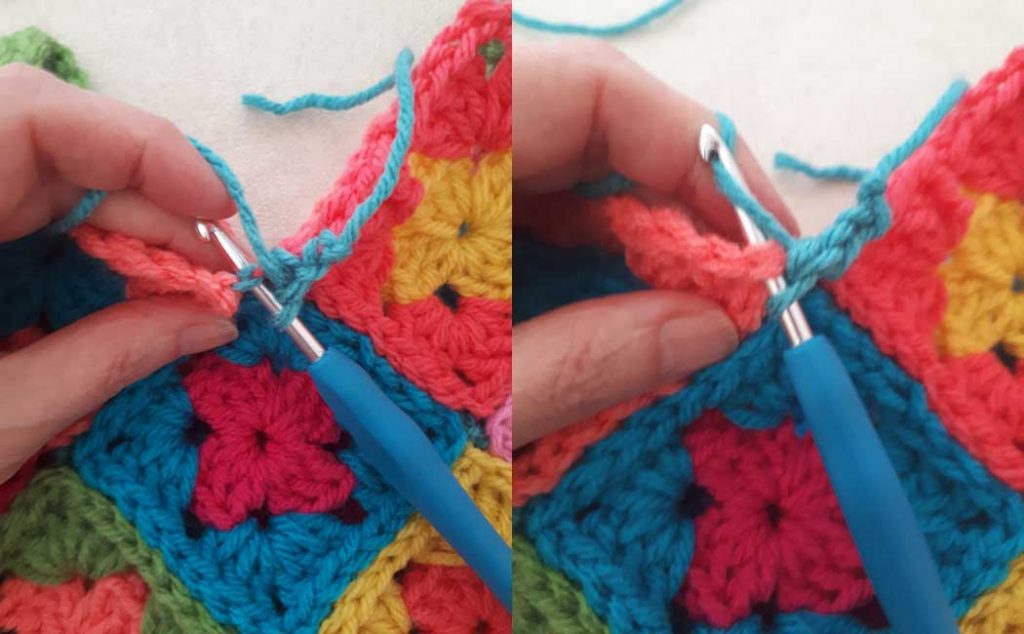
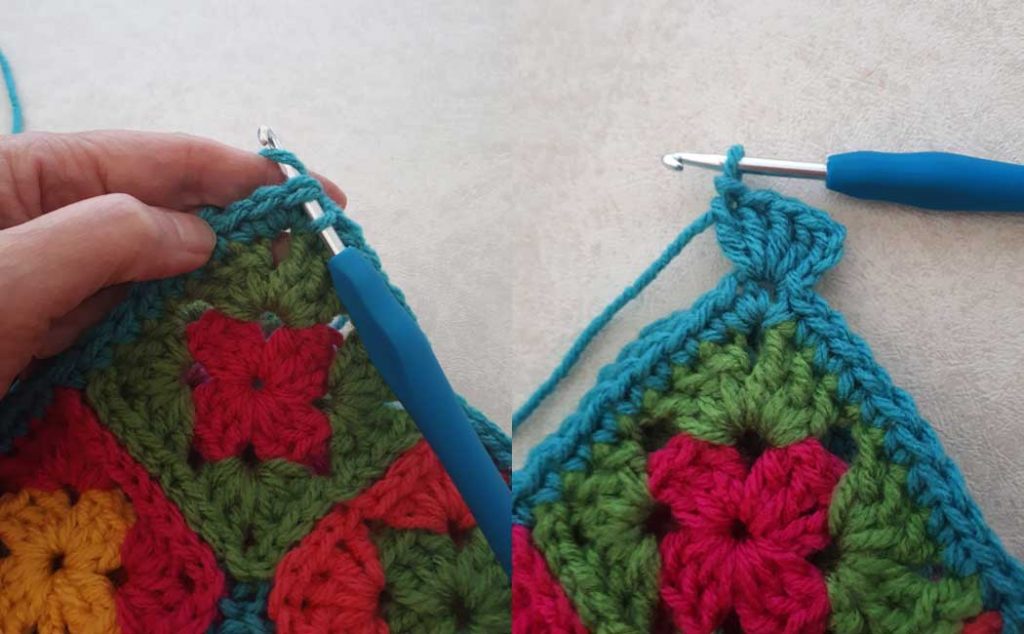
Single crochet in each stitch along the first square. The second square is the shoulder of the garment. For the length of this square, skip a stitch, do one single crochet in the next stitch, skip a stitch and repeat to the end of this square. For the next square, and all the way around to the next shoulder square, do one single crochet in each stitch. Repeat one single crochet in every other stitch of the shoulder square.
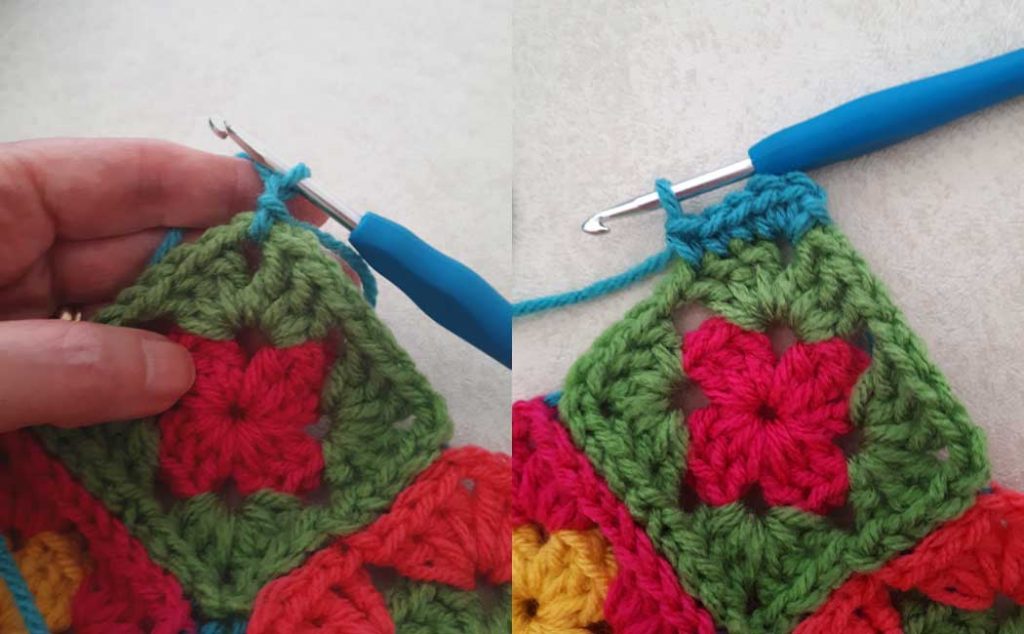
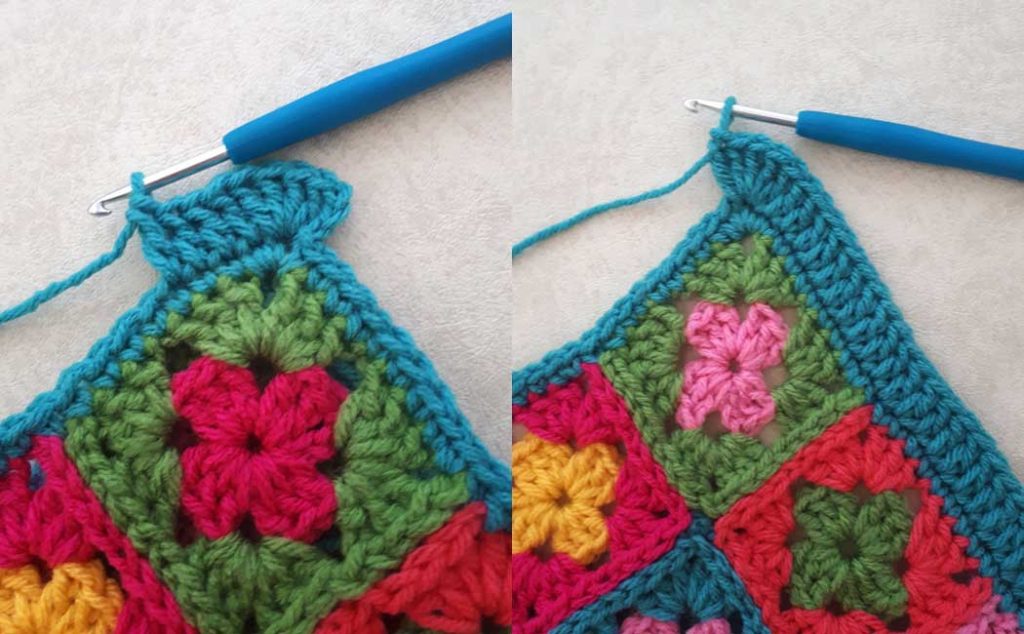
Continue with a single crochet in each stitch to the end of the round. Join with a slip stitch in the beginning chain one. For row two, chain one (this counts as your first single crochet).
Do one single crochet in each stitch around the neck edge and join this round with a slip stitch in the beginning chain one. Fasten off and darn in your ends.
To crochet around the bottom edge, join on the Aqua yarn (or color of your choice) into the chain two space of the bottom square on the back of the poncho with a slip stitch. Chain one (this counts as your first single crochet), and do two more single crochets in the chain two space.
Make one single crochet in each stitch, making sure to pick up the seam stitches in between the squares, all along the straight edge. When you get to the next corner, make three single crochets into the chain two space. Carry on with a single crochet in each stitch to the end of the round. Join with a slip stitch into the beginning chain one.
Slip stitch over to the next stitch (the middle stitch) of the corner (it’s a bit hard to see that in the image above). Chain three (this counts as your first double crochet), and do four double crochets into the same stitch.
Make one double crochet in each stitch to the next corner. Make five double crochets in the middle single crochet in the corner. Carry on with one double crochet in each stitch to complete the round. Join into the third chain of the beginning chain three with a slip stitch and fasten off. Darn in your tail ends.

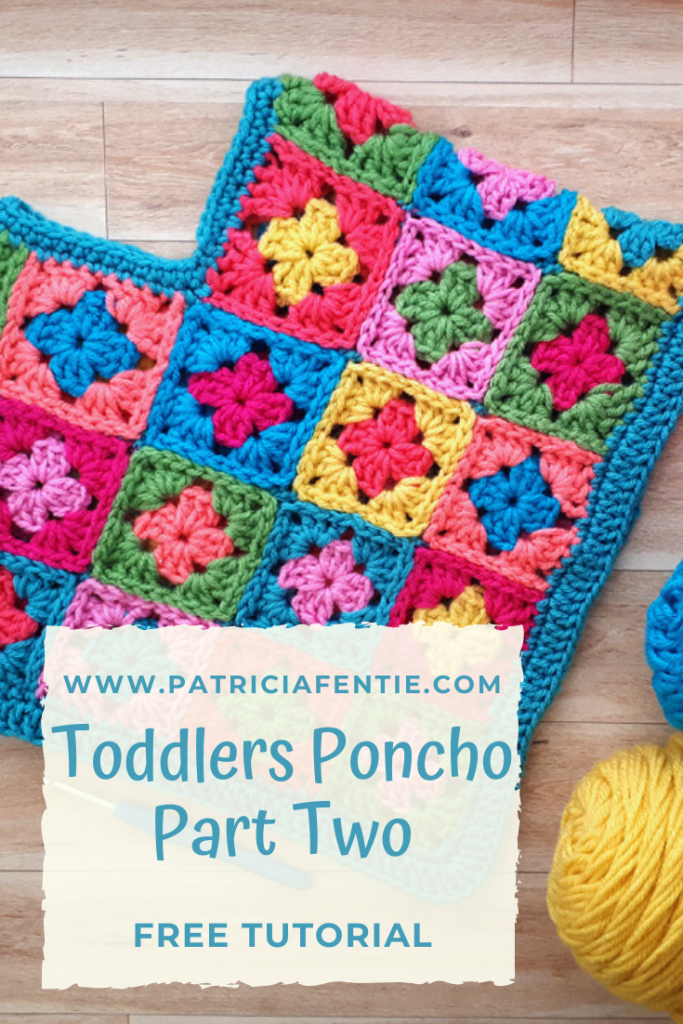
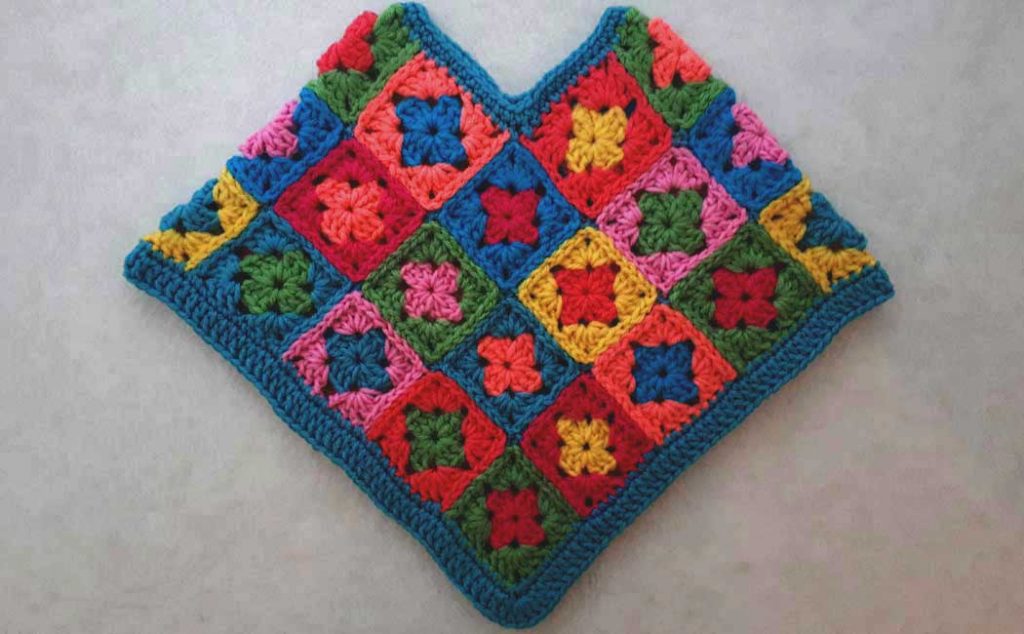
And you are done! Isn’t this just the cutest poncho! What I like about this design is that the style is funky and fun and not ‘cutesy baby’ (which is fine too, but it’s fun to have something different). I think the poncho would look great with cute little denim jeans and cowboy boots!
You do want to wash the poncho before wearing it because this really helps to soften the fabric. Just follow the directions on the yarn of choice. The Bernat yarn softens considerably after washing. I talked a bit about choosing non-toxic laundry products in Part One, and you can read more about that here if you like.
I hope you enjoyed this tutorial! Please leave a comment in the comments section, and share this post by clicking on the ‘social share’ button and choose an image from below to share.