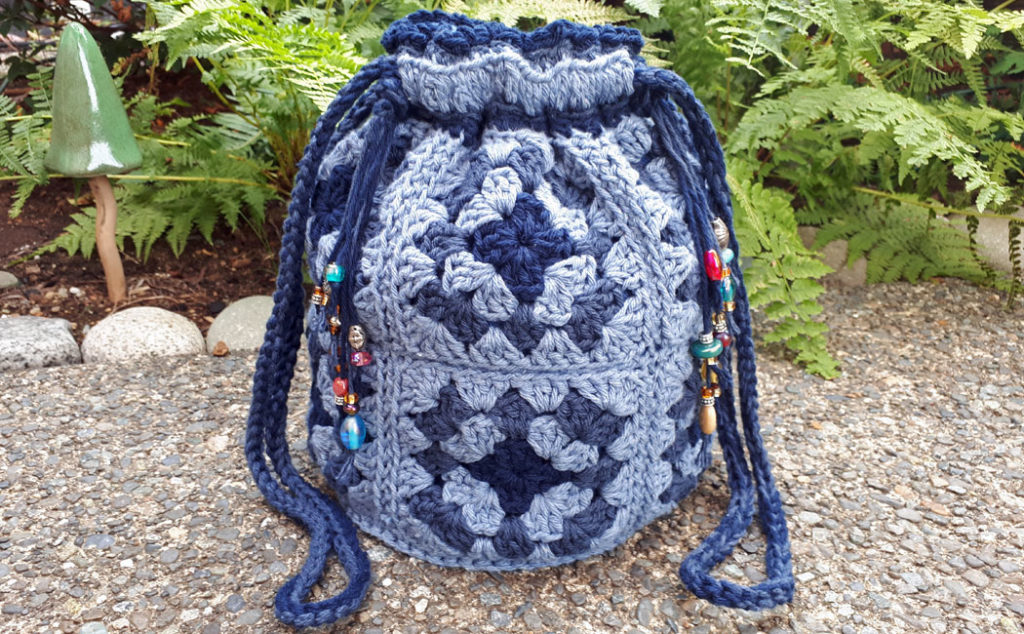
Welcome to Granny Square Bag ~ Boho Style Part Two! This crocheted bag is so much fun and can be made using any color combination you like. I’ve chosen a denim theme and I love how it turned out. In Part One of this tutorial, I show how to make the crocheted part of the Boho Style bag. It is made using traditional granny square motifs and a round granny motif. I show how to construct the bag and how to crochet the band around the top.
In Part Two of this tutorial, we will make the lining, the straps for the handles, and do the finishing touches. All the supplies are listed in Part One, so make sure to check that out! I do have a video tutorial for this project as well and you can find that at the bottom of this post.
The lining fabric I chose for this project is a denim fabric with the denim blue color on one side and white on the other side. You want to choose a heavy-weight fabric such as denim or canvas for the lining because that will give the bag more body. You might want to add a plastic support in the bottom of the bag and I will talk about that below. If you want to add a pocket to the lining, you can check out one of the two tutorials below. One is how to sew a lining (with a pocket) on a sewing machine and the other is how to sew a lining (with a pocket) by hand. While these tutorials show different shape linings, they may offer some helpful tips.
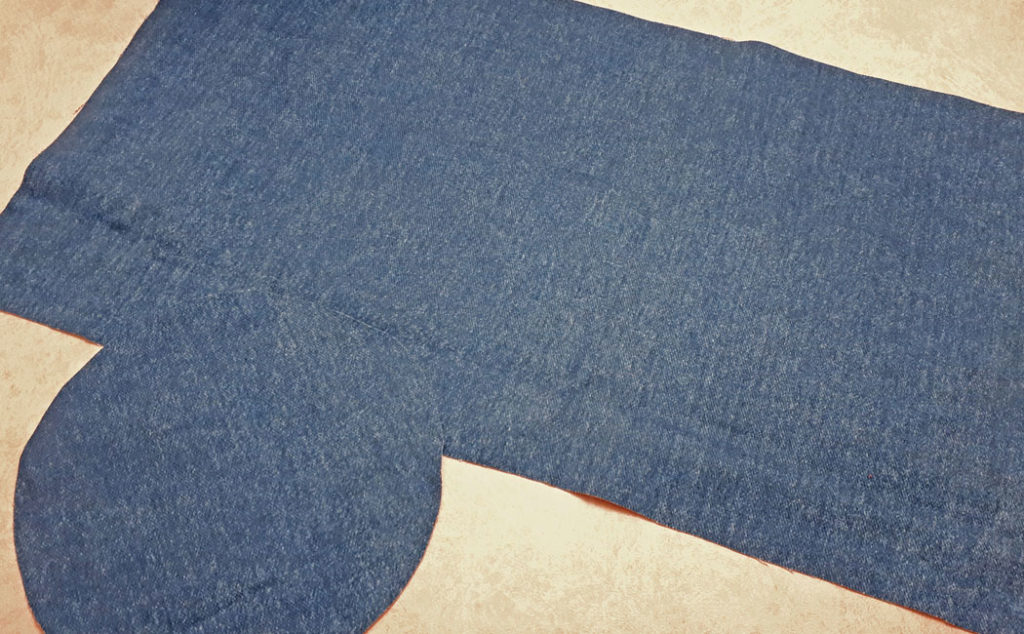
In Part One, we did cut out the lining because we needed to use the granny square panels as templates for the lining. The final size for my lining pieces (based on the size of my granny square panel and round motif) were 12″ (30 cm) by 24″ (60 cm) for the rectangle piece and 7.25″ (18.5 cm) in diameter by 24″ (60 cm) in circumference for the round motif.
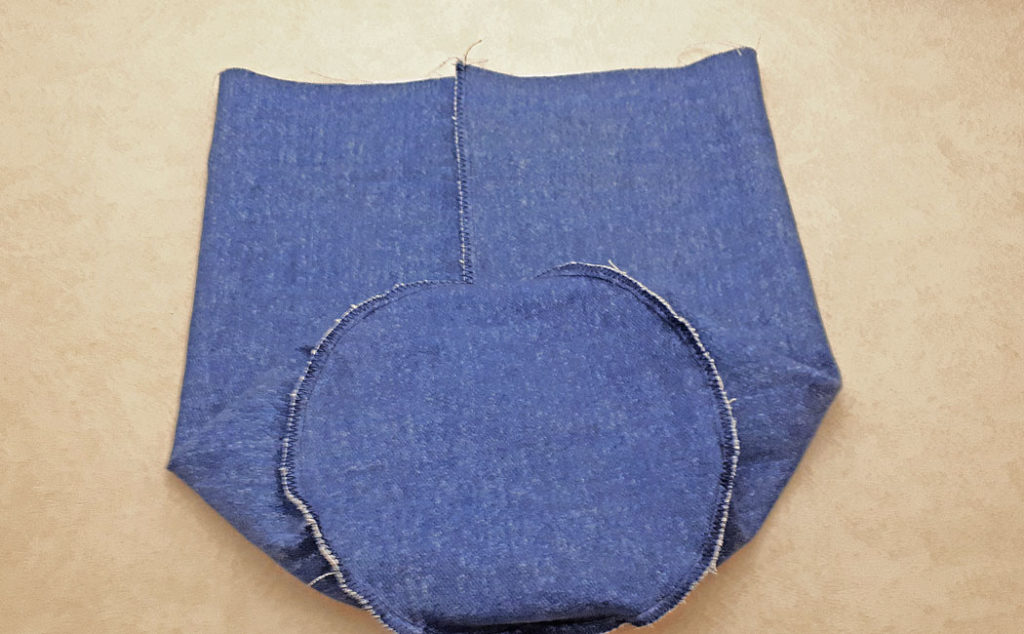
Decide which side of the fabric you want to face inside the bag, this will be the ‘right side’ of the fabric. For me, this was the white side of the fabric. Place the short sides of the fabric of the rectangle piece right sides together. Sew a 1/2″ (1.25 cm) seam allowance, trim and finish the raw edge with a zig-zag finish. Join the round piece, right sides together to the bottom of the rectangle tube. Divide the round shape and tube piece into quarters. Pin the round piece onto the bottom, lining up the quarter marks. Ease each quarter piece together with pins.
I apologize for not taking a photo of this step, but I do show it in the video tutorial. Sew the two pieces together with a 1/2″ (1.25 cm) seam allowance and finish as before.
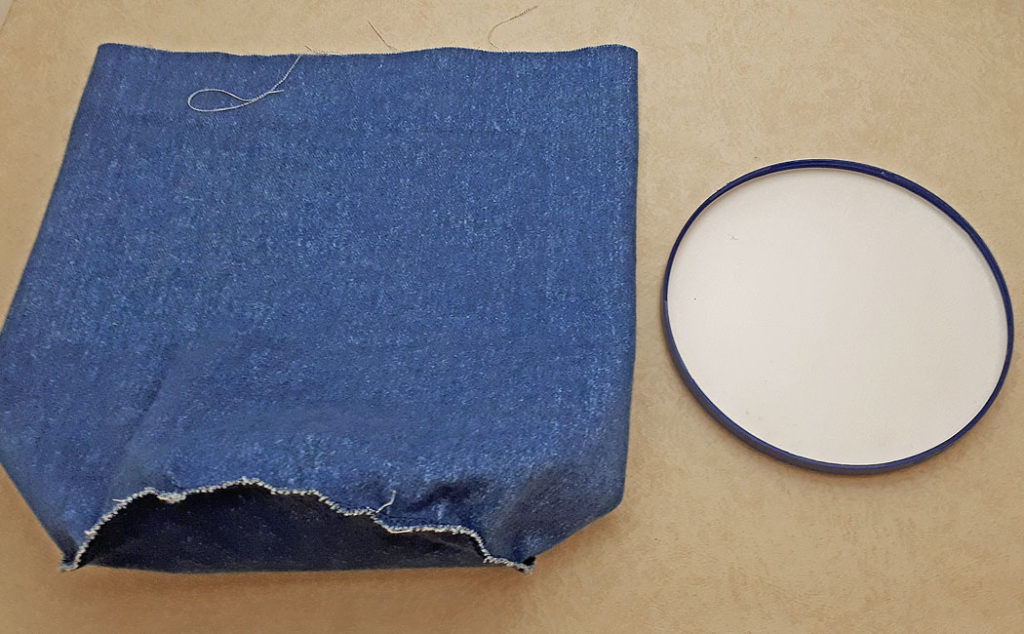
I do recommend using a plastic support for the bottom of the bag. There are many plastic lids one could use from products such as frozen yogurt or ice cream containers (see above). If you can’t find a lid that fits your bag, then you can cut a round shape of flexible plastic (like the front of a daytimer or notebook), that is the same size as the round crocheted motif. You would then cut two pieces of lining fabric for the base and encase the plastic piece between the two pieces. Then you would sew the round base to the top piece of fabric as described above.
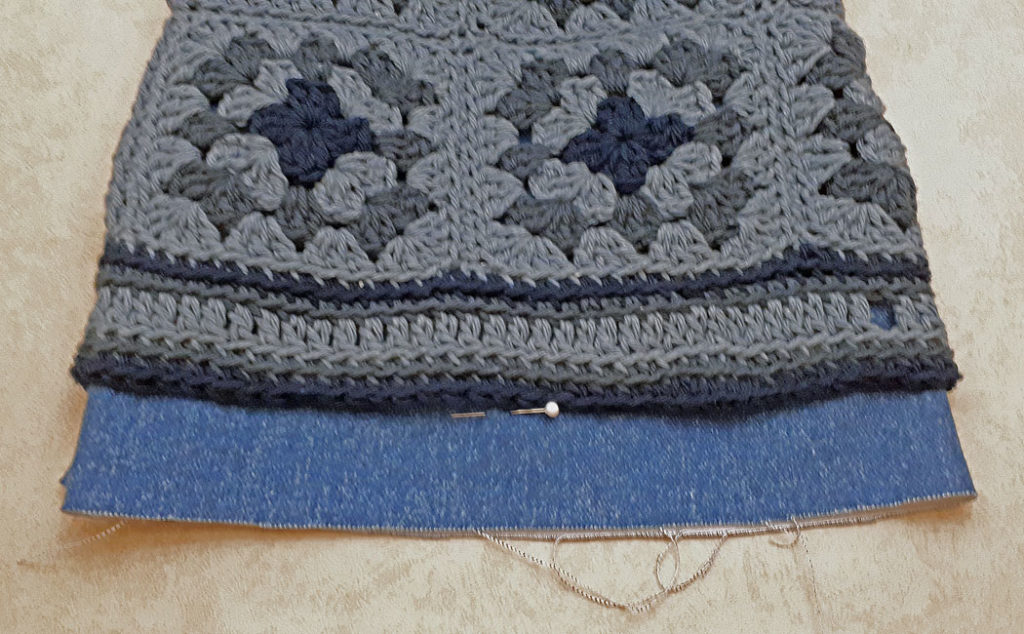
Once the lining piece is sewn together, place it inside the crocheted bag with the ‘wrong side’ or seam allowance facing out. Line up the bottom seams so it fits nicely inside the crocheted piece. Mark the top of the lining piece with a pin.
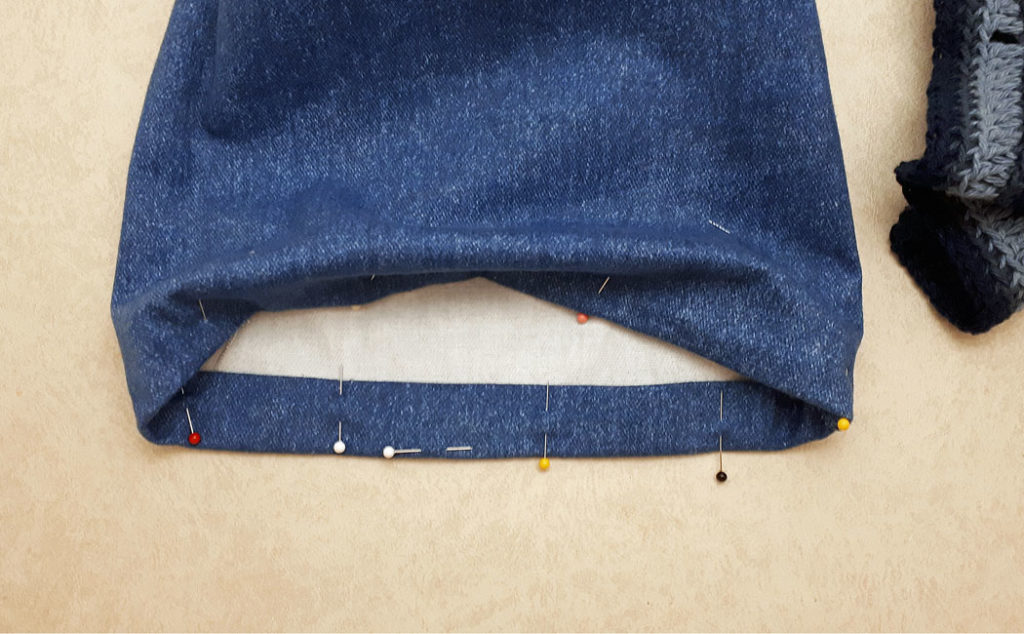
Fold the top hem over 1/2″ (1.25 cm), and then again to just below the pin mark. You want the top hem of the lining to sit just below the top edge of the crocheted bag. Sew the hem to finish the lining.
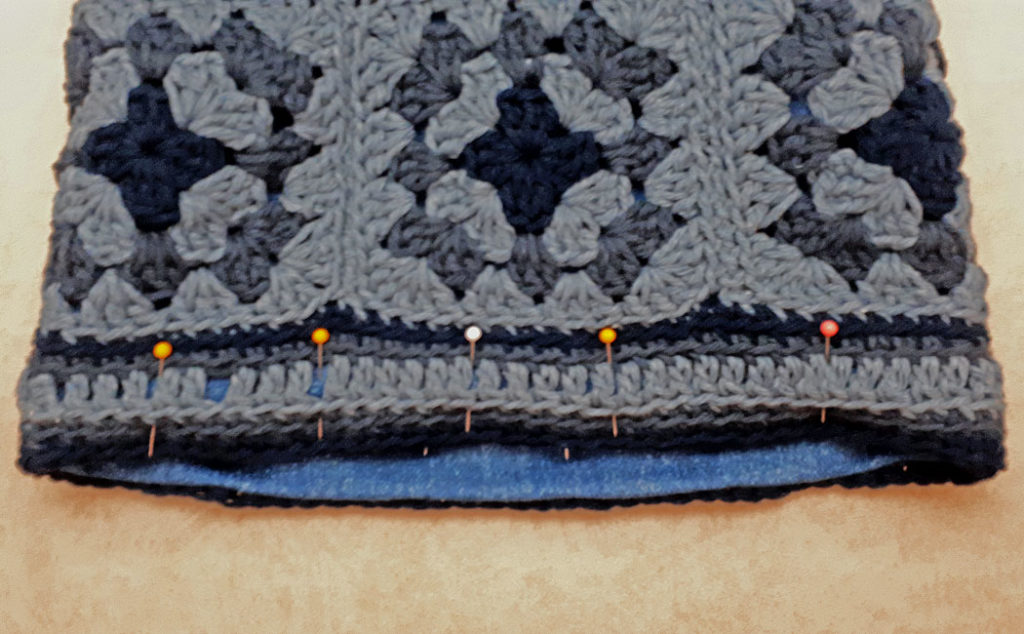
Place the lining back in the crocheted bag, and pin it in place just below the top of the crocheted bag. Sew a seam along the top edge between the top two rounds of single crochet (the Bright Navy and Indigo rows).
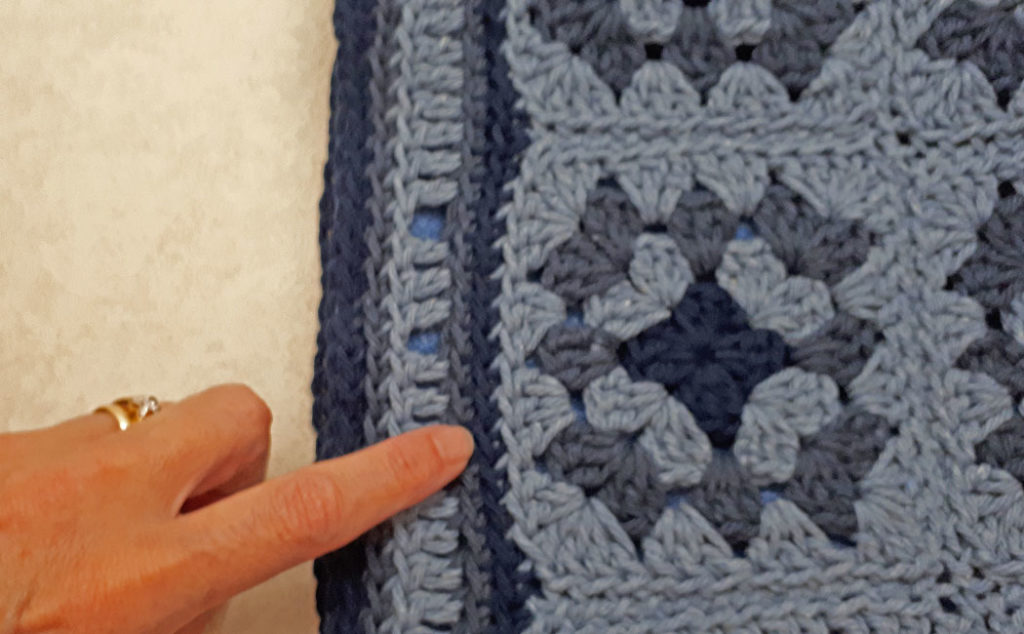
Then sew another seam around the top of the bag between the two bottom rounds of single crochet (the Bright Navy and Indigo. This will create a casing for the straps to go through.
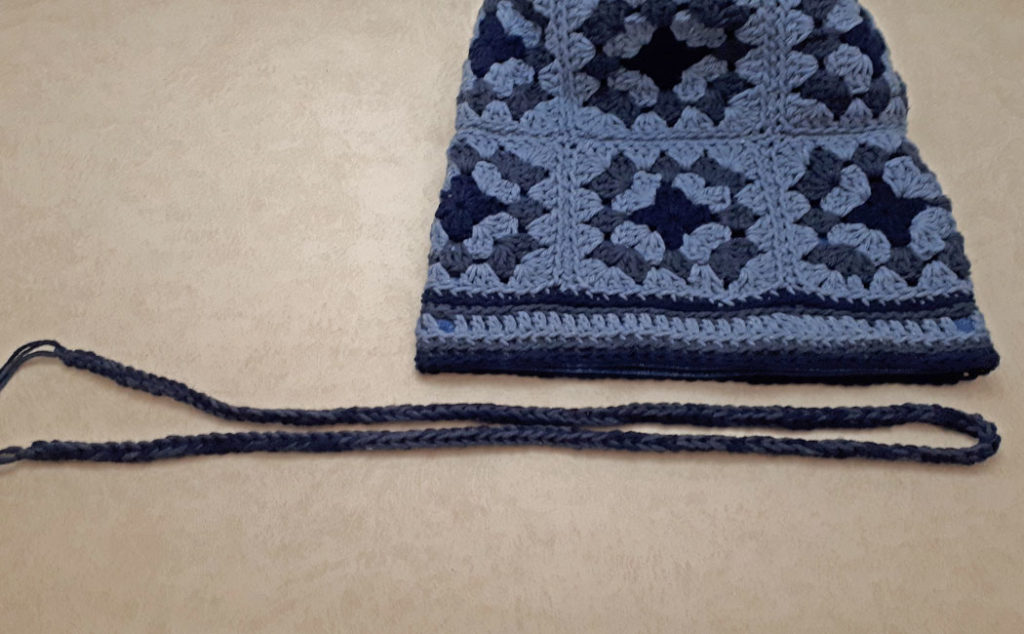
Once the lining is sewn in place, lay the bag flat and measure across the top of the bag. Add another 6″ (15 cm) to 8″ (20.5 cm) to that length. Double that to get the total length required for each strap, you will need two straps for the bag. My bag measured 11″ (28 cm) across the top, plus 8″ (20.5 cm) to equal 19″ (48 cm) across. Multiply that number by 2 for a total length of 38″ (96 cm) for each strap.
I used Bright Navy and Indigo for the crocheted straps, but I am demonstrating with the Indigo and Blue Jean color so it is easier to see the steps. You will need two strands of each color, so just take both ends of the ball of yarn for each color to achieve this.
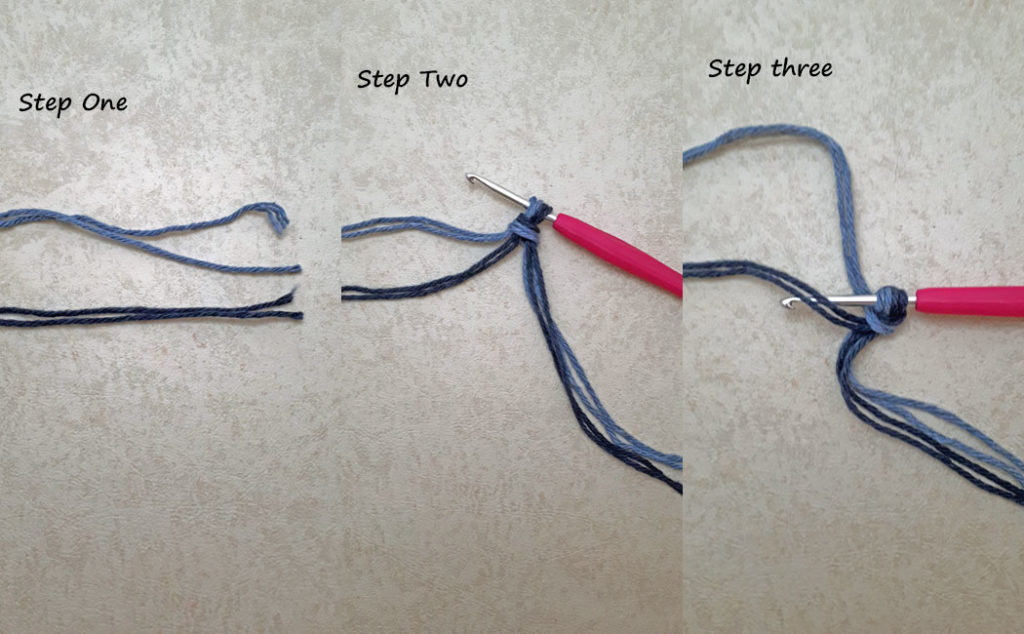
- Step One: Set up two strands of each color.
- Step Two: Create a slip knot with all four strands of yarn and place that on the E-4 US (3.5 mm) crochet hook with the tails to the right and one color at the top and one color at the bottom.
- Step Three: Bring the bottom color over the front of your hook and away from you (to create a loop).
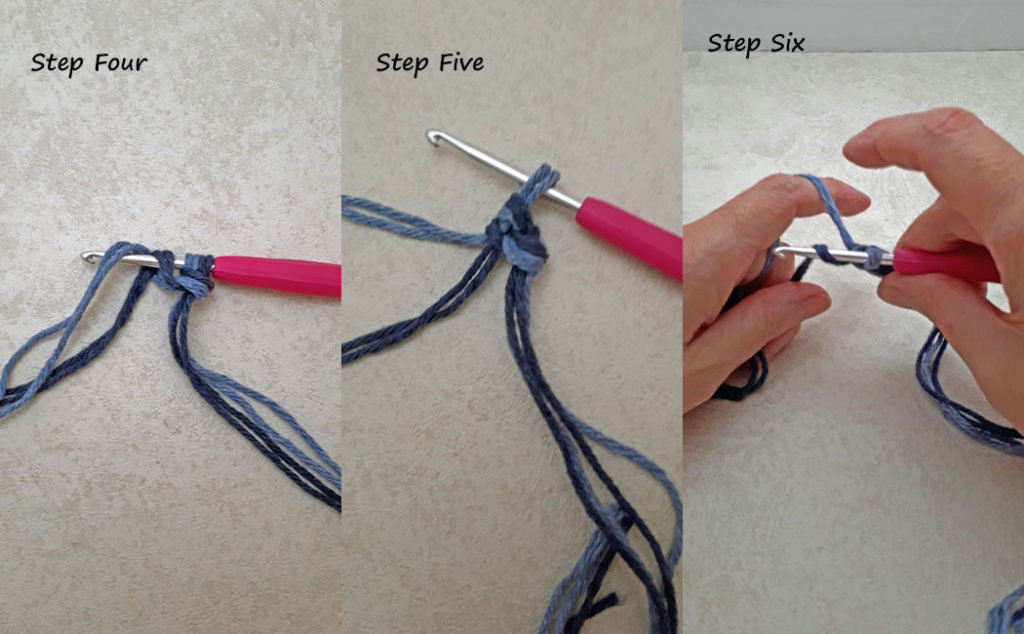
- Step Four: Bring the top color over the top of your hook toward you, as shown above.
- Step Five: Bring the top color through all the loops on your hook to create a single crochet.
- Step Six: Bring the bottom color over the front of your hook and away from you, to create a loop.
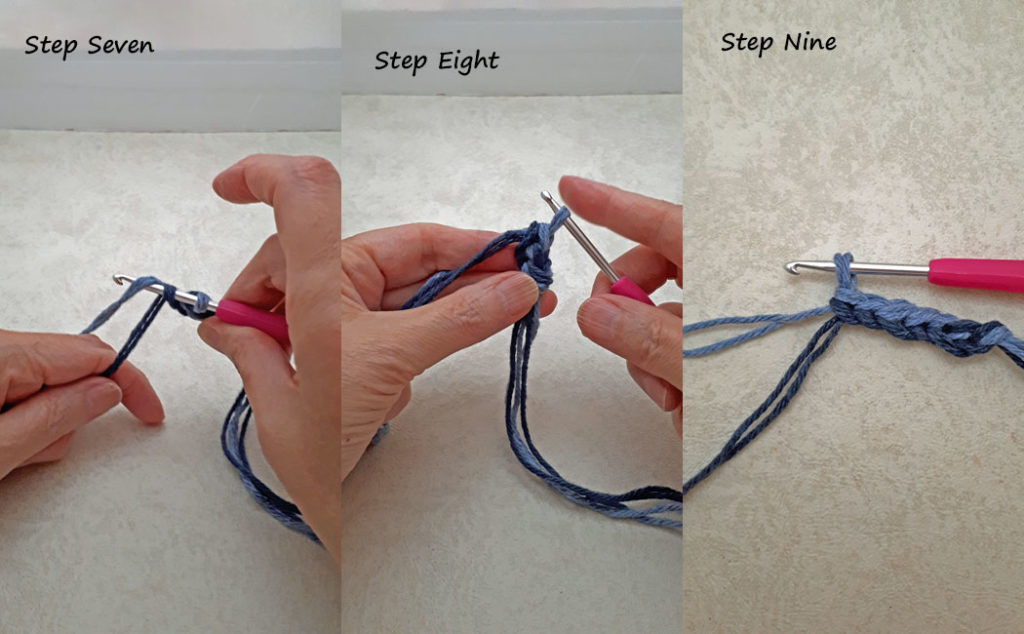
- Step Seven: Bring the top color over the top of the hook toward you.
- Step Eight: Bring the top color through the two loops to create a single crochet.
- Step Nine: Continue to single crochet in this way until you have the strap to the length required.
Fasten off the strap by cutting a long tail (for the beads), yarn over, and pull through the loop. Tie a square knot at each end of the strap to secure it. Crochet a second strap in the same way.
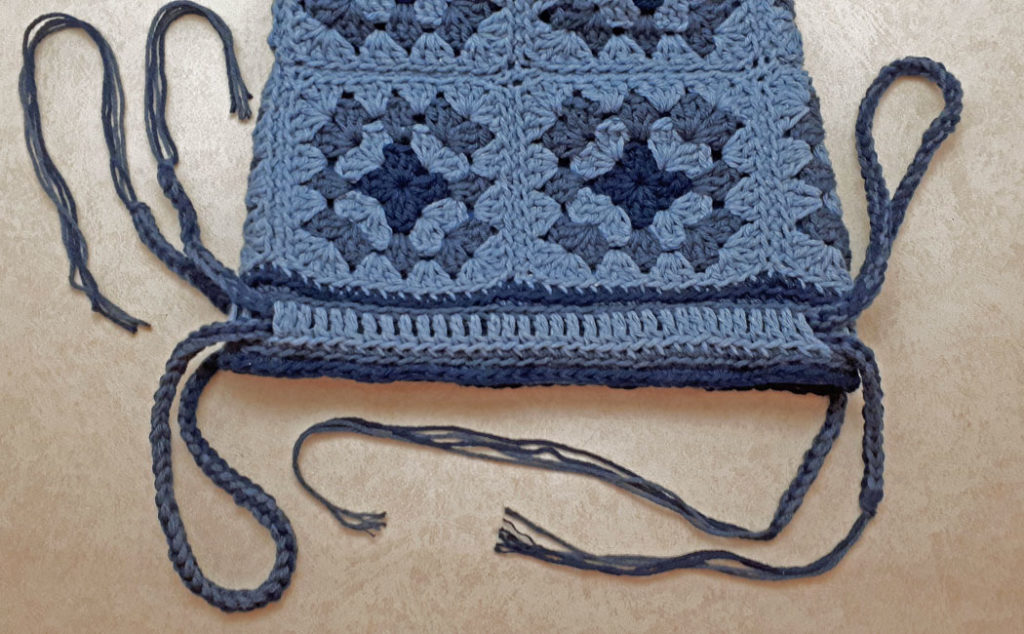
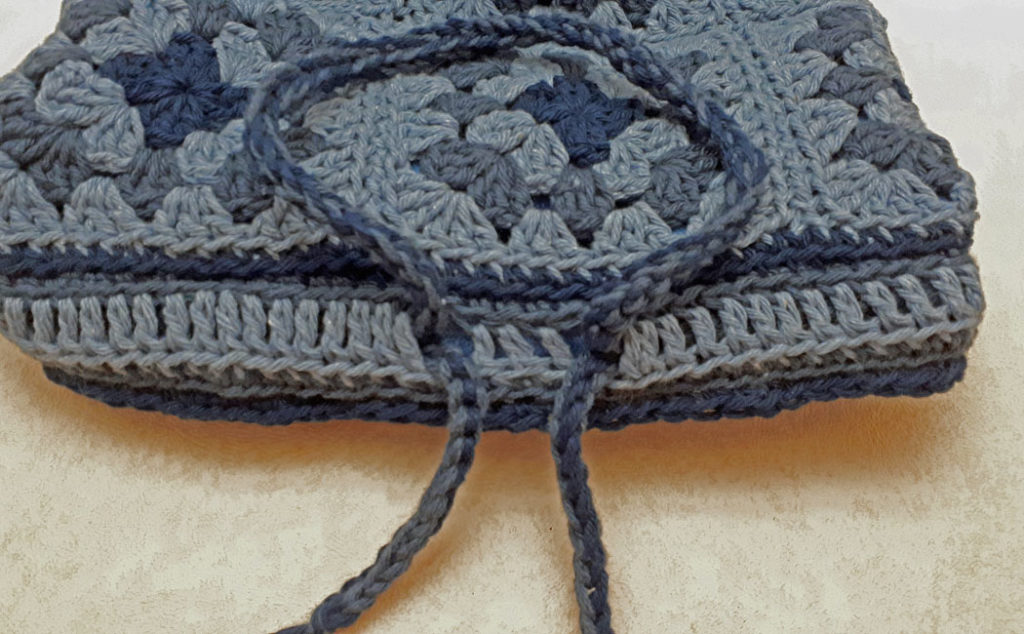
Using a safety pin, feed each strap through the casing, going in the opposite direction as shown above. You want to have one loop on each end and two loose ends on the opposite sides. When feeding the straps through the casing, come out of one chain one space, skip the three double crochets and go back into the next chain one space. Do this on both sides. Once you have the straps in place, tie the loose ends together at the very end of each strap, leaving the tassels dangling. Again, I forgot to take a picture of this step, but I do show it in the video tutorial.
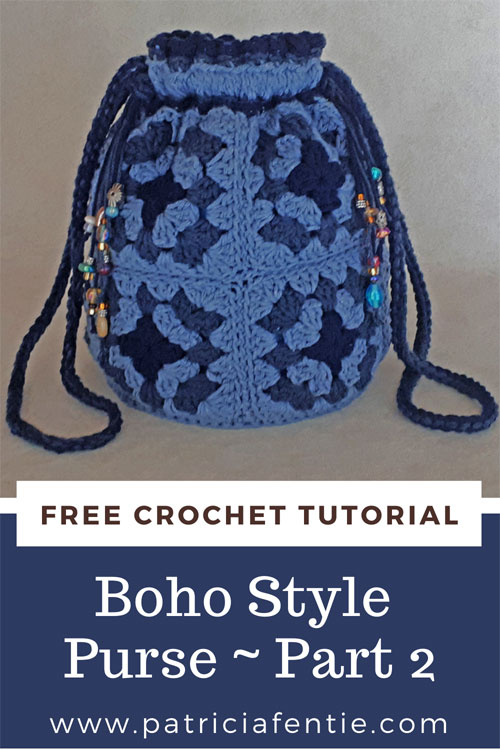
Use an assortment of beads to thread onto each strand of yarn for a funky bohemian style look. I used glass and metal beads, but wooden beads would work really well too. Place a small amount of white glue on the end of each strand of yarn to create a ‘needle’ of sorts. Let the glue dry and this will make it much easier to thread the beads onto the yarn.
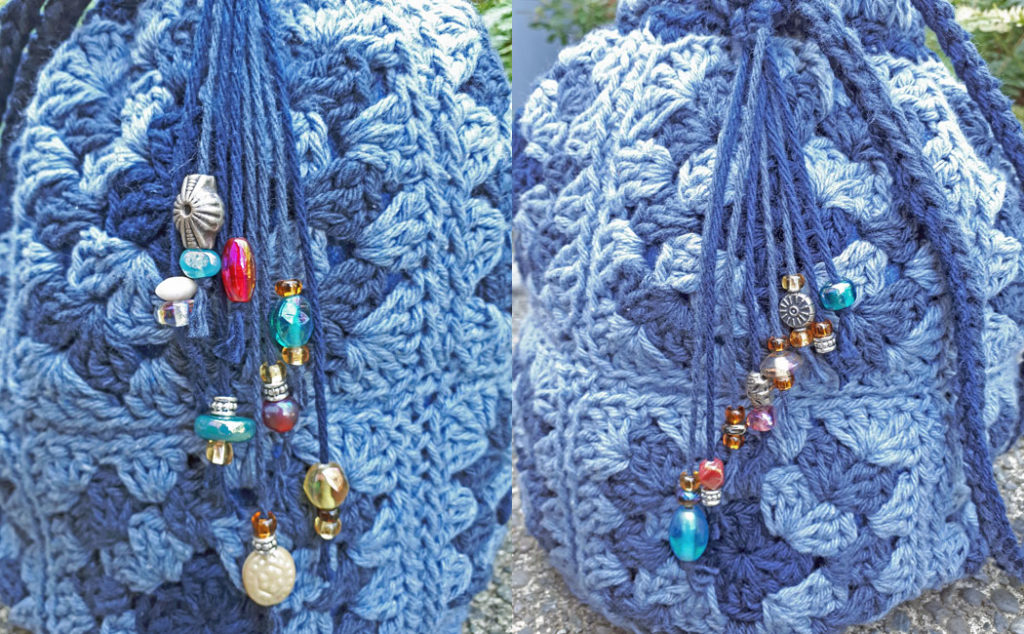
Tie a knot at the end of each strand and cut off the excess yarn. I made each strand a different length so the beads wouldn’t bunch up all in one place. You can do this step any way you like. You may not want to use beads at all and cut all the strands of yarn off into just one length to look like a tassel, or you could braid some of the strands, or you could fray each strand piece to make a very fluffy tassel…be playful and creative!
And you have now come to the end of this tutorial, Granny Square Bag ~ Boho Style (Part Two)! You can find the video tutorial below. I hope you enjoyed this project, please leave a thumbs up on the YouTube video and subscribe to my YouTube channel so you don’t miss out!
Some of my favorite things!
Some (but perhaps not all) of the links in this blog are affiliate links to Amazon.com. As an Amazon Associate, I earn from qualifying purchases. This page contains some affiliate links. Please see my policy page for details. I look for the best possible option for your convenience, however, I encourage you to support your local shops!
Sharing is caring! Click on the social share button at the top of the blog and choose an image from below to share on social media.
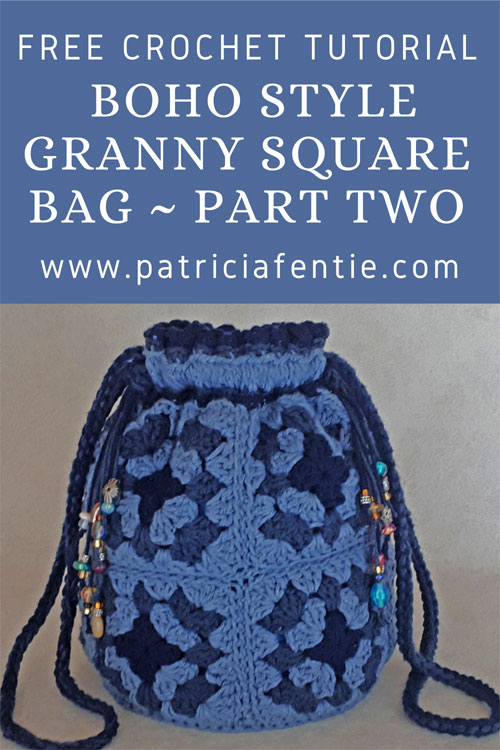
Granny Square Bag ~ Boho Style (Part Two)