I’m so excited to share this project with you! Dot painting for Beginners is such a fun and relaxing art form. I love the fact that anyone can do this craft, especially with some solid and clear directions and tips! Join me on this adventure of dot painting a beautiful gift card. Starting with a project like this will help you learn good dotting techniques which you can then use on more challenging projects like mandalas!
Some (but perhaps not all) of the links in this blog are affiliate links to Amazon. As an Amazon Associate, I earn from qualifying purchases. This page contains some affiliate links. Please see my policy page for details. I look for the best possible option for your convenience, however, I encourage you to support your local shops!
For this project, all you need are some basic dotting tools, acrylic paint, and a blank card to paint on. You can find all sorts of dotting tools around the house like drill bits, nail heads, pen and pencil tips, chopsticks, cotton swabs and more! All you need is a flat round surface to dab the paint on with. Play around on some scrap paper first to get a feel for how each tool works. If you are wanting to buy a set, I really love these dotting tools by DIY Mandala Stones (ships from Canada). You can also get a similar set by Marks Mandalas, I haven’t used this brand, but they look very much like the DIY Mandala brand. These small tools would also be a great addition.

I have all sorts of brands of acrylic paints, and for this project, I am using what I have on hand. Mostly, I’m using liquid acrylic paints, but I have 2 medium body paints as well. I add some water to those paints to make them the right consistency for dotting. But my all-time favorite brand for dotting is Americana Brand. It has the best consistency all round and produces really nice dots.
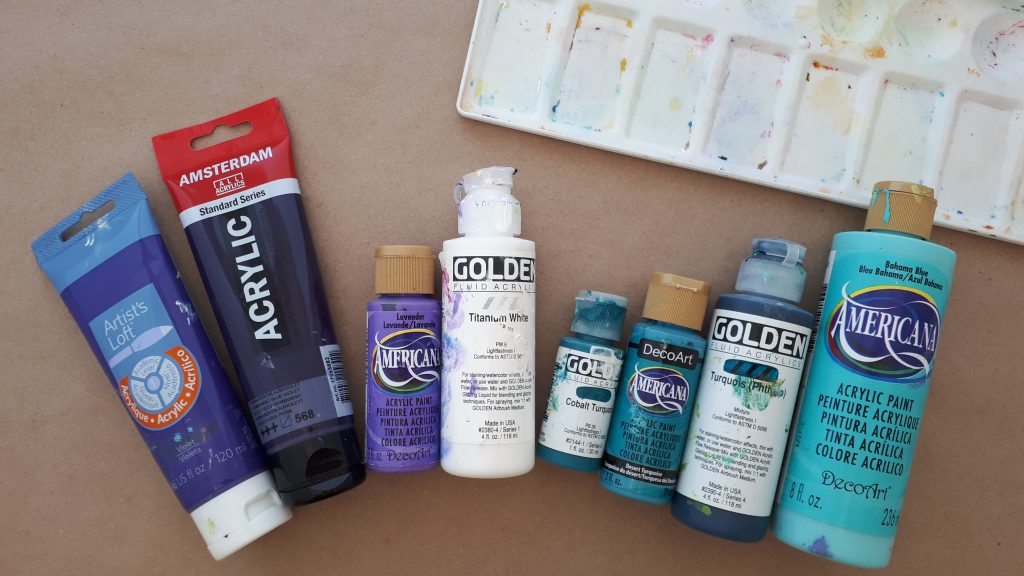
The list below is all the paints I used for this project (from left to right)
- Violet by Artist’s Loft (medium body)
- Permanent Blue Violet by Amsterdam (medium body)
- Lavender by Americana
- Titanium White by Golden
- Cobalt Turquoise by Golden (didn’t actually use, but it’s in the photo)
- Desert Turquoise DecoArt by Americana
- Turquoise (Phthalo) by Golden
- Bahama Blue by Americana
I added white to some of these colors to make a variety of shades. Have fun playing with your own colors and make it your own!
You will then need some blank card stock. You can just use mixed media art paper and fold it in half. I used Strathmore Watercolor Cards and they work great! You’ll also need a paint palette (a plain plate will do) and a damp cloth.
Before you start, I do recommend that you practice using your dot tools on a scrap piece of paper. Do this whether you have ‘found’ tools or a proper set. This will help you get the feel of how much paint you need to load on the tools and how much pressure to use when applying the dot on the surface.
You will need to load the dotting tool each time as it won’t hold enough paint to do multiple dots. The only exception is when you ‘walk the dots’ and this is when you use a very small tool and create a series of progressively smaller dots. We won’t be using that technique in this project.
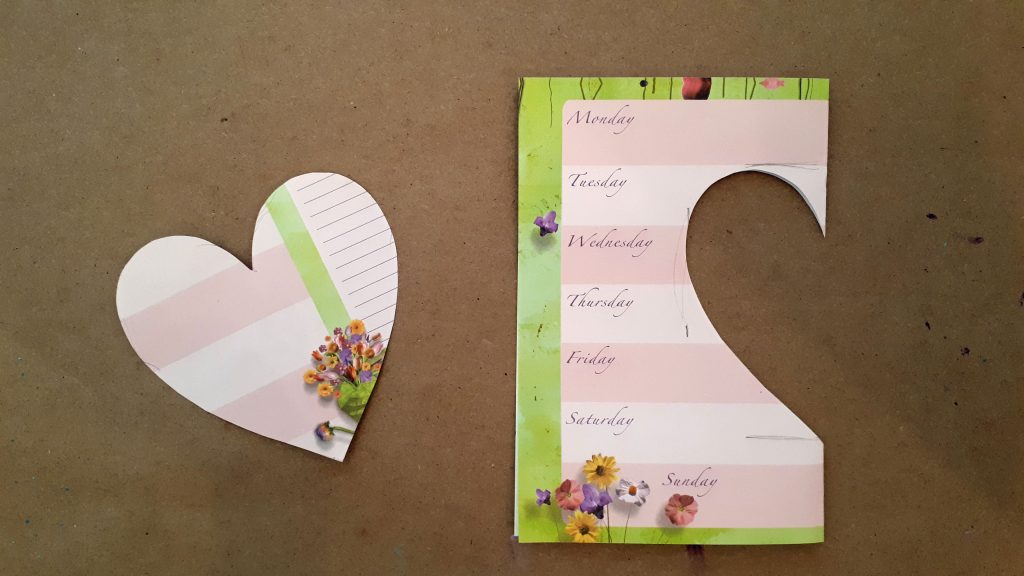
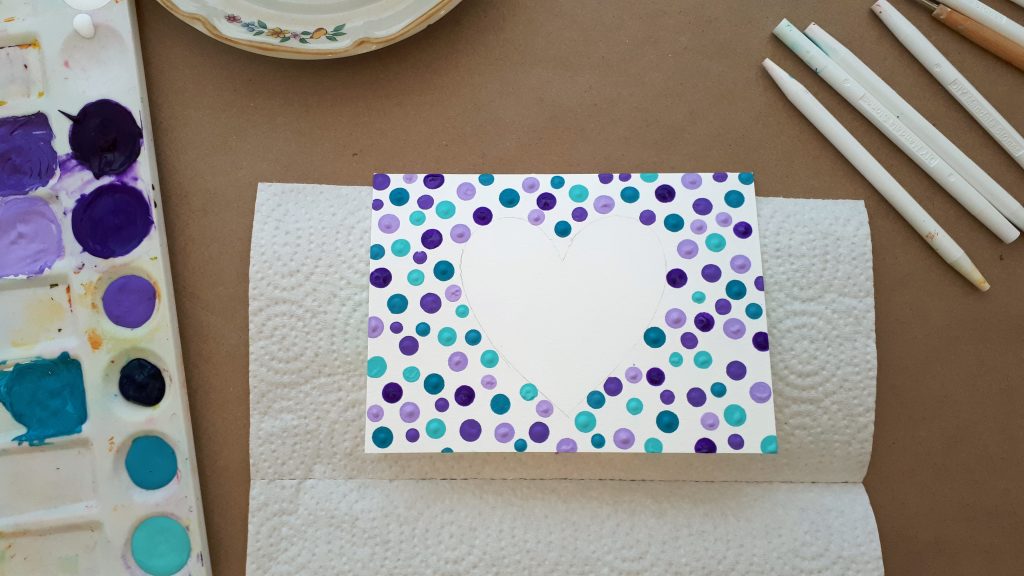
Once you have done some practice, you can start working on your project. Using some scrap paper, cut out the shape of a heart (or another shape) to use as a template for your card. Place the template where you want it on the card and lightly trace around it with a pencil. You will erase the pencil marks once the project is done.
I recommend taping your card to the work surface to prevent it from moving around and getting paint on the back. Once you have your shape on the card, start with your largest dotting tool and begin to place dots of different colors around the outside of the heart. Wipe the dotting tool clean with a damp cloth between colors.
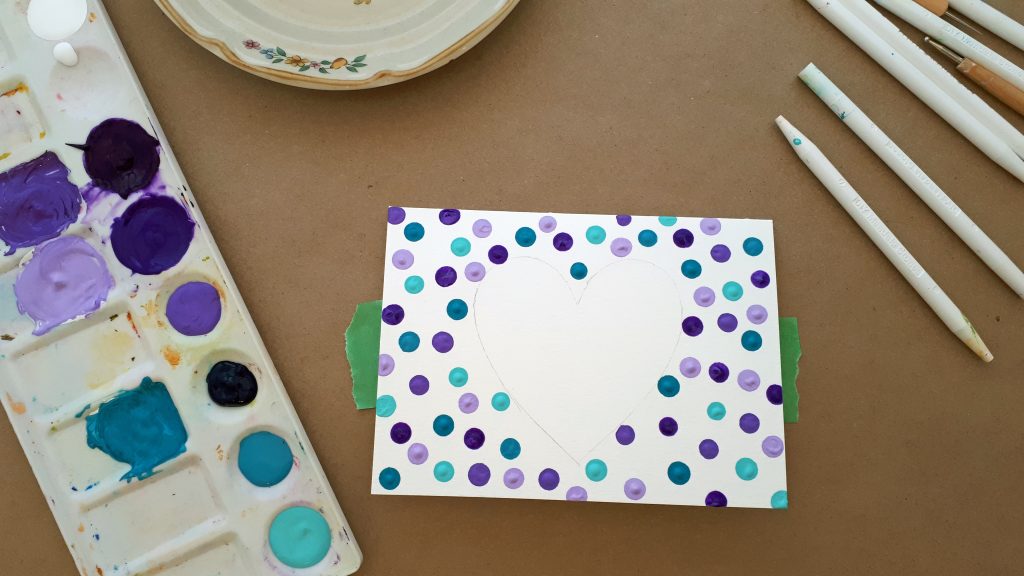
Make sure to hold your hand off the table! A smudged dot is hard to fix! Once you’ve done your first layer, choose a smaller tool and continue to fill in some of the white space.
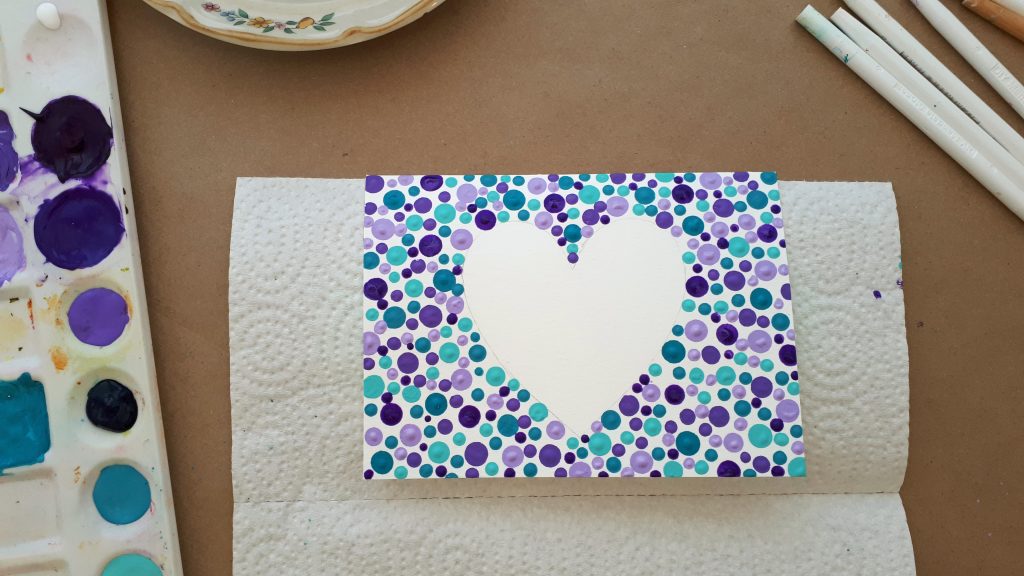
Now choose an even smaller tool and continue to fill in the white areas with more dots! Have fun playing with the different colors.
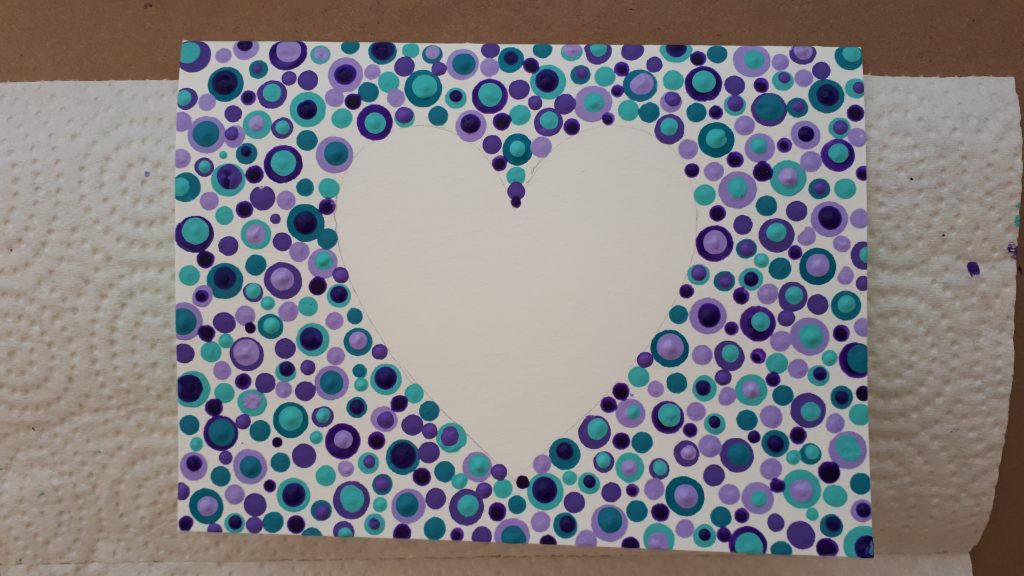
Now it is time to start dotting different colors inside these dots. Let the card dry really well before proceeding with this step. You can place a damp paper towel or some plastic wrap over your paint tray to prevent your paints from drying out.
Choose a smaller tool than the largest dots and start applying a second color to the large dots. Use colors that will pop nicely (dark on light and vise versa). Once you’ve done the large dots, move on to the medium size dots and then the smaller ones. Continue to fill in more white space with smaller dots.
Then you can apply a third color on the larger dots to create even more depth. Continue to fill in more white space…there are no rules about this…just stop when it feels done!
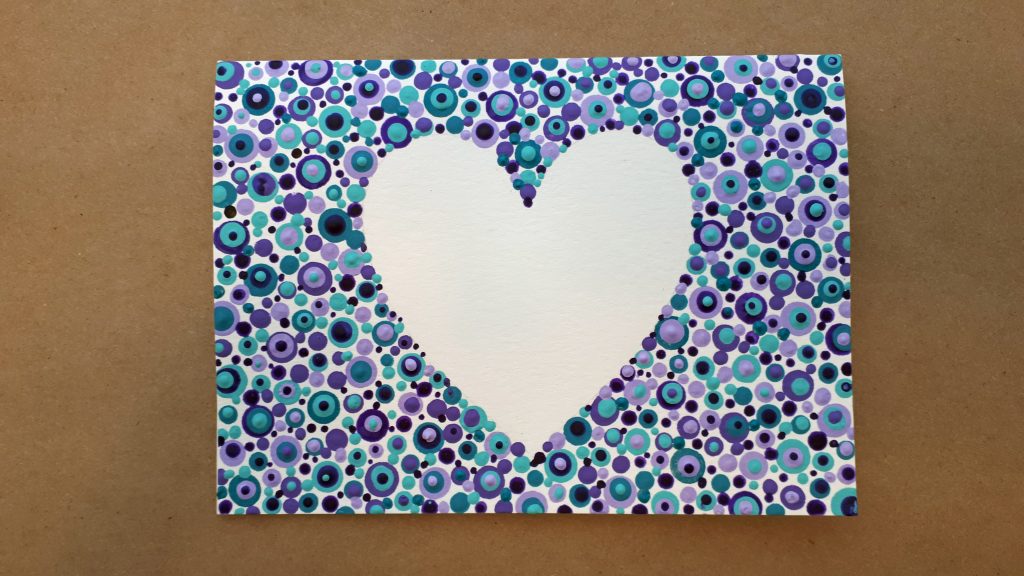
When you are done, let the project dry really well and then erase the pencil marks around the heart. Isn’t it pretty!
Now that you’ve completed this project, you can move on to more advanced projects like these mandala stones below! I plan to offer more tutorials on this so sign up for my newsletter and follow me on social media!

I also created a couple of videos on Youtube that take you step by step through this project. You can check them out below. Please subscribe, like and share!